About
SmartBear offers a special license type – on-premises – that can be used on computers with no access to the SmartBear license servers. The word on-premises means the license is controlled by your licensing subsystems, not by SmartBear license servers available online.
To use an on-premises license, you can install the On-Premises License Server in your network. TestEngine will connect to this server and consume license seats from it. Below is a step-by-step instruction on this. If you are a licensed user (the person who runs and uses TestEngine), you will need assistance from your license administrator to perform some steps.
License Administrator Actions
Install On-premises Server
-
Log in: Start by logging into the SmartBear Licensing Portal as a license administrator.
-
Set up your local portal: Download and install the On-Premises License Server within your network. This will be your local Licensing Portal, separate from the SmartBear Licensing Portal with internet access.
-
Prepare your license: Ensure that your license doesn't have any users assigned to it. If it does, unassign those users before moving forward.
-
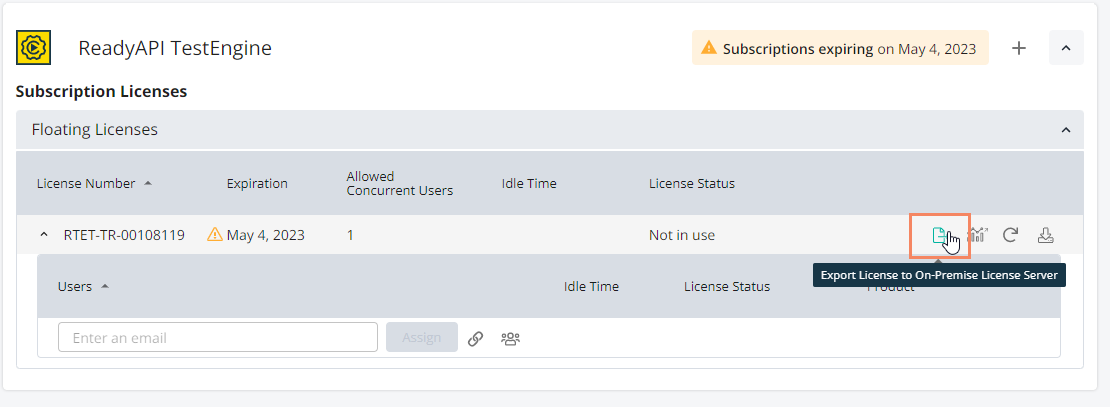
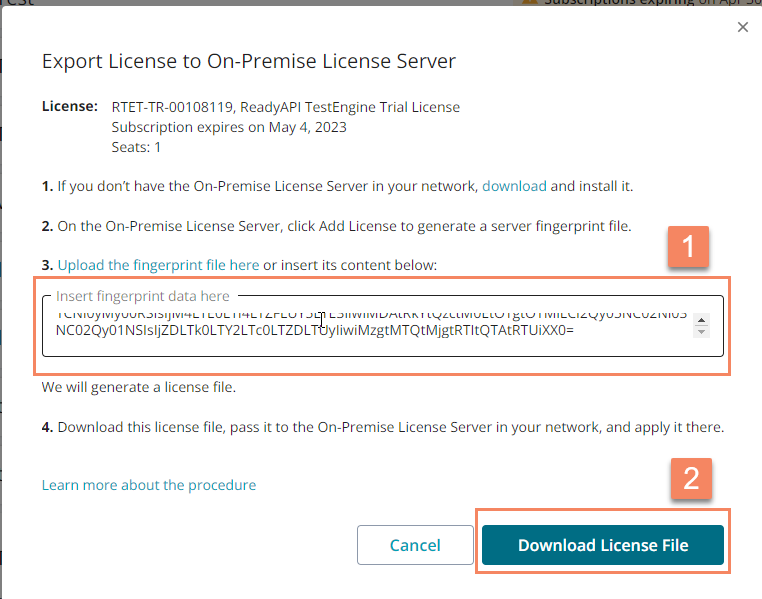
Export your license: Click on 'Export License to On-premises License Server' to initiate the download process.
-
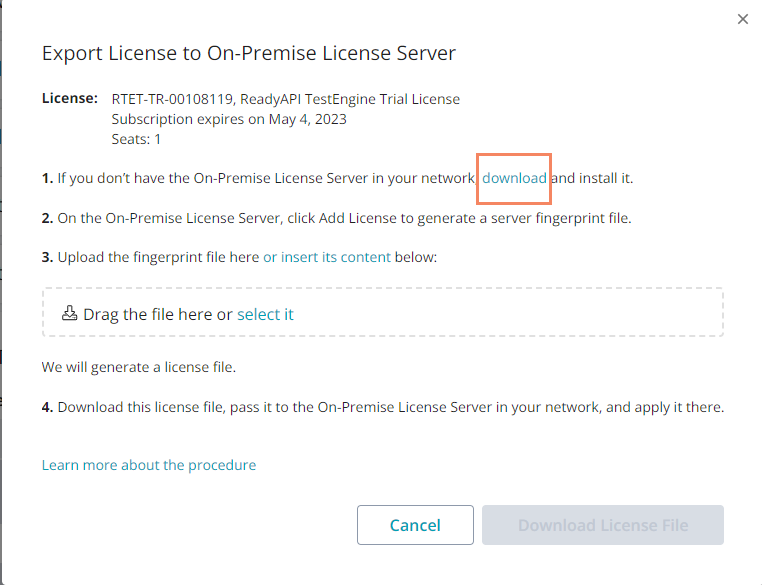
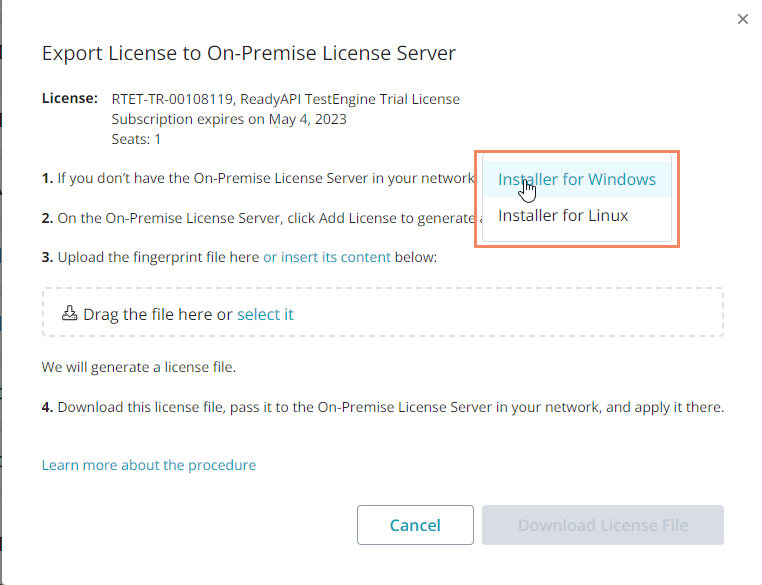
Install the On-Premises License Server: If you don't already have the On-Premises License Server installed, follow the provided instructions, or click 'download' or download from here.
-
Access the server: Go to http://localhost:40892/# to access your newly installed On-Premises License Server.
Add the license
-
Create a password: As the license administrator, log in under 'System_admin' and set a password on your first access.
-
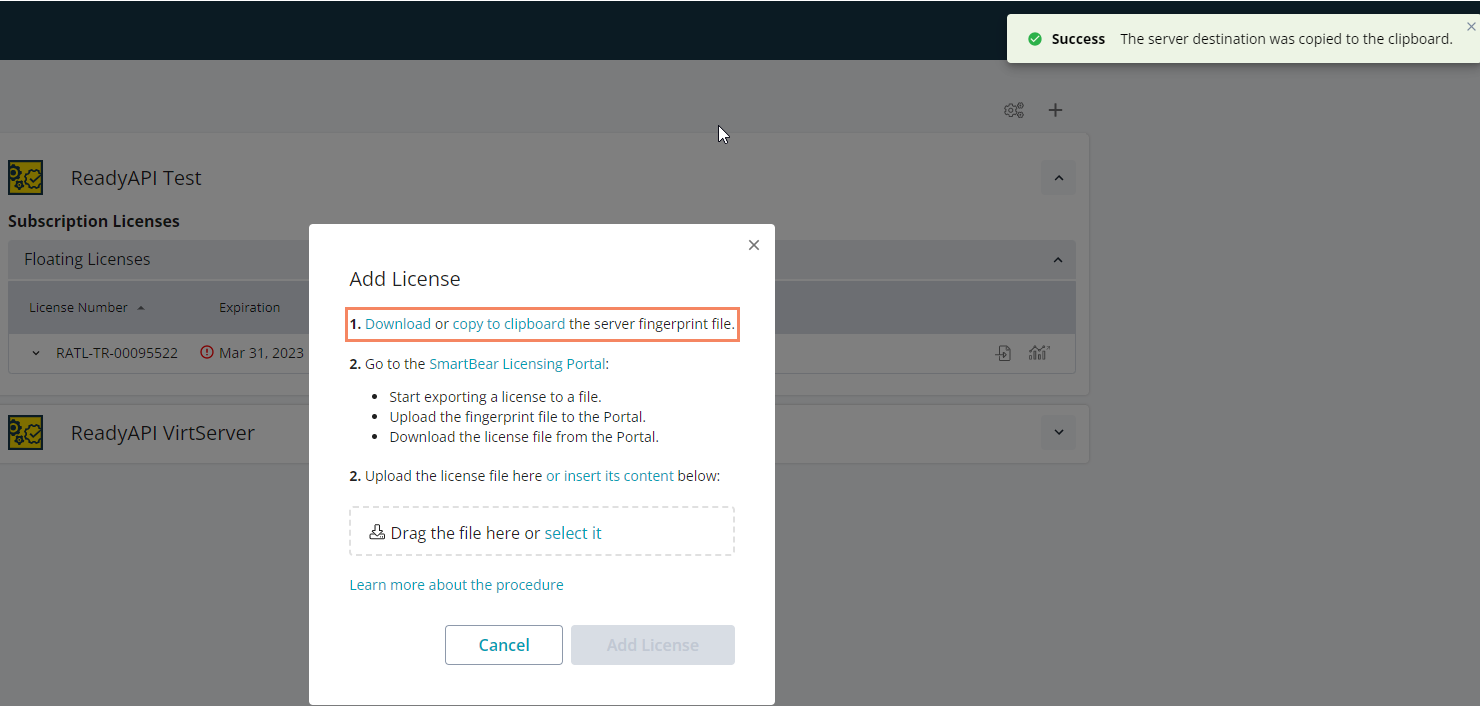
Add the license: Now, login and select 'Add License' in the On-Premises License Server.
-
Copy server fingerprint: Copy the server fingerprint data to your clipboard or download it as a file. The fingerprint will be copied to the clipboard or downloaded to your local machine.
-
Export License: Go to manage.smartbear.com and click 'Export license to on-premises license server'.
-
Input fingerprint data: Add the server fingerprint data and click ‘Download License File.’
-
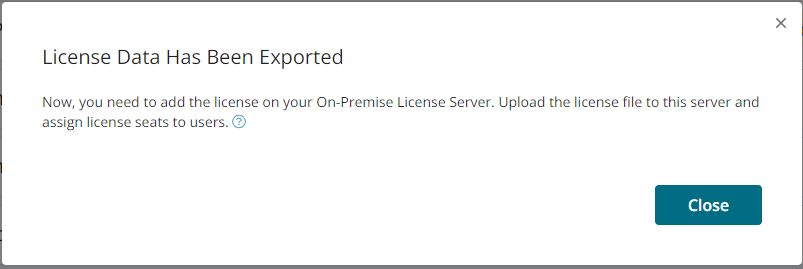
License exported: Your license has now been successfully exported.
-
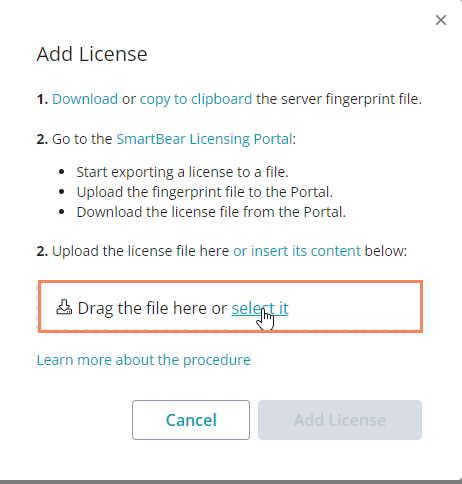
Add the license: Return to the On-Premises License Server and click 'Add License.'
-
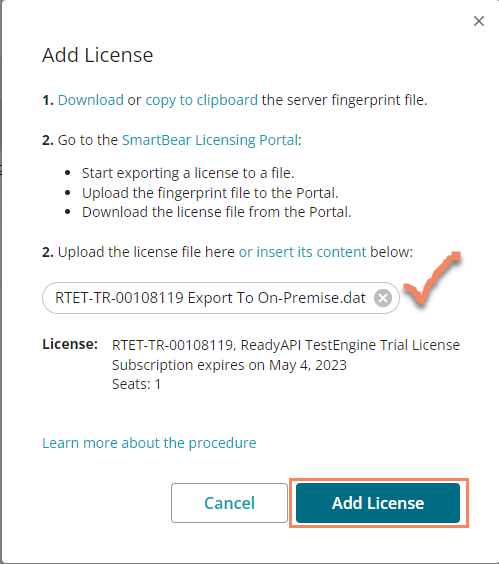
Select the license file: Choose the license file you exported to add and click on 'Add License' to confirm and add the license.
-
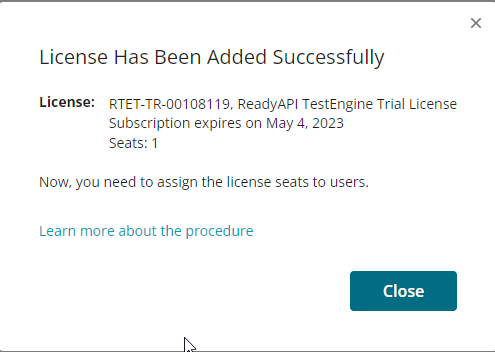
Successful confirmation: You'll receive confirmation that the license has been successfully added.
-
Ready for use: Your license is now available on the On-Premises License Server portal and is ready for use by TestEngine.
Configure On-premises Server
-
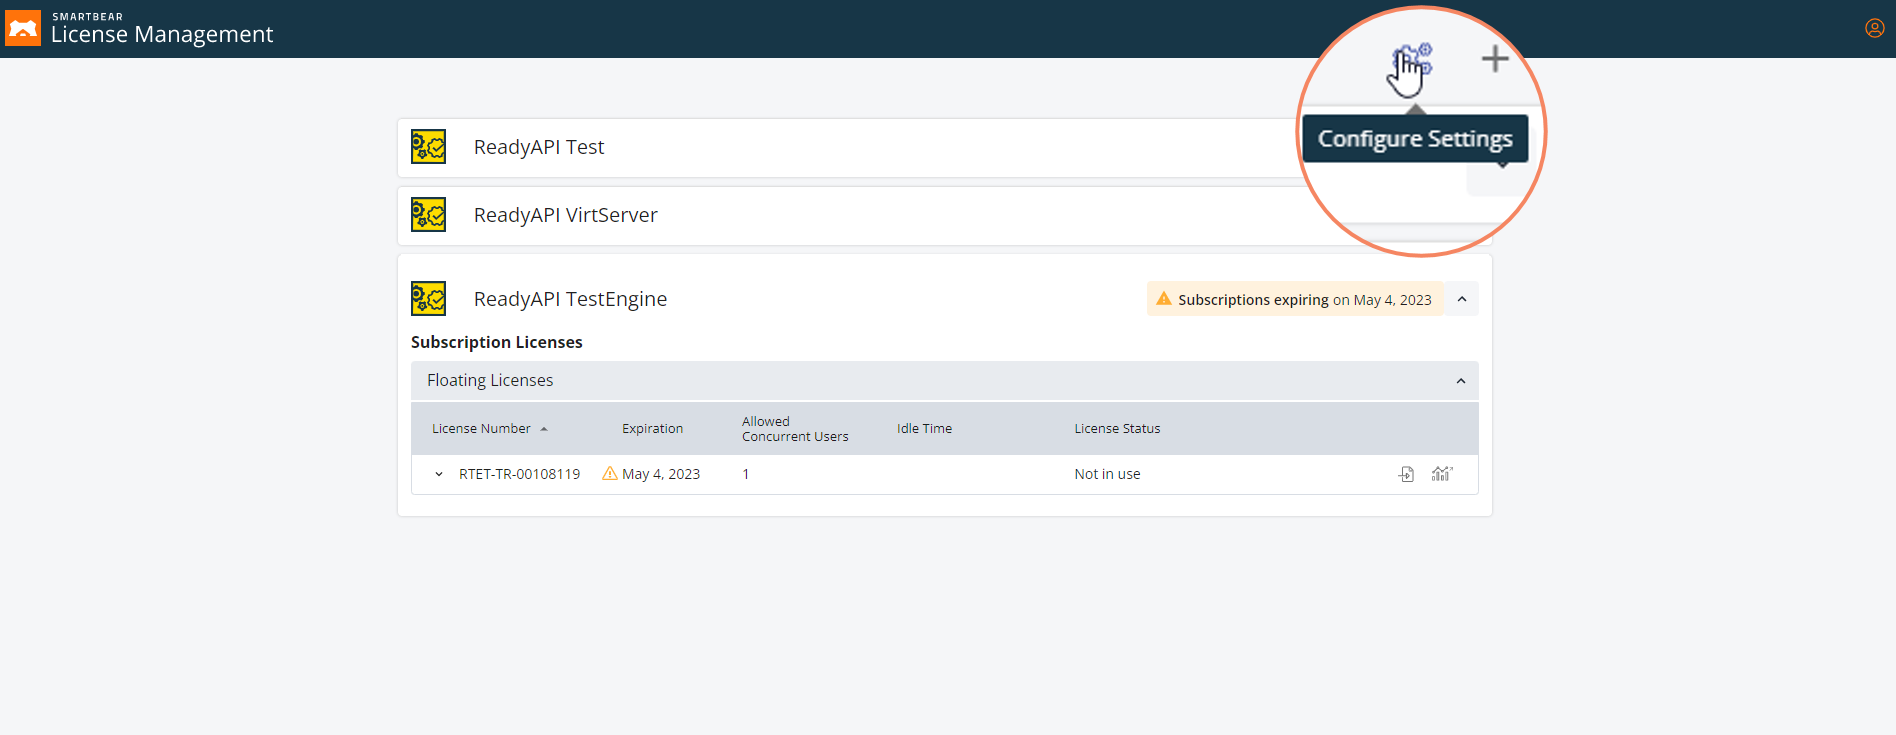
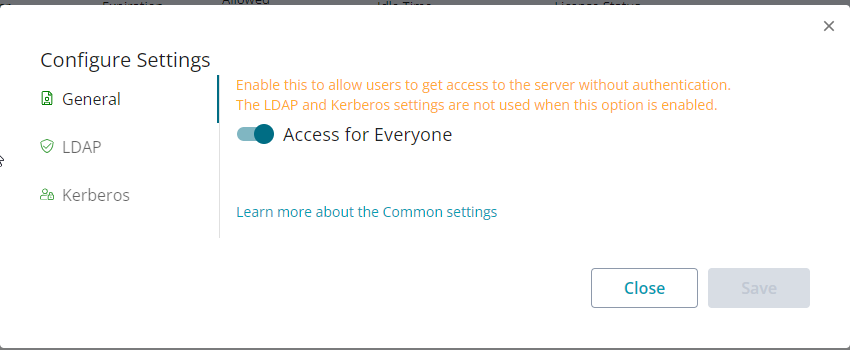
Configure user access: You can configure how the Server authenticates users and allocates license seats. Choose between 'Access for Everyone' (no authentication required) or set up LDAP or Kerberos authentication.
-
Authentication not required: If authentication is required, the TestEngine users will be required to add an access key to their license installation panel. See more about settings here Settings | License Management Documentation.
-
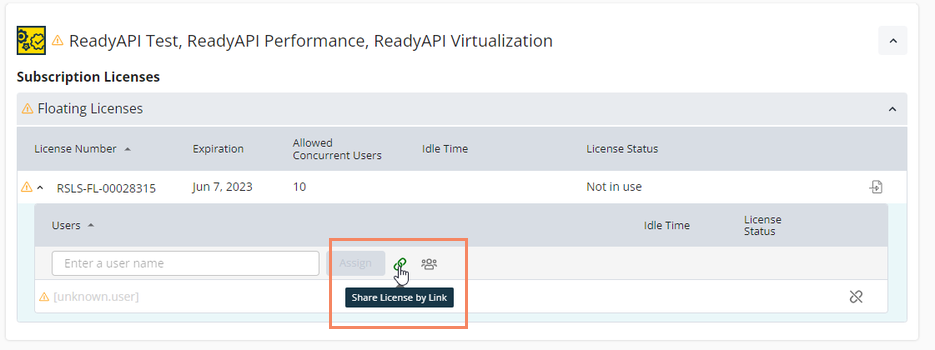
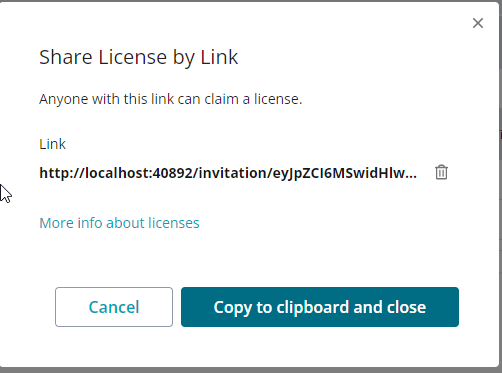
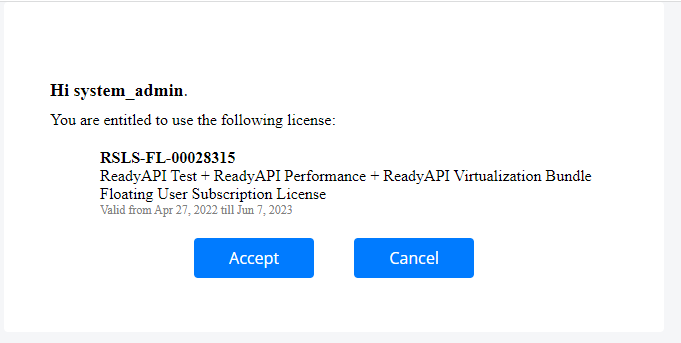
Authentication required: If you use LDAP or Kerberos authentication, assign TestEngine licenses to TestEngine Admin users, or share license links from the On-Premises License Server so TestEngine Admin can click and accept the license assignment.
| Note: | The On-Premises License Server can manage multiple SmartBear licenses. If you already have it in your network, you can skip the initial setup and proceed with converting and activating licenses as needed. |
User Actions
- Log in: Open the TestEngine web interface and log in as an administrator. To do this, go to a web address that's usually something like http://localhost:8080/.
-
Prepare your license: Ensure that no license is currently installed.
-
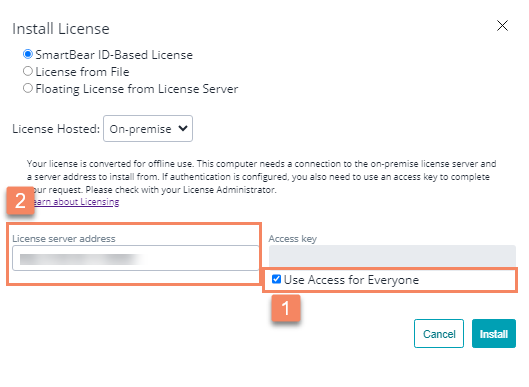
Add the license: Click on 'Add License" and you'll see a dropdown with install options to select the 'On-premise License Server.' There are two scenarios for entering information and the Install option will be disabled until you provide the minimum required details.
Scenario 1 - License server settings are configured for ‘Access for Everyone’ (No authentication required)
-
Choose "Access for Everyone" and enter the on-prem license server URL or address provided by your license administrator so that TestEngine can locate the license server and request a license from it.
-
It usually looks like
license-server-address:port, for example, http://localhost:40892/ or http://192.168.1.20:40892.40892is the default port number, so it might be replaced. Ask your admin if you're not sure. Also, please ensure that the port is open for access.
Scenario 2 - License server settings are configured for LDAP or Kerberos (Authentication required)
-
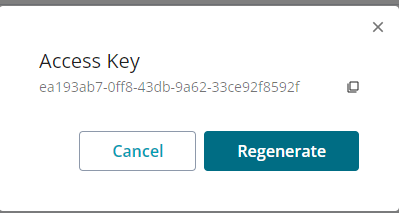
In addition to entering the License Server URL or address, you must also enter an access key available from your on-premises license server. The access key is explained here.
-
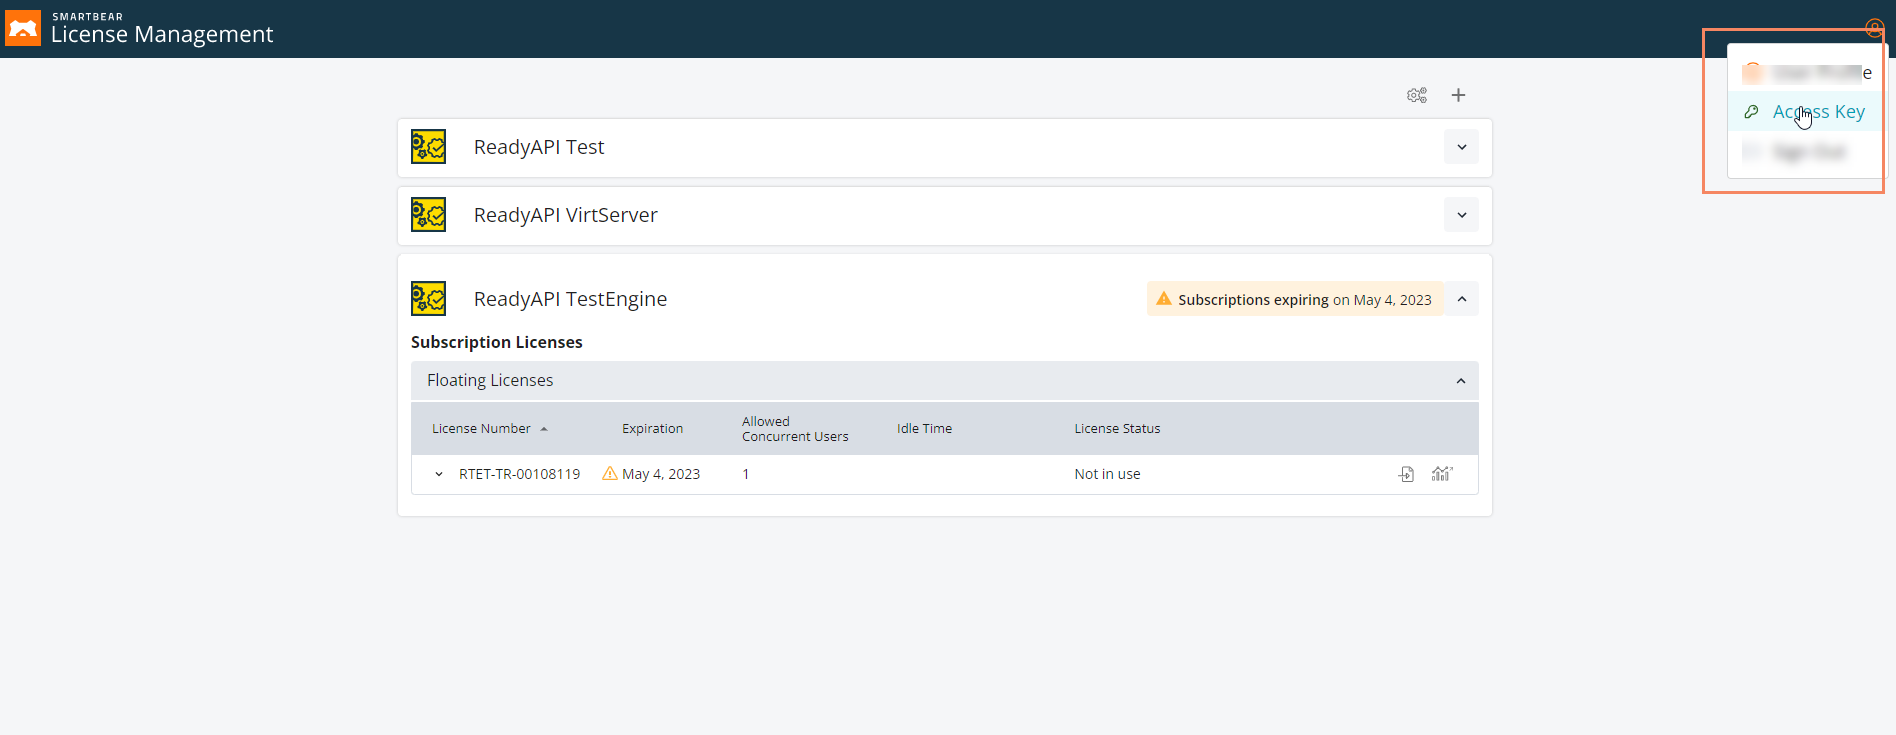
In order to get your access key, your license administrator will provide the location and access details for your on-premises license portal. Log into the portal and at the top right corner, select > Access Key.
Once you have the access key, paste it into the TestEngine panel.
-
Enter the address for your SLM license server and the access key. After you've entered all the necessary info, click 'Install.' This will connect to the License Server and use one of the available license seats. If authentication is configured, your admin should have already accepted the license or should have been assigned by the license administrator.
-
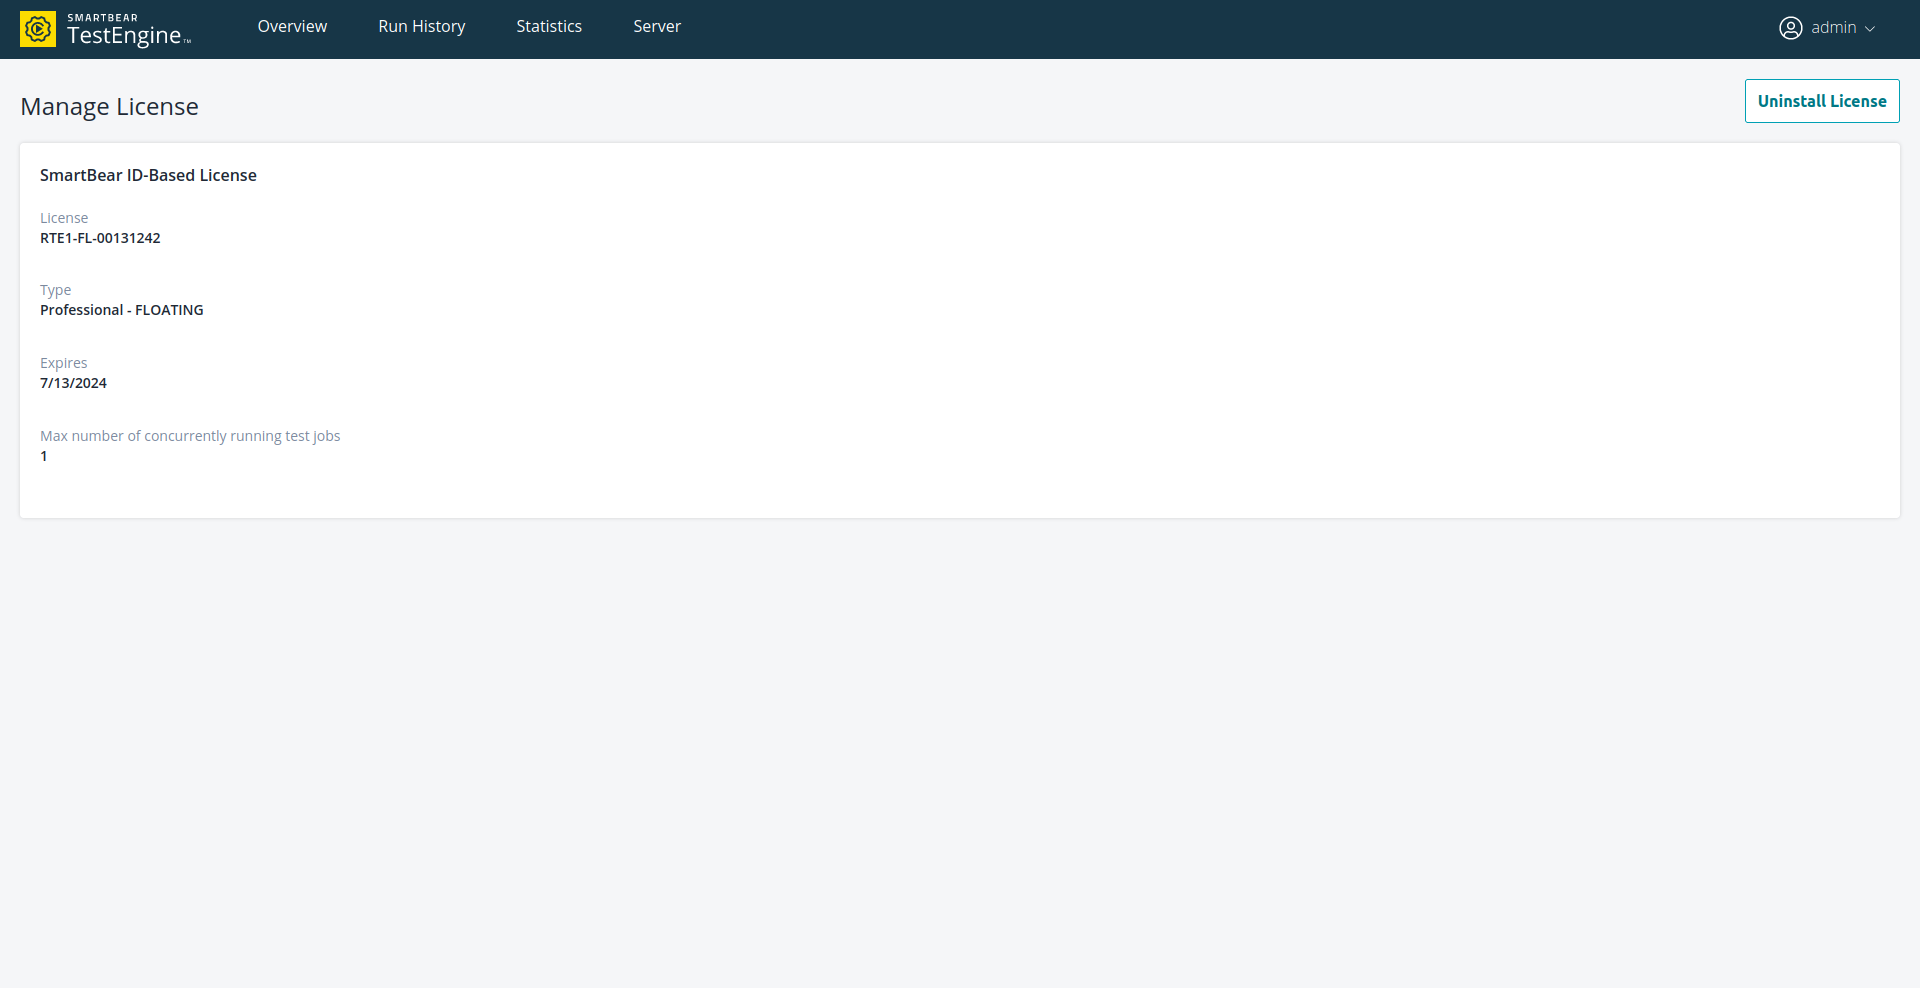
When it's done, you can check the 'License' tab to see the license information.
-
| Note: |
|

