
You use the Connection Manager dialog to view, create, modify and remove connections to issue-tracking systems. These connections are used by issue-tracking templates.
To call the dialog, click the ellipsis button of the Connection edit field of the Template Editor dialog or click the  Connection Manager button on the Issue-Tracking toolbar.
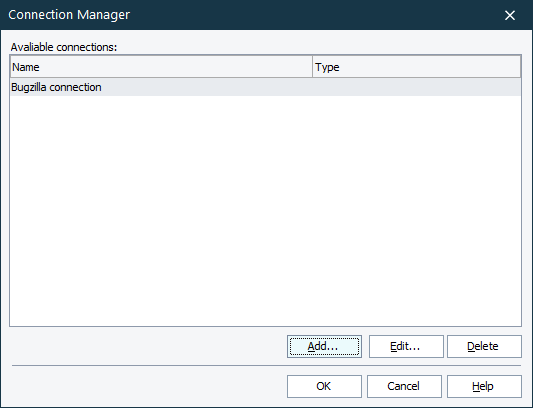
The dialog lists available connections that can be used both in global and project-specific templates. For each connection, the dialog shows the connection name, type of the issue-tracking system with which the connection works, and connection parameters (login, database name and so on).
 |
TestComplete stores the connection settings on the computer where the connection has been created. That is, if you open the TestComplete project on another computer, you will have to create the connection on that computer (if the connection does not already exist there). Else, the template will not be valid.
The connection settings are specific to your user account. If other users log into your computer and launch TestComplete, they will have to create their own connection in order to make the template valid. |
To create a new connection
-
Click Add and use the subsequent Connection Wizard to specify connection properties.
To modify connection properties
-
Choose the desired connection in the list.
-
Click Edit and use the subsequent Connection Wizard to change connection properties.
To delete a connection
-
Choose the desired connection in the list.
-
Click Delete.
Once you deleted a connection, all issue-tracking templates that used this connection will become inoperative.
See Also
About Creating Issue-Tracking Templates
Integration With Issue-Tracking Systems