 |
The information below concerns legacy mobile tests that work with mobile devices connected to the local computer. For new mobile tests, we recommend using the newer cloud-compatible approach. |
-
In TestComplete, if you have an open project or project suite, select File > Close from the main menu to close it.
-
Select File > New > New Project from the main menu. The Create New Project wizard will appear.
-
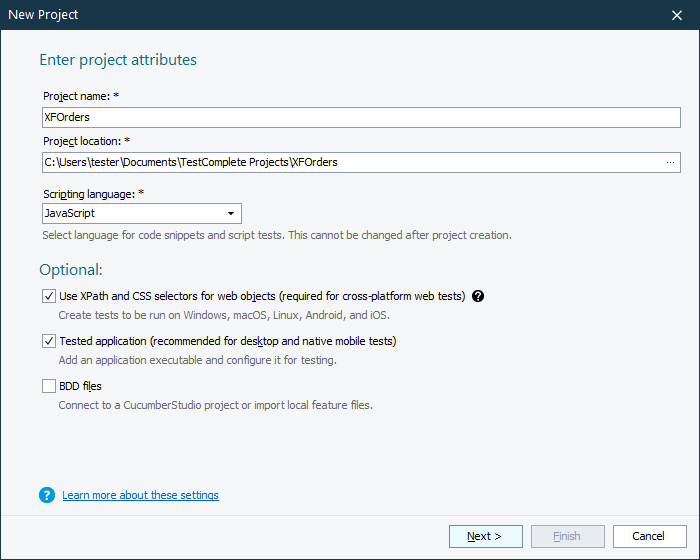
In the wizard, enter the project name and the location where you want to store the project. In this tutorial, we will name the project XFOrders and use the default location.
Choose the preferable scripting language. In this tutorial, we will use the JavaScript scripting language. So, select JavaScript on the page.
Select the Tested application check box to add a tested Xamarin.Forms application to the project.
-
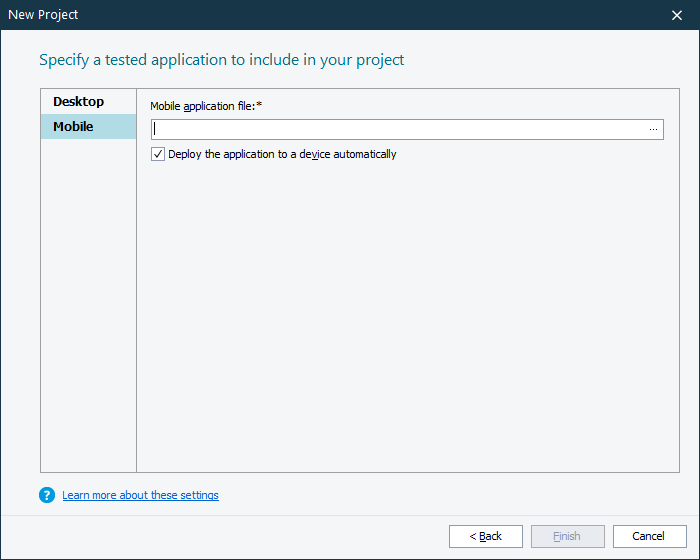
On the next page, click Mobile, and then add the tested iOS Xamarin.Forms application to the project. To do this, in the Mobile application file text box, specify the path to the assembled .ipa file:
Note: The Orders application for iOS must already be compiled and prepared as described in Preparing Xamarin.Forms iOS Applications (Legacy). <TestComplete Samples>\Mobile\Xamarin.Forms\iOS\Orders
Make sure the Deploy the application to a device automatically check box is selected.
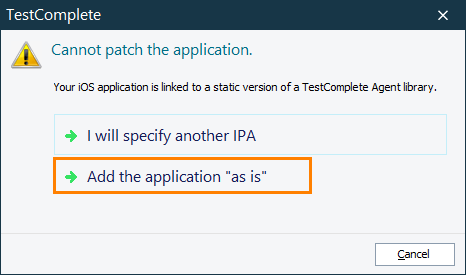
Note: If TestComplete shows a message informing you that it cannot patch the application, select the Add the application "as is" option. Note: In this tutorial, we are going to create a test for an iOS Xamarin.Forms application and then reproduce this test for an Android Xamarin.Forms application. The Android Xamarin.Forms application will be added to the project later. Click Finish.
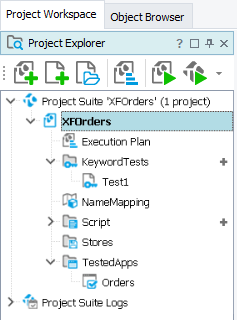
TestComplete will create the project and open it in the Project Explorer.

See Also
Testing Xamarin.Forms Applications - Tutorial (Legacy)
Projects in TestComplete


 Prev
Prev