After you make changes to your project suite bound to the Subversion repository, you can commit those changes to the repository directly from TestComplete:
-
If you use the TortoiseSVN client to work with Subversion from TestComplete, you can view the list of uncommitted changes. See Viewing Uncommitted Changes.
-
Select File > Source Control > Commit from the TestComplete main menu.
– or –
Right-click your project suite in the Project Explorer and then click Source Control > Commit.
– or –
Click
 Commit Changes to Repository on the Source Control toolbar (if the toolbar is hidden, right-click the toolbar area and then click Source Control).
 -
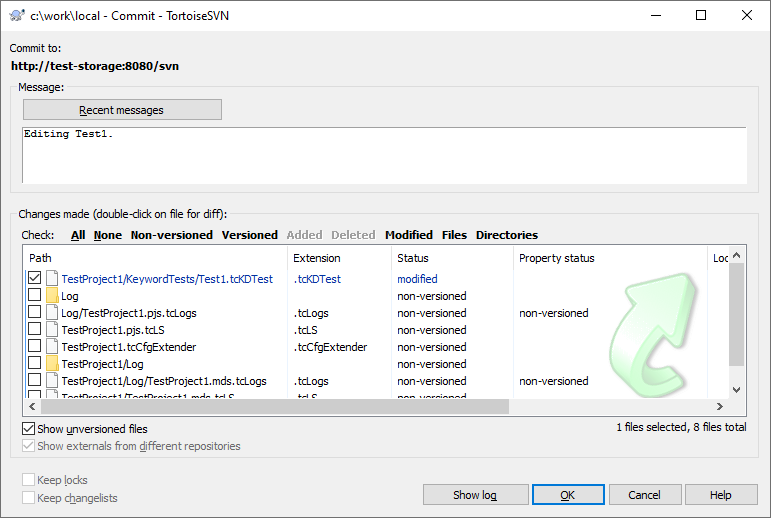
TestComplete will open the Commit dialog:
Committing changes via the TestComplete Commit dialog
Committing changes via TortoiseSVN Commit dialog
-
The dialog lists all uncommitted changed made to your project suite. Clear the check box next to the file not to commit to the repository. If needed, add un-versioned files to the commit.
Click Refresh to update the list of changes.
-
Enter the commit message and click OK.
TestComplete will send your changes from the project suite to the repository.
Related Tasks
See Also
Integration With Subversion - Common Tasks
Integration With Subversion
Viewing Uncommitted Changes
Reverting Changes


 Viewing Uncommitted Changes