TestComplete samples (both built-in and additional) are located in the <Users>\Public\Public Documents\TestComplete 14 Samples folder.
Some file managers display the Public Documents folder as Documents.
 |
This tutorial describes how you can connect to the CrossBrowserTesting.com service by using the CrossBrowserTesting manager. This method of integrating with CrossBrowserTesting.com is deprecated starting with TestComplete 14.40. We recommend using the Device Cloud add-on instead. See About Cross-Platform Web Tests for details. |
In this tutorial, we use the WebStore_Sample_Project project that is shipped with TestComplete. By default, the project is located in the following folder:
 <TestComplete Samples>\Web\WebStore
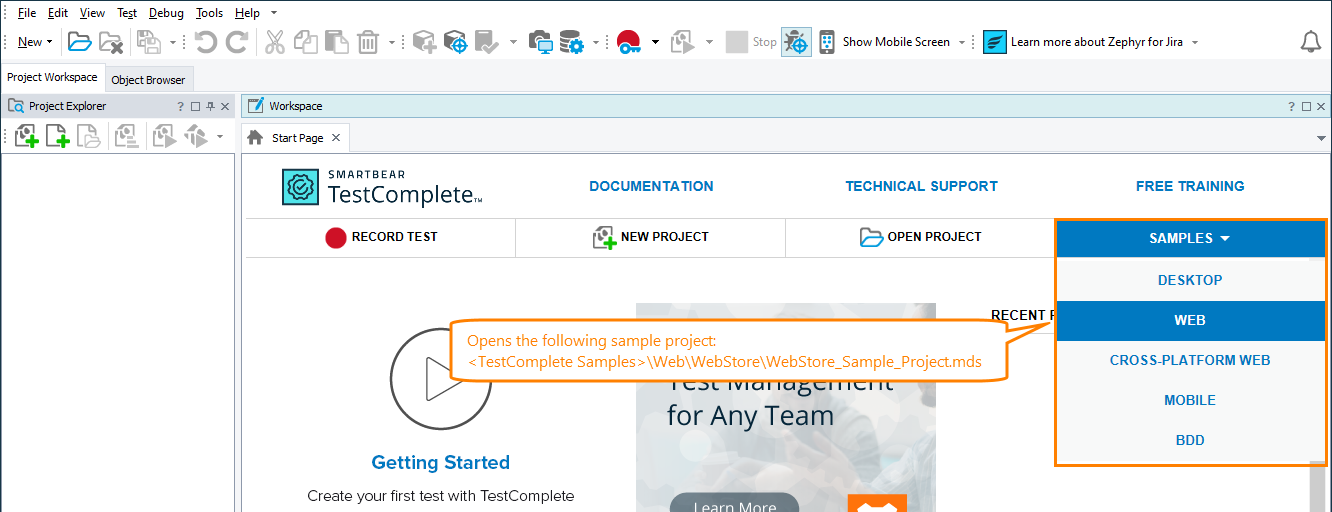
To open the project in TestComplete, on the Start page, click Samples, and then click Web:
In this tutorial, we will use the SimpleTest_Sample keyword test:
It simulates the following actions:
-
Launches the Internet Explorer web browser and navigates to the http://services.smartbear.com/samples/TestComplete14/smartstore page.
-
Searches for the chronograph item in the web store.
-
Add the item to the Shopping Cart.
-
Verifies that the item is added correctly.
-
Clears the Cart.
-
Closes the web browser.
We will show how to run this test in CrossBrowserTesting environments.
If you do not have the sample project
-
Record a sample web test using the instructions the Testing Web Applications - Tutorial provides.
After recording the test, make sure it works correctly in your local system before running it in CrossBrowserTesting environments.
You may also need to prepare it for running as described in Preparing for Running Tests in CrossBrowserTesting Environments.
— or —
-
Reinstall TestComplete in the Repair mode to restore the TestComplete Samples folder (
 this will set the default values for all TestComplete settings).
— or —
-
Download sample projects from our website: https://support.smartbear.com/downloads/testcomplete/samples/.
-
Install the samples.
-
You can use the Orders_Web project in this tutorial. By default, it is installed to the following folder:
 <TestComplete Samples>\Web\Orders\Web\
There is a project version for each supported scripting language. You can use any version you like.
See Also
Running Tests in CrossBrowserTesting Environments - Tutorial
Integration With CrossBrowserTesting.com


