 |
This topic describes how you can connect to the CrossBrowserTesting.com service by using the CrossBrowserTesting manager. This method of integrating with CrossBrowserTesting.com is deprecated starting with TestComplete 14.40. We recommend using the Device Cloud add-on instead. See About Cross-Platform Web Tests for details. |
Why You May Need to Prepare the Connection
When you start a test run in CrossBrowserTesting environments, TestComplete copies the test project suite to a machine in the CrossBrowserTesting cloud and runs tests on that machine. So, the machine must have access to the tested web application.
Typically, if the tested web application is publicly available, CrossBrowserTesting environments will be able to access it. However, if your tested application is behind a firewall in your local network or on your local computer, you need to make the application available to CrossBrowserTesting environments. You may also want to configure CrossBrowserTesting environments to access your tested web application through a remote proxy server. (You may need this to simulate requests sent to your tested web application from a remote location.)
About Local Connections
To allow CrossBrowserTesting environments to access your tested web application, you can use a local connection - an encrypted tunnel between your computer and the CrossBrowserTesting cloud. The CrossBrowserTesting service will route all traffic to your tested web application through your computer. This way, you will be able to –
-
Test a web application running in your local network behind a firewall.
-
Test web pages residing on your local computer.
-
Test a web application to which you access through a remote proxy server. All the traffic will be routed to your local computer and then rerouted to the needed server.
Requirements
-
Your local computer must have access to the CrossBrowserTesting cloud.
-
Your Firewall must allow outbound connections on ports 80 and 443 to crossbrowsertesting.com. See Requirements for Running Tests in CrossBrowserTesting Environments.
-
Your tests must be configured in a special way so that you could access your tested web application or web page from the CrossBrowserTesting environments through the local connection. See Preparing TestComplete Tests That Work With Local Network Resources.
| Note: | To establish the connections, TestComplete uses the cbt_tunnels.js module. To run them, it uses the Node.js framework. The module and Node.js are installed automatically when you install TestComplete. |
Establish the Connection
In TestComplete, to configure the connection, you use the Local Connection wizard:
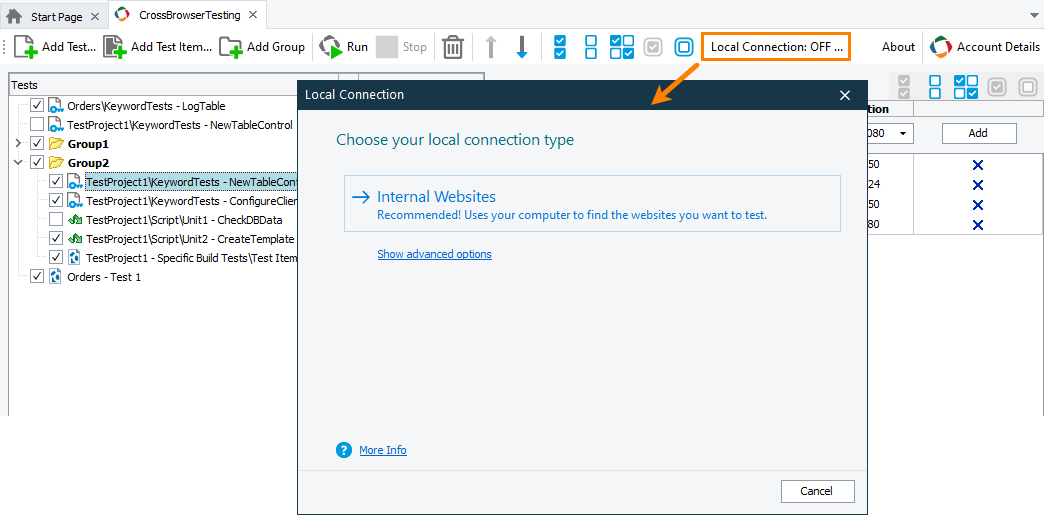
To call the Local Connection wizard, click Local Connection on the CrossBrowserTesting toolbar. If you have not provided your CrossBrowserTesting credentials yet, TestComplete will suggest that you provide them or create a trial account.
In the wizard, select the type of the connection you want to establish:
| Connection Type | Description |
|---|---|
| Select this to test web applications residing in your local network and available from your local computer. You can also use this to test web applications running on your local computer (for instance, running on localhost). | |
| Local HTML Files | Select this to test static web pages (for example, HTML pages) residing on your local computer. |
| Proxy Server | Select this to test web applications that you access through a remote proxy server. (For advanced users.) |
Internal Websites
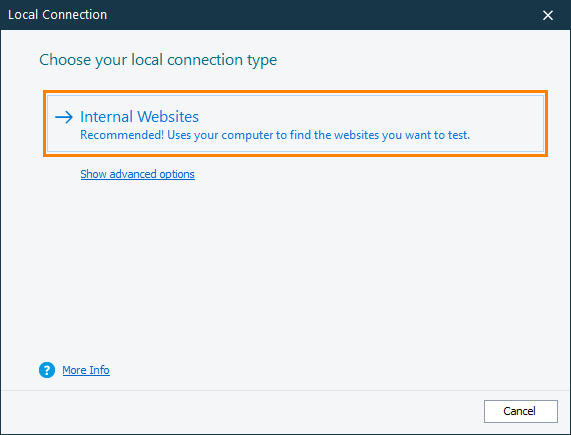
To test a web application residing in your local network behind a firewall, click Internal Websites in the Local Connection wizard:
TestComplete will open an encrypted tunnel between your local network and the CrossBrowserTesting cloud.
Local HTML Files
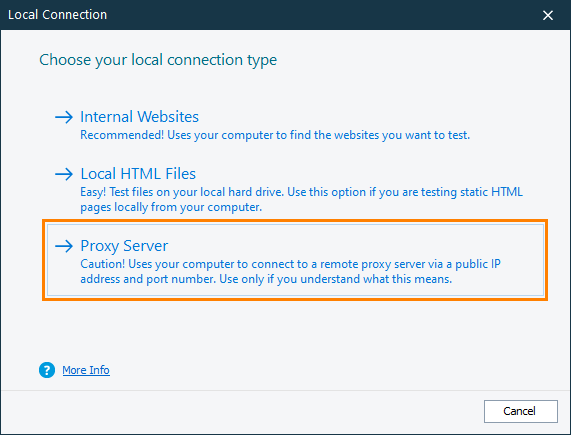
To test a web page residing on your local computer, in the Local Connection wizard, click Show advanced options and then click Local HTML Files:
On the next page of the wizard, specify the path to the directory on your local computer where the tested HTML files are located. You can enter the path manually or click the ellipsis button and browse for the needed folder:
Click Finish. TestComplete will open an encrypted tunnel between your computer and the CrossBrowserTesting cloud. In the specified folder, a temporary http://local web server will be created. Use the server to access your tested web pages. For example, http://local/index.html URL will provide the access to the index.html file in the specified folder.
Proxy Server
By default, when you establish a local connection, the traffic that CrossBrowserTesting environments send to your tested web application is resolved on your local computer. You can configure your local connection to route the traffic to your tested web application through a remote proxy server. (You may need this to simulate requests sent to your tested web application from a remote location.)
-
In the Local Connection wizard, click Show advanced options and then click Proxy Server:
-
On the next page of the wizard, enter the public IP address and the port of the remote proxy server you want to use to access your tested web application:
Note: If you do not know the IP address and port of the needed proxy server, ask your system administrator for assistance. You can click Test to verify whether TestComplete can establish the connection through the specified proxy.
-
Click Finish to close the dialog and open an encrypted tunnel between your local network and the CrossBrowserTesting cloud.
The traffic that CrossBrowserTesting environments send to your tested web application will be rerouted to the specified remote proxy server.
Check the Local Connection Status
The CrossBrowserTesting manager shows the current status of your local connection:

Close the Local Connection
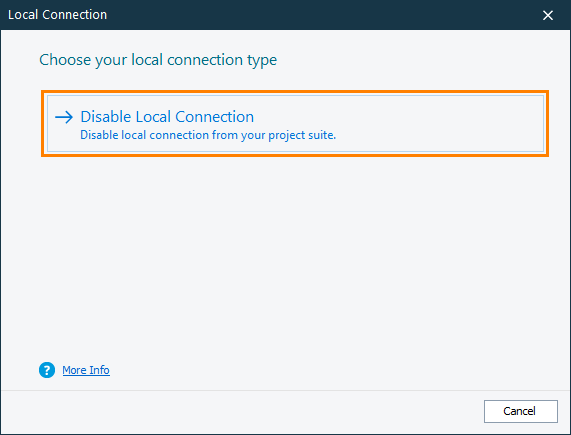
Click Local Connection on the CrossBrowserTesting toolbar. In the wizard, click Disable Local Connection:
TestComplete will close the tunnel between the CrossBrowserTesting cloud and your local network or computer.
Multiple Tunnels
In TestComplete, you only can open a single tunnel. You can open multiple tunnels manually by using the cbt_tunnels.js module or the Chrome extension. To learn more, see –
See Also
Integration With CrossBrowserTesting.com
Requirements for Running Tests in CrossBrowserTesting Environments
Preparing TestComplete Tests That Work With Local Network Resources


