| Note: | Do not switch to the TestComplete help during the recording. The recording engine traces and records all user actions, so the recorded test will contain commands that simulate “switching”.
To see the instructions, you can print them before starting the record. Or, if you have two monitors, you can move the TestComplete help system window to the other monitor. |
-
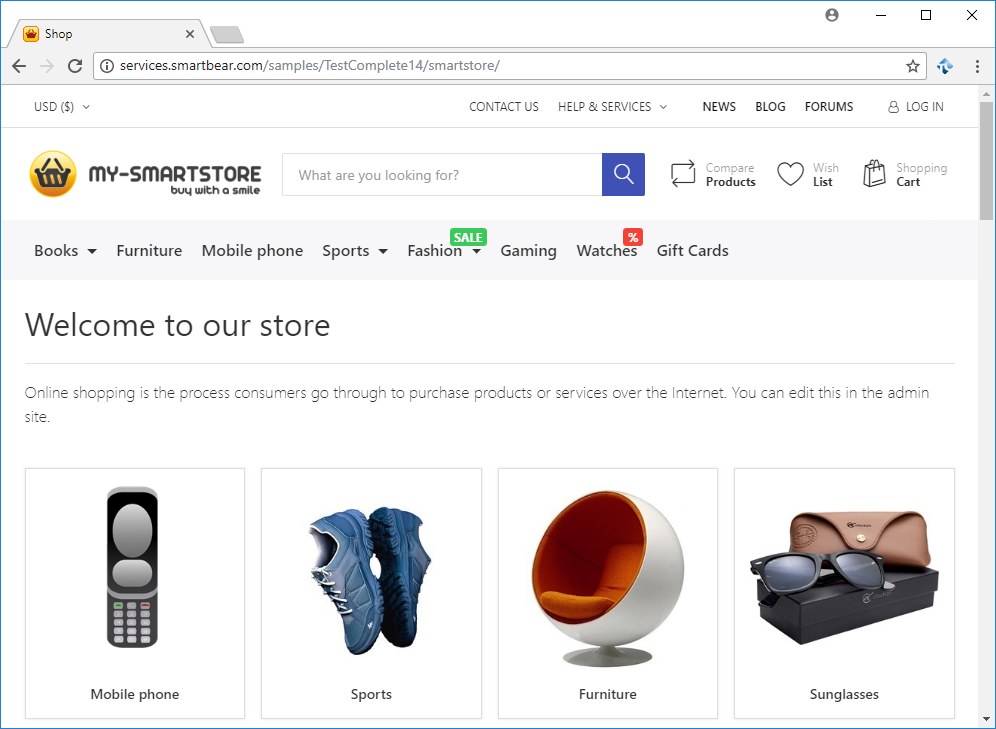
Wait until the selected web browser starts and navigates to the main page of the SmartStore application:
If the browser does not, you can launch it and open the needed web page manually.
TestComplete records the start of the web browser using a special test command. You will see this command later when we analyze the recorded test.
-
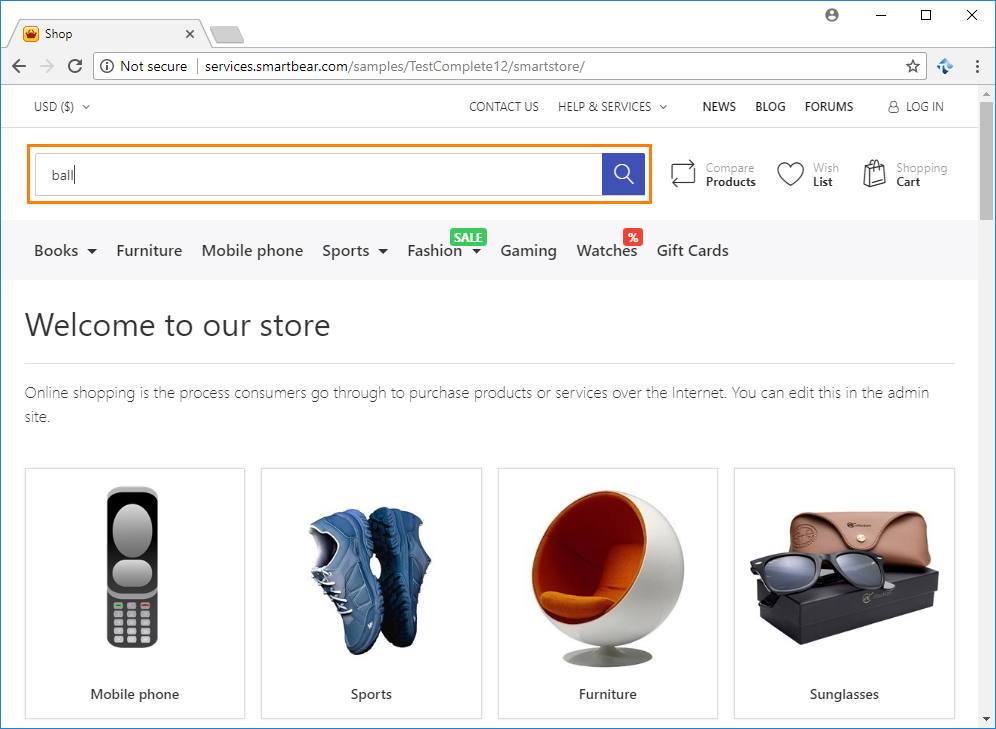
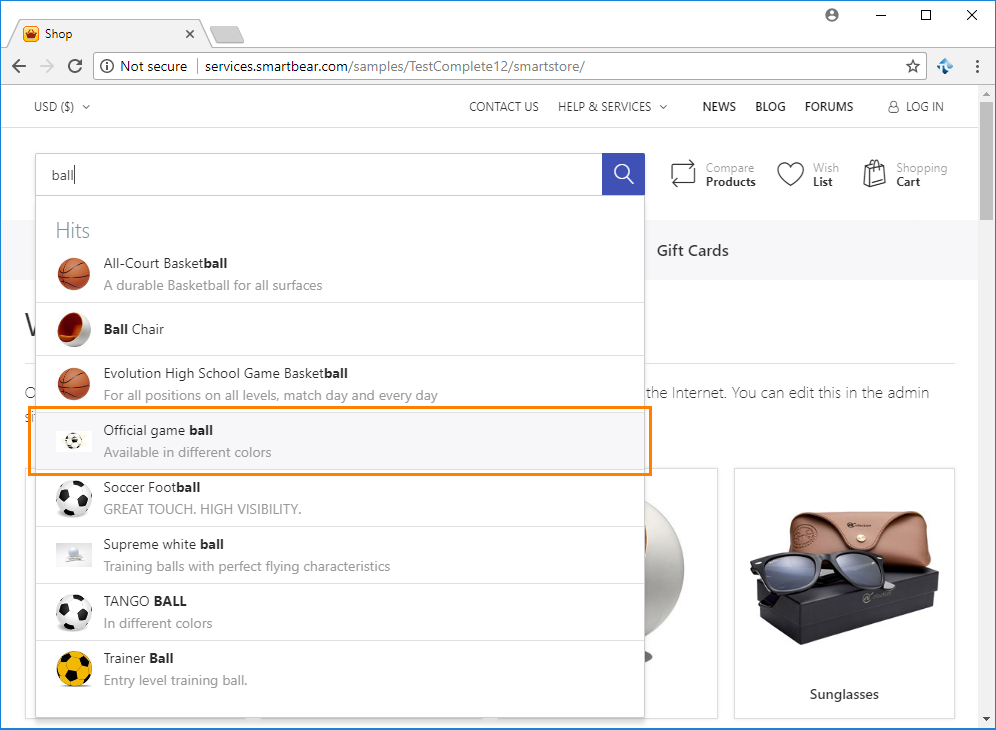
Click in the Search text box and type ball:
-
In the search results, find the Official game ball item and click it:
-
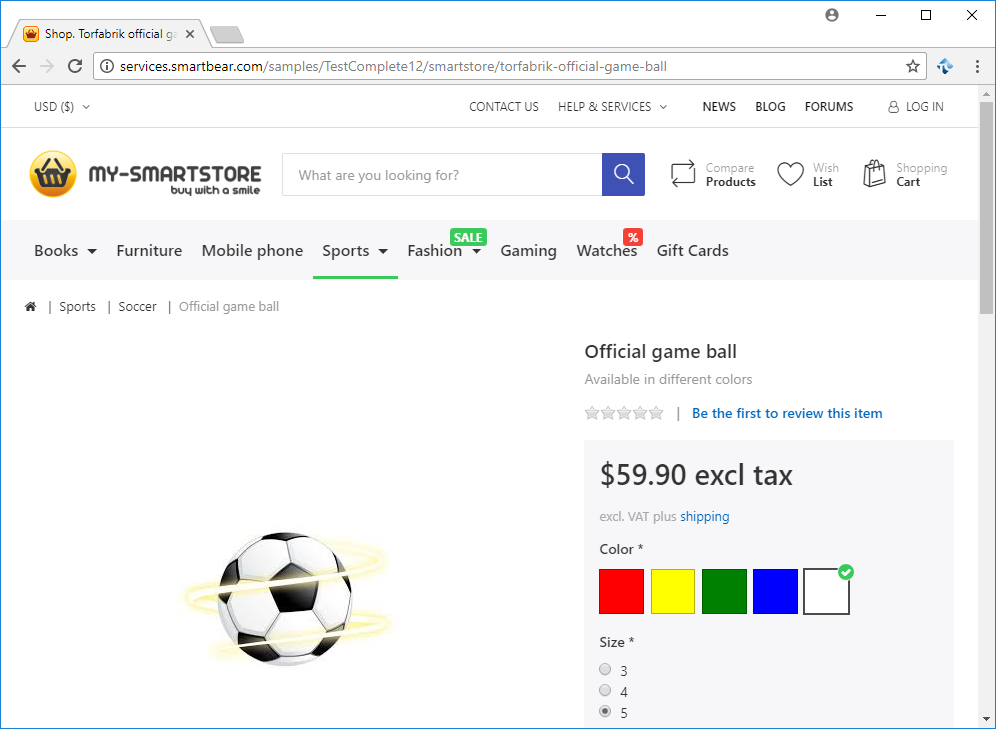
The application will open the selected item page:
-
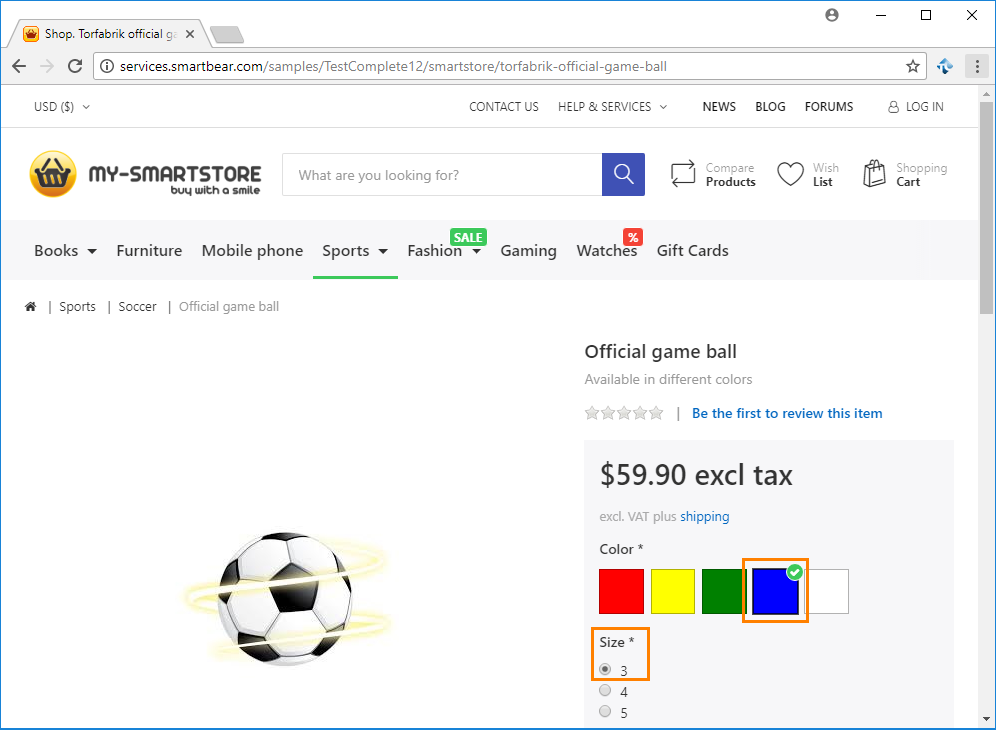
On the page, select the item color: blue, and the item size: 3:
-
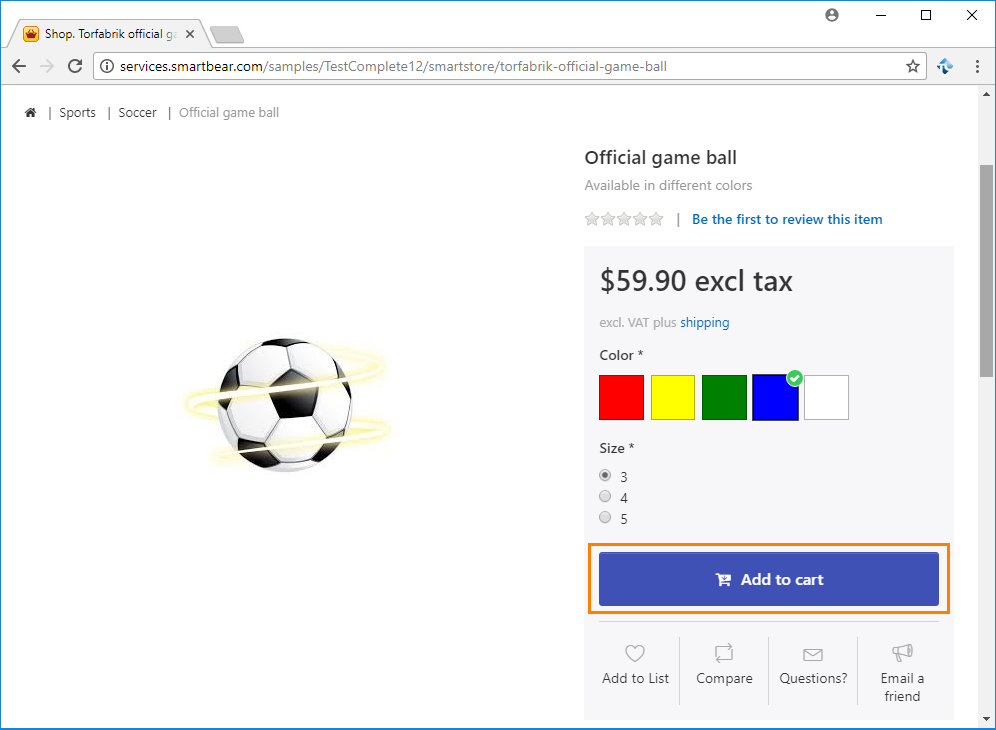
Click Add to cart:
-
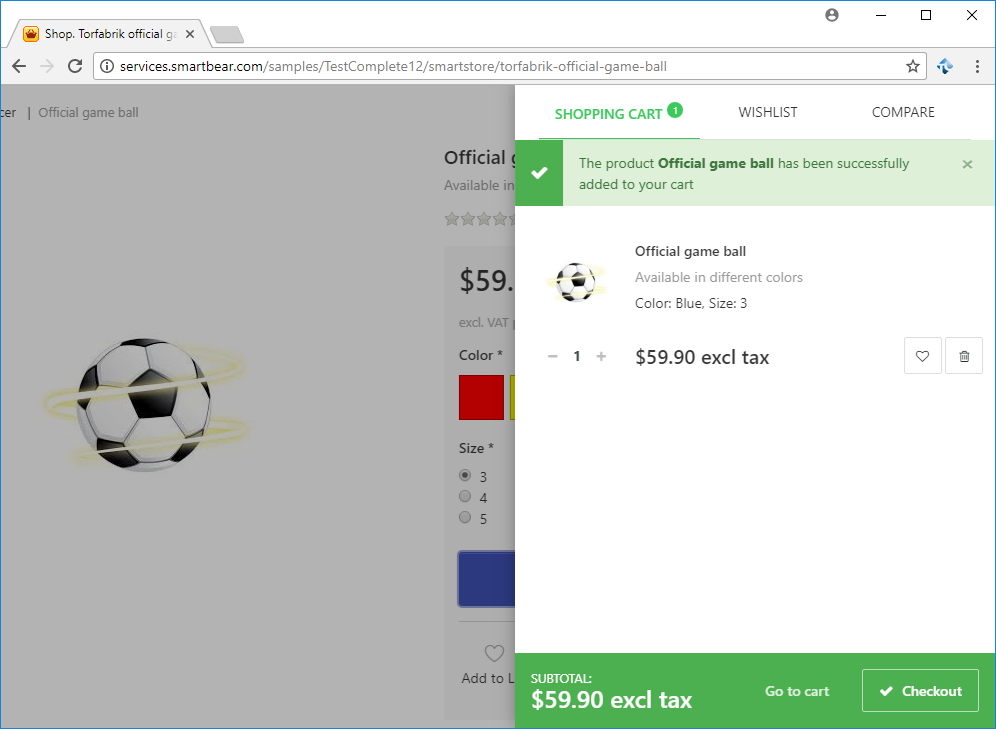
The application will show you your Shopping Cart with the item added to it:
-
Insert a comparison command into our test. It will verify that the Shopping Cart contains an item with the selected features - color: blue, and size: 3.
We call the comparison commands checkpoints. TestComplete offers various types of checkpoints that are suitable for verifying different types of data (see Checkpoints). One of the most frequently used checkpoints is a Property checkpoint. It is used to check data of application controls. We will use this checkpoint in our tutorial.
To create a property checkpoint, you can use the Create Checkpoint wizard, or you can create a Quick Checkpoint. In this tutorial, we will demonstrate how to create Quick Checkpoints:
-
Click
 on the Recording toolbar and make sure that Quick Checkpoints are enabled:
-
Move the mouse pointer to the Color: Blue, Size:3 line. TestComplete will highlight it with a red frame. Wait until the
 icon becomes opaque and move the mouse pointer to the icon. TestComplete will show the most commonly used properties for which you can create Quick Checkpoints:
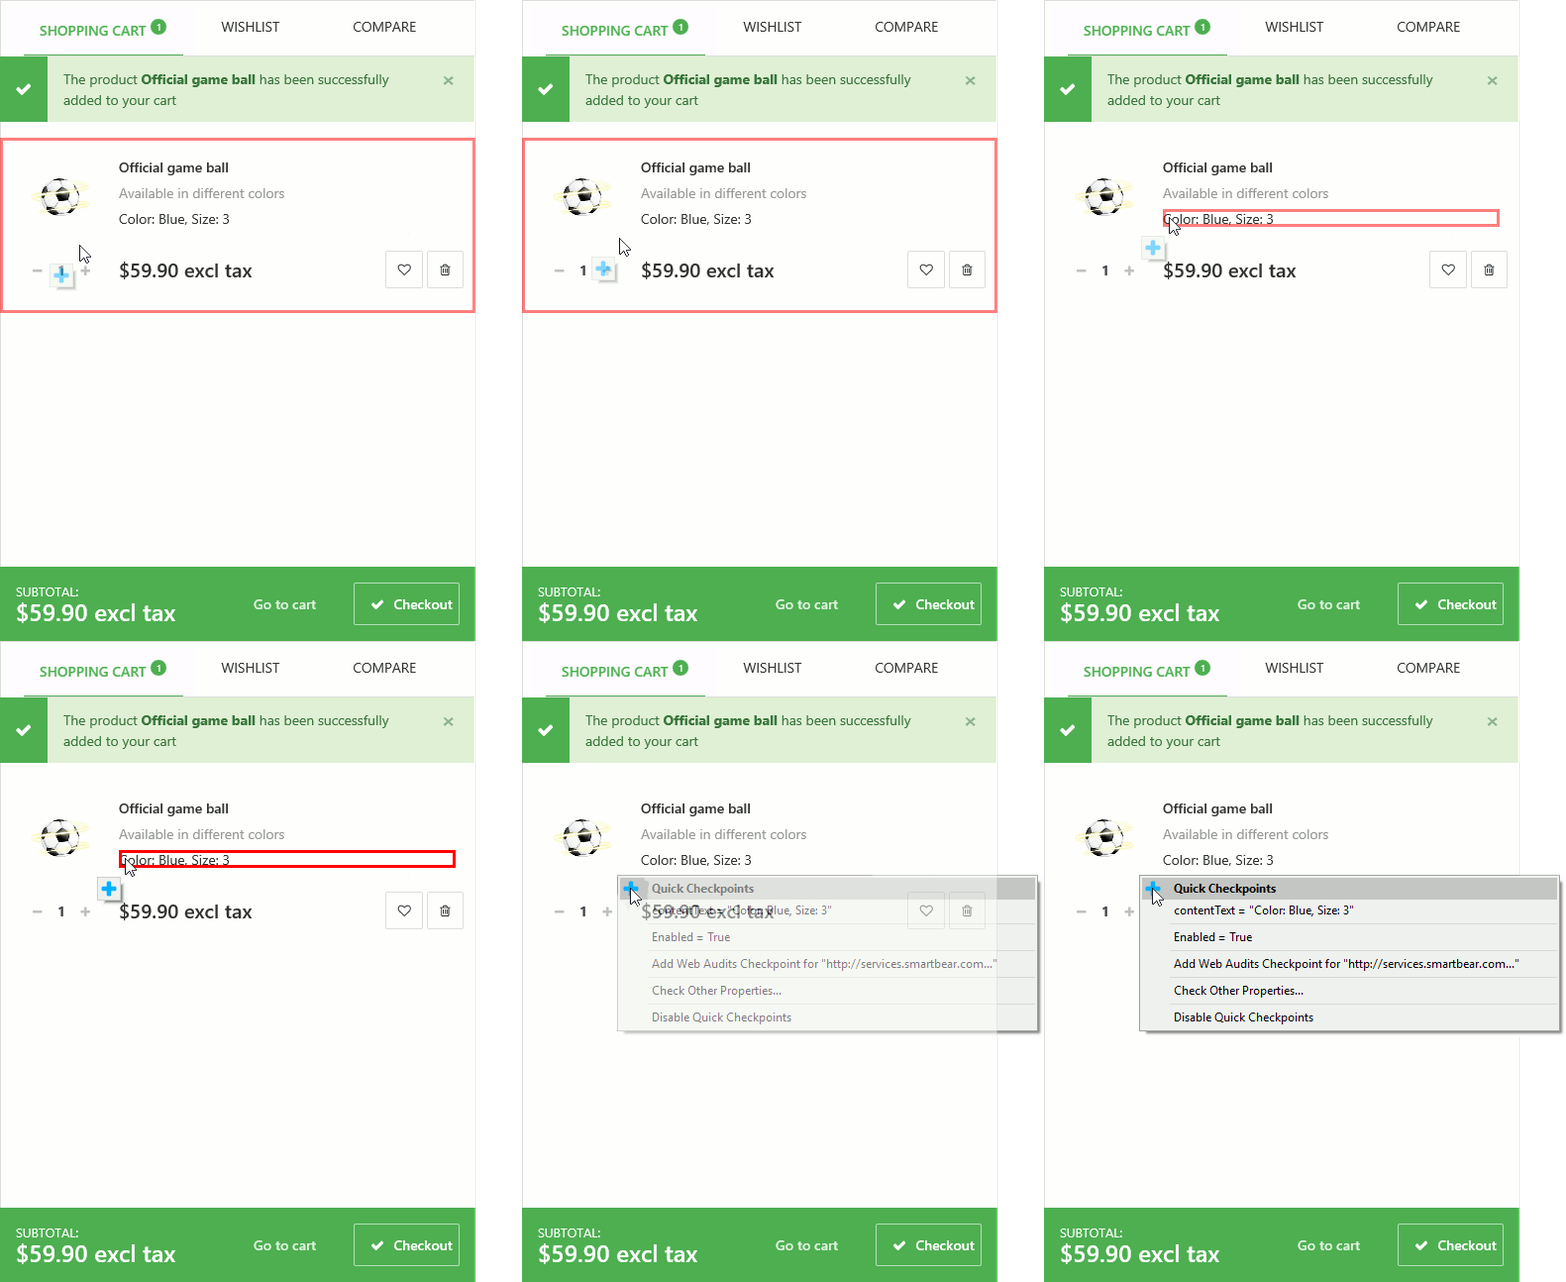
-
In the list, select the contentText property:
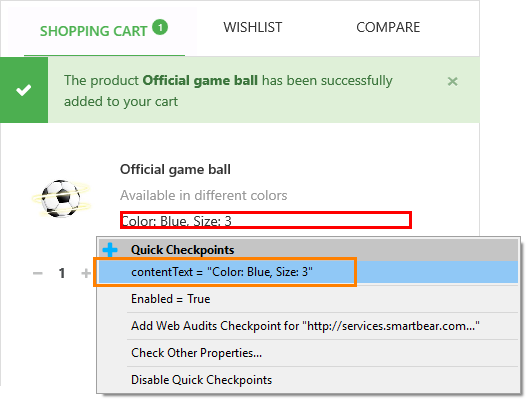
The property provides access to the text that the selected web element shows. The property is browser-independent. That is, it works in the same way in all the supported web browsers, which helps you avoid problems when playing back your tests in various browsers.
-
TestComplete will append the checkpoint command to the recorded test and show a notification about it.
-
You can continue recording user actions.
-
-
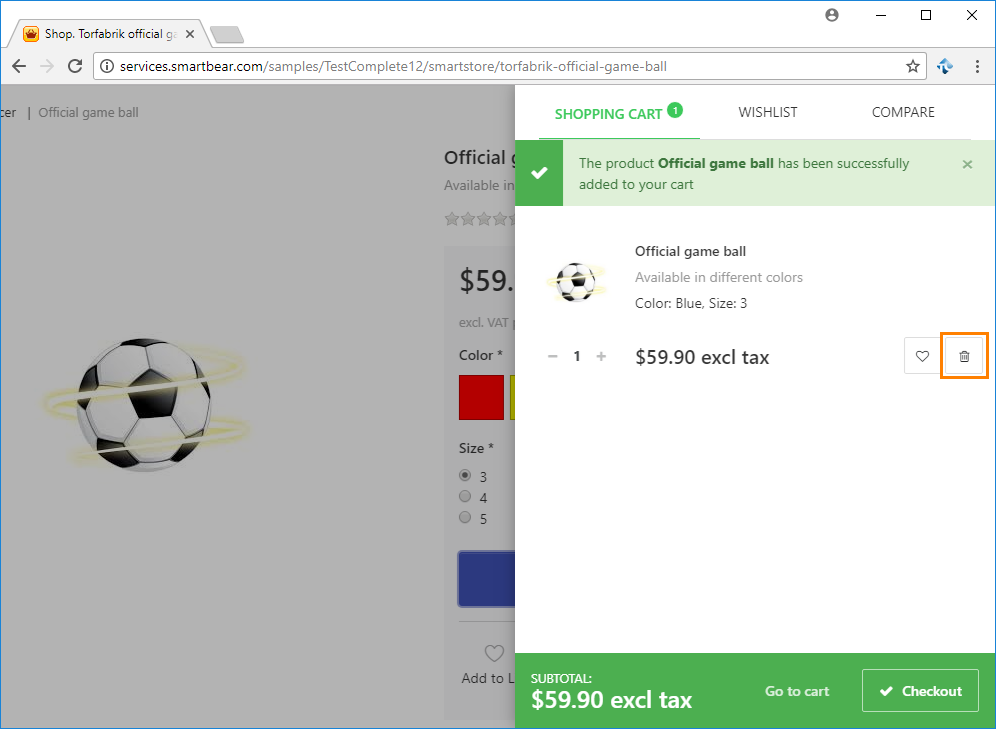
Click the Delete button next to the item to clear the Shopping Cart:
-
Close the web browser by clicking the
Xbutton on its caption bar. -
Press
 Stop on the Recording toolbar to stop the recording. TestComplete will process the recorded test commands and save them to a test.
See Also
About Tested Web Page
Recording Tests
About Property Checkpoints

 Prev
Prev