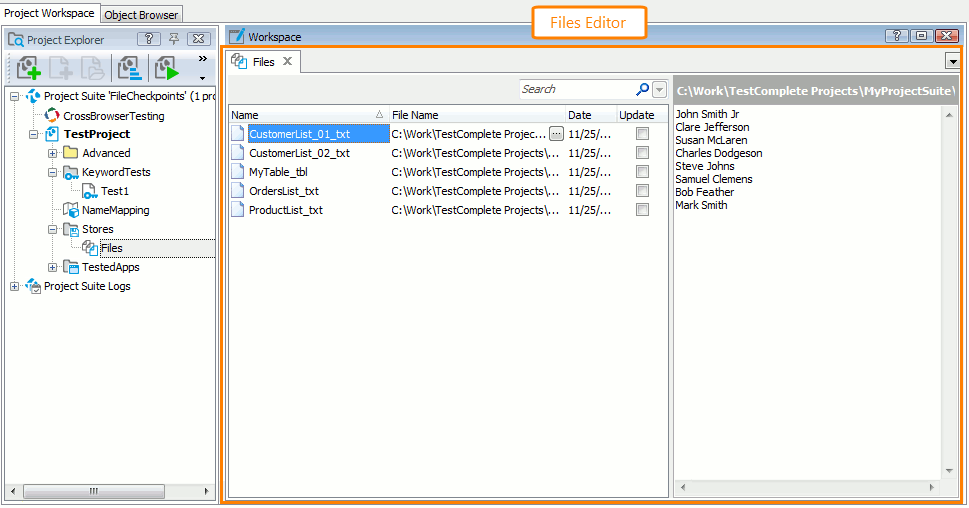
The Files editor displays a list of files added to the Files collection of your project.
Here is a sample view of the editor:
Opening the Editor
To open the editor, do any of the following:
-
Right-click the Stores | Files node in the Project Explorer (if it is hidden, select View | Project Explorer from the main menu of TestComplete) and choose Edit from the context menu.
-
Double-click the Files node in the Project Explorer.
-
In your keyword test, right-click the File Checkpoint operation whose checkpoint data you want to modify in the editor and select Edit Checkpoint Data from the context menu.
Information on the Editor
| For more information on … | See these topics … |
|---|---|
| File properties and file contents displayed in the editor | Files Editor Contents |
| Common tasks you can accomplish in the Files editor | Working with the Files Editor |
TestComplete allows you to customize the layout of its panels and editors to better meet your needs. For example, you can change the Files editor’s size, position and docking, hide the editor or make it visible. To learn how to customize the TestComplete interface, see Customizing TestComplete.
Information on Working with Files Collection Elements
| For information on how to … | See these topics … |
|---|---|
| Add files to the collection | Adding Files to the Files Collection |
| Update stored files | Updating Stored Files |
| Delete files from the collection | Deleting Files From the Files Collection |
More Information on Working With Files in Tests
| For information on how to … | See these topics … |
|---|---|
| Create file checkpoints | Creating File Checkpoints |
| Compare Files | How File Verification Works |
| Read data from external files | Working With External Data Sources |

