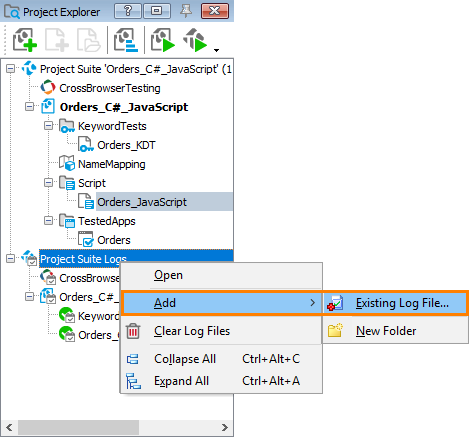
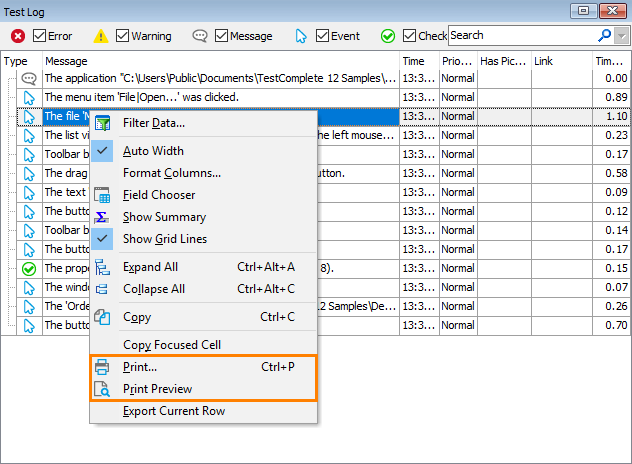
The project log contains detailed information on test runs, and the results of each test run are stored in log files. TestComplete projects contain references to these files which makes it easy to view the results and analyze them at any time. This topic describes how you can manage your log files to work with them effectively.
Limit the Number of Log Files
By default, TestComplete stores all log files, that is, the number of log files equals the number of test runs. The log files consume disk space. If you do not need to keep all the log files, you can limit their number by setting the Number of recent logs to keep option. In this case, newer log files will push out older ones when the number of log files exceeds the specified limit. To set the limit:
-
Select Tools | Options from the main menu.
-
Select Engines | Log from the tree on the left.
-
In the Storage section, clear the Store all logs check box.
-
Set the Number of recent logs to keep option to the number of logs to store in your project.
 TestComplete will delete both references to files and the files themselves, so if you want to store test results, you should export them. You can import the saved copy of results to your project at any time later.
Clear the Log Manually
All the logs are shown under the Project_Name Logs (ProjectSuite_Name Logs) node in Project Explorer. To delete a log item manually, right-click it and select  Remove from the context menu:
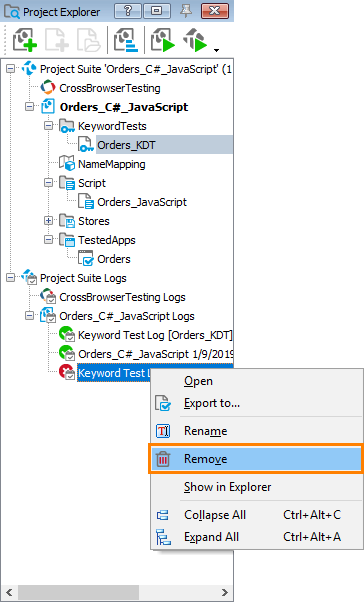
Once you do this, TestComplete will ask you whether you want to Remove or Delete the log file:
-
Remove – Removes the selected item from the parent item but keeps the corresponding file.
-
Delete – Deletes the log file from the disk completely.
You can also delete a log file by using the Logs page of the project editor. To do this:
-
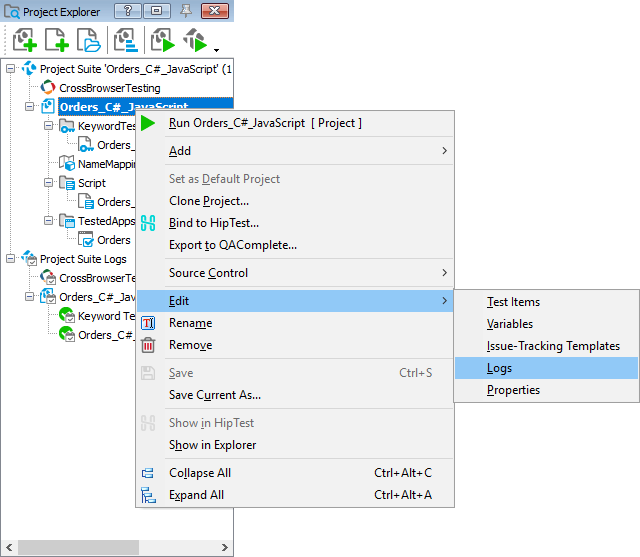
Right-click the project or project suite node in the Project Explorer panel and select Edit | Logs from the context menu.
-
In the list of log files, select the needed ones, right-click them and select
 Delete from the context menu.
When you command TestComplete to delete log files from you project or project suite, it asks for a confirmation to delete them from the disk. If you decide to remove the files, you can later import them to the project. If you delete the files from the disk, they will be placed in the Recycle Bin and you can restore them later.
 |
The “Don't move files to the Recycle Bin. Remove files immediately when deleted” Recycle Bin option must be disabled to restore the files deleted from the disk. |
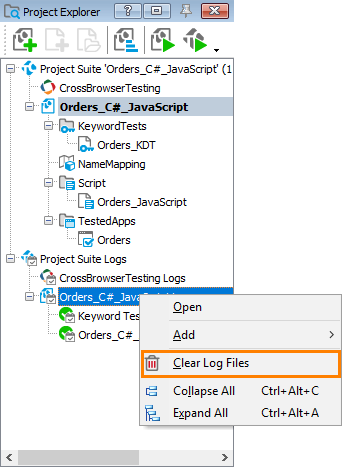
To delete all the project logs, right-click the Project_Name Logs (ProjectSuite_Name Logs) node in Project Explorer and select Clear Log Files from the context menu.



 Import