
Table checkpoints are used to verify the contents of controls that display data in a tabular form. To help you set up table checkpoints, TestComplete includes the Checkpoint Wizard. This topic provides step-by-step instructions on using the wizard:
 1. Launching the Wizard
Note for Mobile Testing: To create a table checkpoint for an object in a mobile application, you can select the object on the Mobile Screen. Make sure that the Mobile Screen window is not hidden when you launch the checkpoint wizard.
In addition, note that the application under test and the mobile device, where it is running, must be prepared for testing in order for TestComplete to be able to access the application’s objects.
1. Launching the Wizard
You can insert table checkpoints to your test both during the test recording and while editing the test. The way you launch the wizard depends on the test creation mode:
-
If you are recording a test –
-
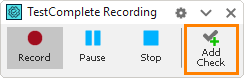
Click Add Check on the Recording toolbar:
-
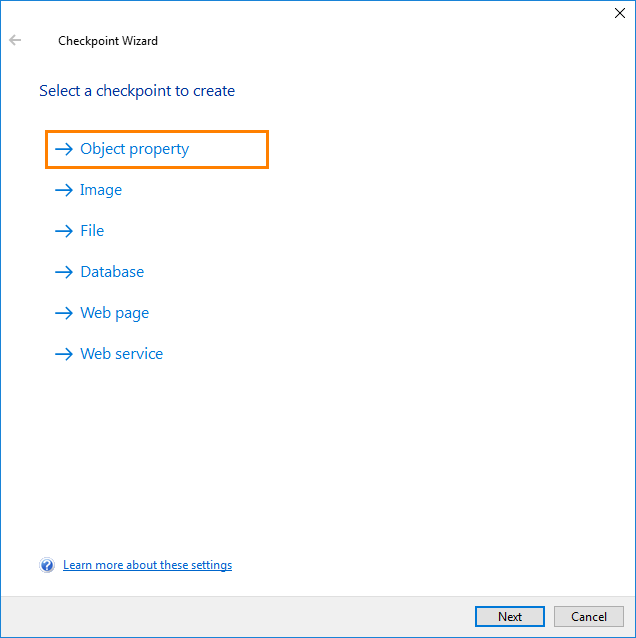
In the Checkpoint Wizard, select Object Property, and then click Next.
-
-
If you are editing a keyword test –
-
Select the Checkpoints category in the Operations panel of the Keyword Test editor.
-
Find the Checkpoint Wizard operation in the list and drag it to your test. In the Checkpoint wizard, click Object property.
– or –
Find the Table Checkpoint operation in the list and drag it to your test.

-
-
If you are editing a script –
-
Open the script to be edited.
-
Click
 on the Code Editor toolbar:
-
In the Checkpoint Wizard, select Object property, and then click Next.
-
2. Specifying the Table to Check
On the next page of the wizard, click Table Data to view the rows and columns of the control that the checkpoint will store and verify. (If you are configuring the Table Checkpoint operation, the wizard will show the list of columns and values automatically.)
You can specify the object in one of the following ways:
-
Pick the object with the target icon (
 )
)Watch video: Selecting Objects: 'Drag the Target...' Mode
-
Select the object and press a shortcut (
 )
)Watch video: Selecting Objects: 'Point and Fix' Mode
-
Enter the object name manually
Enter the full name (or full mapped name, or alias) of the desired object into the Object box.
 See instructions
 |
The selected object must be a control of one of the supported control types (see Supported Controls). If TestComplete does not recognize the selected control as a control that displays data in the tabular form, the Objects box will be empty. |
Once you have selected the object, click Next to proceed.
3. Specifying the Data to Check
On the next page of the wizard, you can specify what rows and columns of the control will be stored and verified. To do this, click Table Data.
-
By default, the checkpoint will verify all rows, which the wizard retrieves from the control.
To limit the number of rows that the checkpoint will verify, select the Store only the specified number of rows check box, and then enter the desired number of rows.
To verify all table rows, clear the check box.
-
Select the columns that the checkpoint will verify:
-
To mark a table column for storing and verification, select its check box in the Store column of the page.
-
To mark a table column as a Key column, select its check box in the Key column of the page. TestComplete uses the key column (or a combination of several columns) to identify rows. To provide a unique identification of table records, key column values must be different in each row. The key columns affects how the table checkpoint performs the verification (see How the Table Comparison Procedure Works).
-
On the Preview tab page of the wizard, you can view the data that the wizard has retrieved from the table according to the specified criteria.

Here, you can make sure that the table checkpoint will verify desired data.
4. Closing the Wizard
To store the selected data as baseline data for the verification and to complete the checkpoint creation, click Finish. TestComplete will store the specified data to the Stores | Tables collection and add the table checkpoint statement to your test.
If you are creating a table checkpoint while editing a test script, the generated table checkpoint code will be displayed in the Copy Text to Clipboard dialog. You will be able to copy this code to the clipboard and then paste it to the desired place in your script.
See Also
Table Checkpoints
About Table Checkpoints
Checkpoint Wizard
How the Table Verification Works
Supported Controls
About Mobile Screen Window
Selecting an Object on the Mobile Screen (Android Testing)
Select an Object on the Mobile Screen (iOS Testing)