
To simplify your work with file checkpoints, TestComplete includes the Checkpoint Wizard. Below are detailed instructions on using the wizard:
 1. Launching the Wizard
1. Launching the Wizard
You can create file checkpoints both during the test recording and while editing the test. The way you launch the wizard depends on the test creation mode:
-
If you are recording a test –
-
Click Add Check on the Recording toolbar.
-
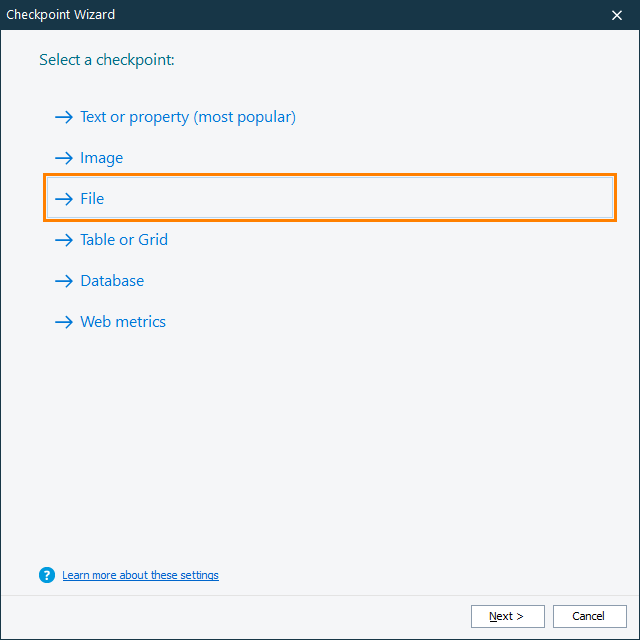
In the Checkpoint Wizard, select File, and then click Next.
-
-
If you are editing a keyword test –
-
Select the Checkpoints category in the Operations panel of the Keyword Test editor.
-
Find the Checkpoint Wizard operation in the list and drag it to your test. In the Checkpoint wizard, click File.
– or –
Find the File Checkpoint operation in the list and drag it to your test.

-
-
If you are editing a script –
-
Open the script to be edited.
-
Click
 on the Code Editor toolbar:
-
In the Checkpoint Wizard, select File, and then click Next.
-
2. Specifying the File to Check
On the next page of the wizard, you specify the type of the file you want to verify. Click Byte-by-byte to verify an arbitrary file. (If you are configuring the File Checkpoint operation, the wizard will automatically select the byte-to-byte comparison type.)
Enter the fully-qualified file name in the Specify the file to check edit box or click the ellipsis button and select the file via the standard Open File dialog.

Click the image to enlarge it.
To proceed with the checkpoint creation, click Next.
3. Specifying the Expected File
On the next page, you can select a file that will be used as the baseline copy during the verification process:

Click the image to enlarge it.
-
To use the selected file as the baseline one, click Use selected file as baseline copy.
In the Save the file to Stores as a baseline copy text box, enter the name of the Stores > Files collection element that will store the baseline copy.
Note: This name will be used to address the element from tests, so the name must be a valid identifier. To create a name that will match the rules of any scripting language supported by TestComplete, enter a name that starts with a letter and contains only letters, digits, and underscore symbols. -
To select an existing baseline file from your test project, click File from Stores.
Select the needed Stores item from the drop-down list.
4. Specifying Checkpoint Options
Specify the Allowed difference parameter. It indicates the allowed difference between files (in bytes). This value is needed when the compared files are logically identical but differ physically. For instance, you may compare two lists of customers that contain the same data but have different formatting.
The comparison procedure calculates the value of the actual difference between the compared files and checks this actual value with the value specified in the Allowed difference edit box. If the values are the same, TestComplete considers the files as identical. See Comparing Files by Bytes for details.
5. Closing the Wizard
Click Finish to close the File Checkpoint wizard. TestComplete will add the checkpoint statement for verifying the specified files to your test.
If you are creating a file checkpoint while editing a test script, then the generated checkpoint code will be displayed in the Copy Text to Clipboard dialog. You will be able to copy this code to the clipboard and then paste it to the desired place in your script.
See Also
File Checkpoints
About File Checkpoints
How File Verification Works
Verifying Files With Variable Parts
Files