To begin, you need a project with at least one test case.
-
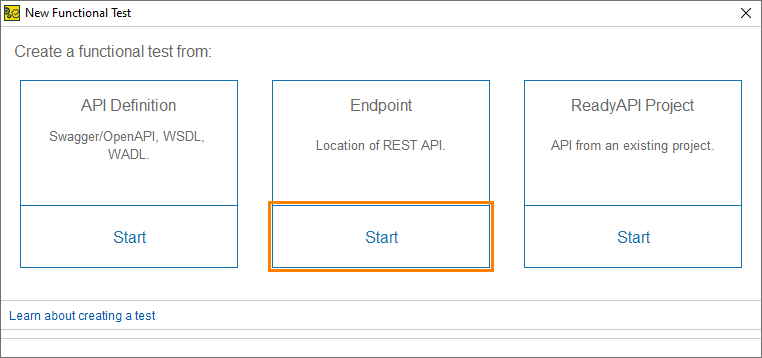
Select File > New Functional Test to create a new functional test.

-
Select Endpoint.
-
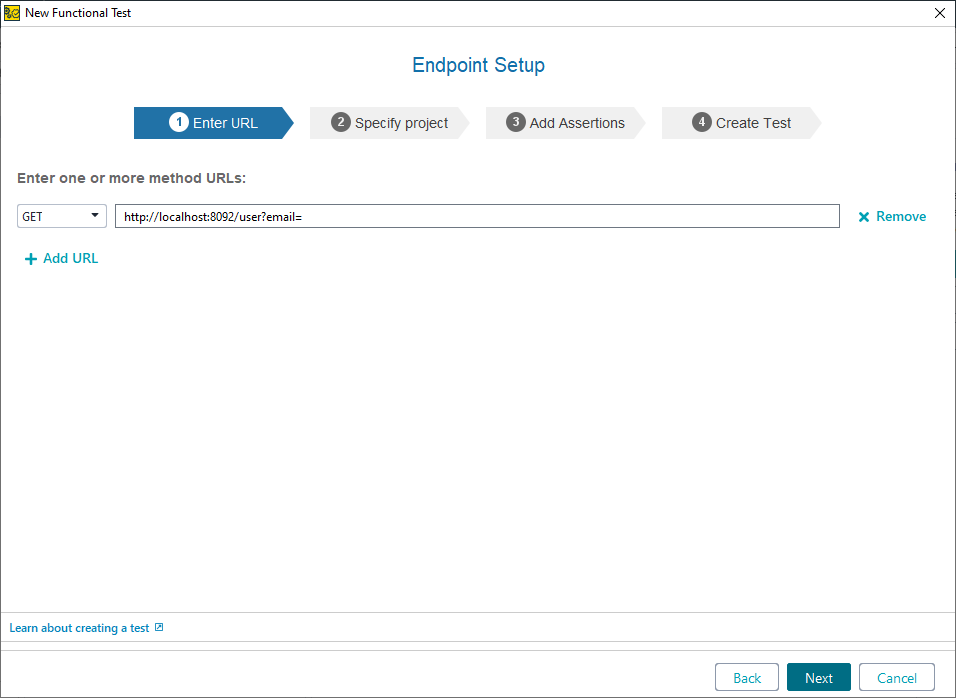
Enter the following URL:
-
Click Next.
-
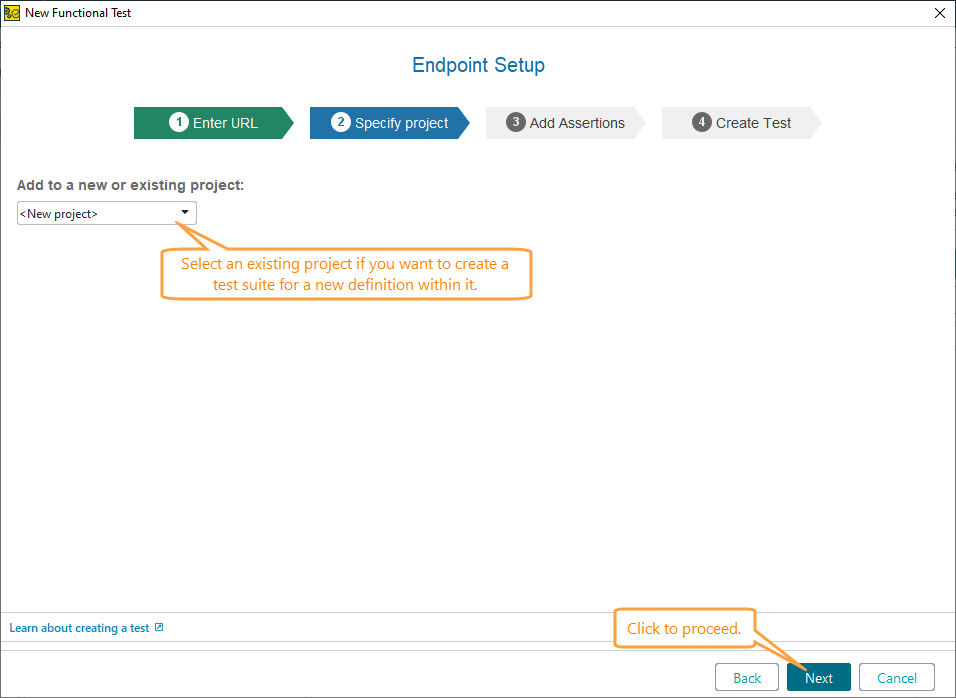
On the next page of the wizard, select if you want to create a new project for the URL you have added, or add it to the existing project.
Click Next to continue.
-
On the next page of the wizard, you can add assertions to new requests. In this tutorial, we will not use the suggested assertions, so unselect them and click Next.
-
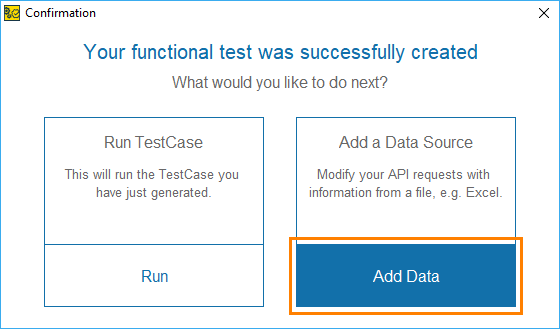
ReadyAPI will create a project and display a confirmation dialog. In the dialog, click Add Data and specify a data source in the subsequent dialog.
-
Download a sample file to use it as a data source, or create another file.
-
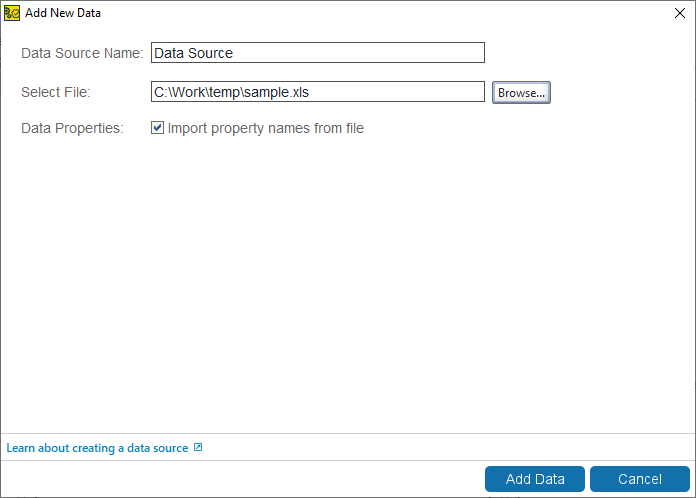
Specify a name for the data source and the full path to the file in the Add New Data dialog.
ReadyAPI will now import the data and create a test with a data source loop that will use the attached file. You can configure the data source now.
Data import specifics
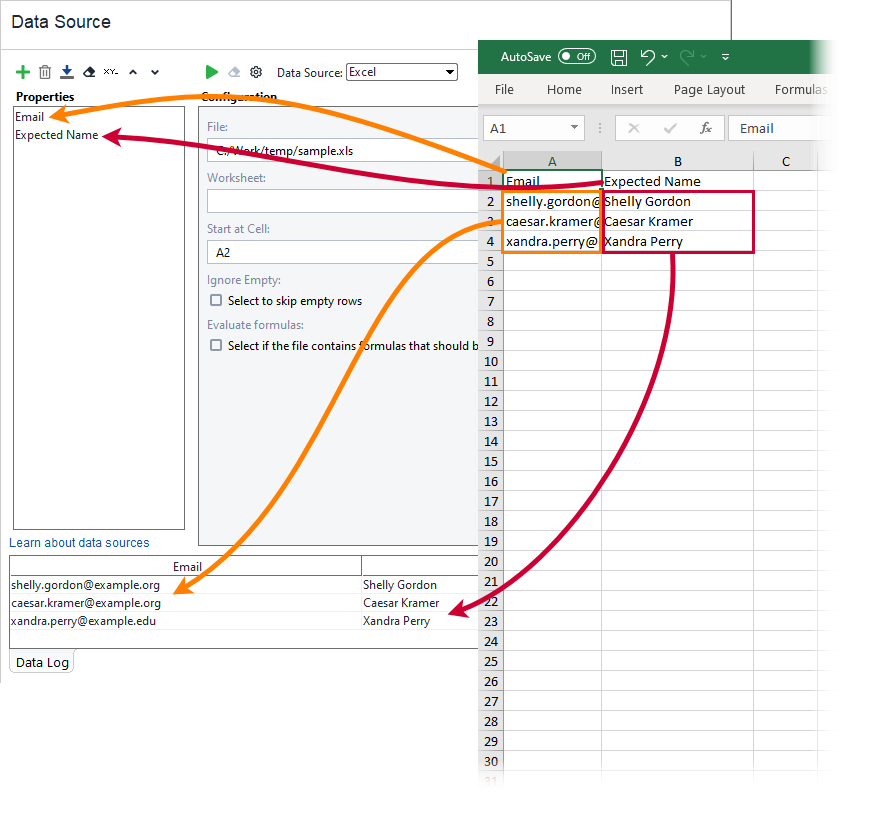
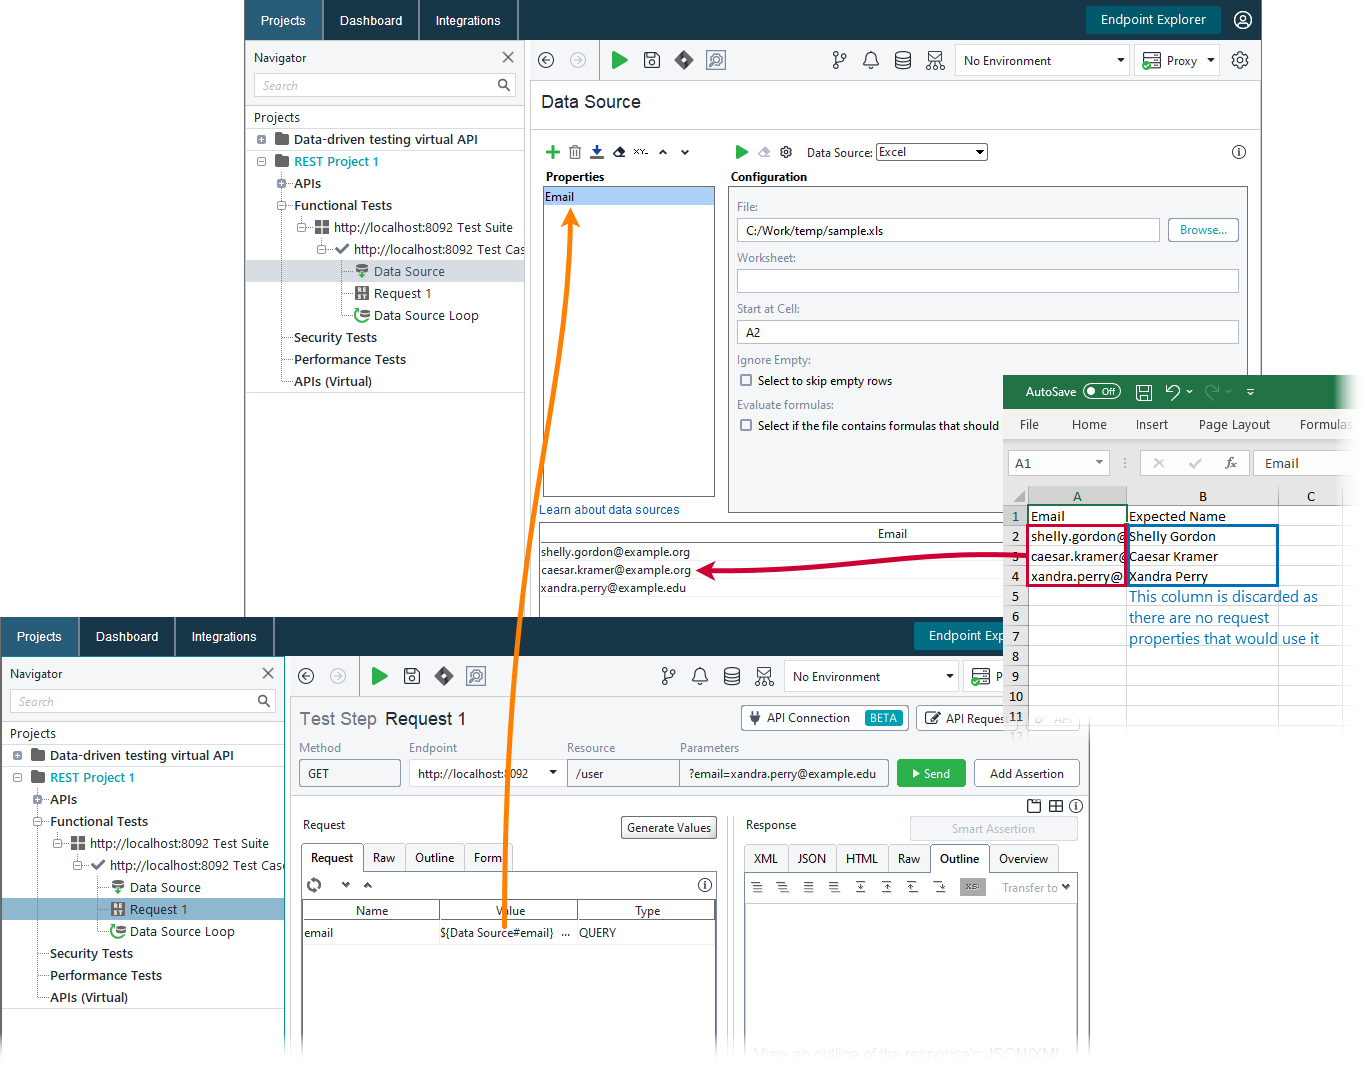
When you create a data-driven test as described above, ReadyAPI tries to create property expansions automatically. Double-click the data source in the Navigator to see the imported data.
If you select Import property names from file, ReadyAPI will create data source properties using data from the first row of the Excel file. Then, it will create property expansions for each request parameter in the order identical to the data source values.
Otherwise, ReadyAPI creates data source properties using request parameters, then it populates the columns of the Excel file with these properties. Property expansions link parameters to the properties that have the same name.

