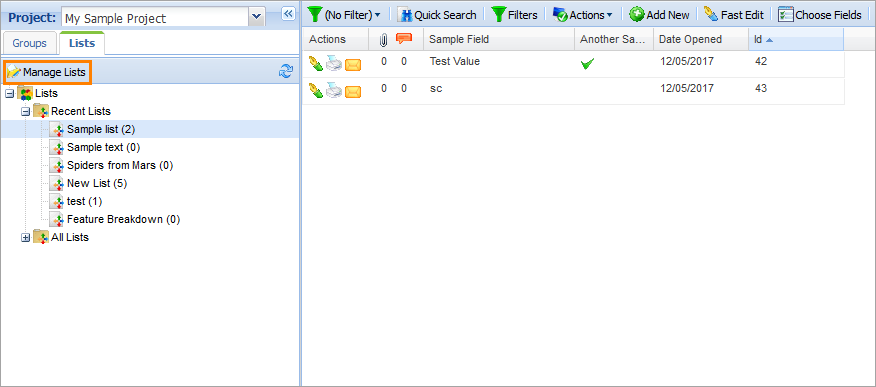
To start working with lists, go to Lists. To create a new list, do the following:
-
Click Manage Lists on the left navigation panel.
-
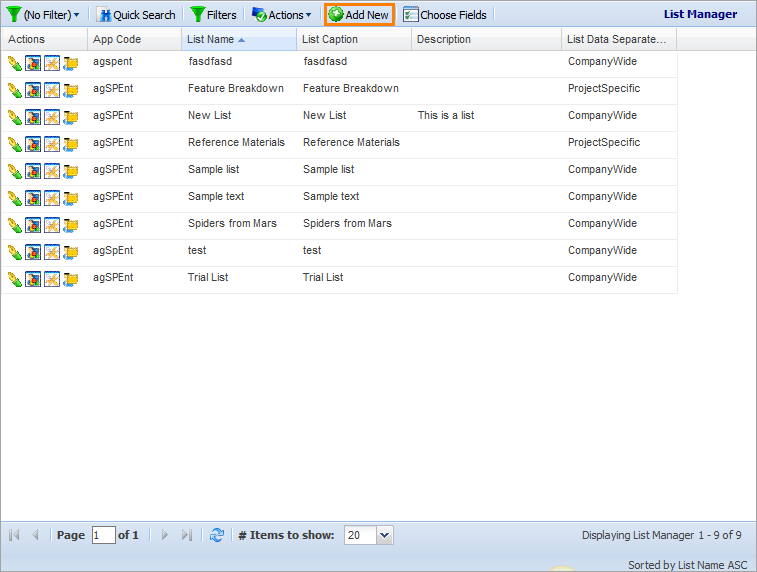
The List Manager screen appears.
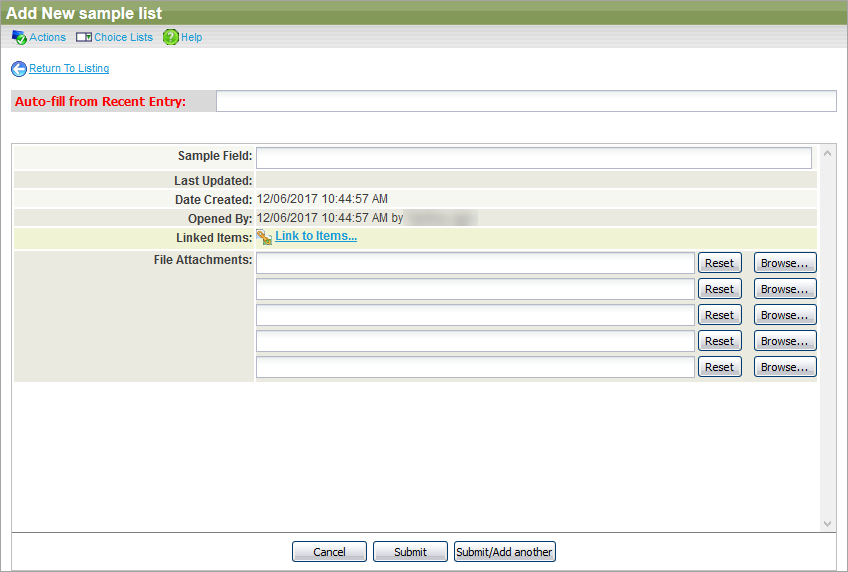
Click Add New on the List Manager toolbar to open the Add List form.
-
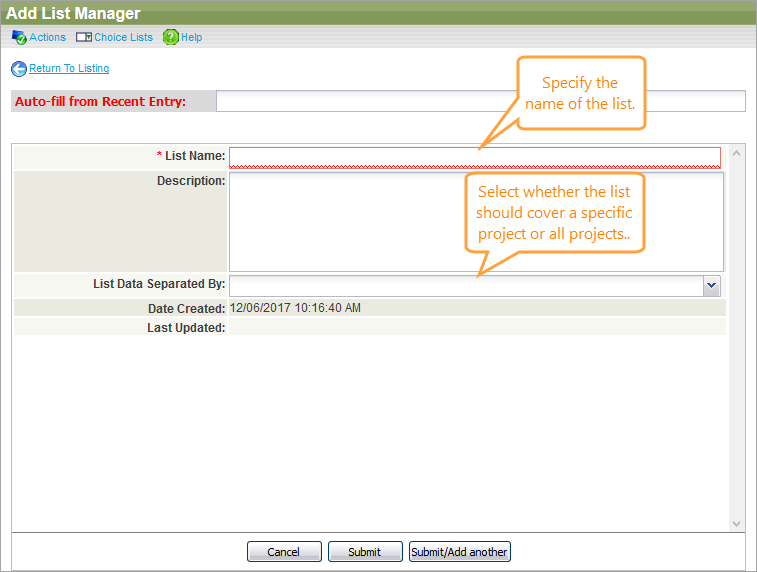
Specify the information about your new list.
Tip: Use auto-fill to automatically describe your new list using data from the recently created one. To learn more about each available field, see List Manager Reference.
-
In List Data Separated By, select the list coverage:
- Company Wide – The list will cover all projects
- Project Specific – The data on the list will be separated by projects
-
Click Submit.
-
Check the description of the upcoming steps. Once ready, click Back.
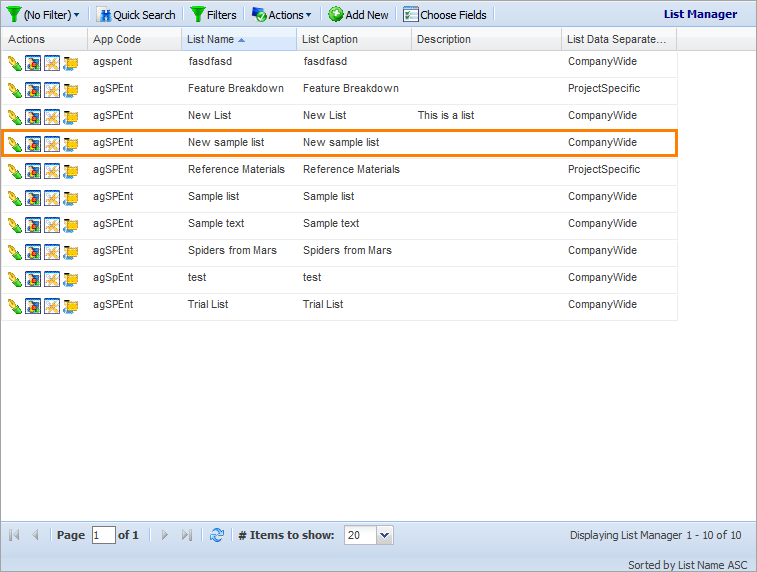
The new list will appear on the List Manager screen.
Configure fields
To configure fields for a list:
-
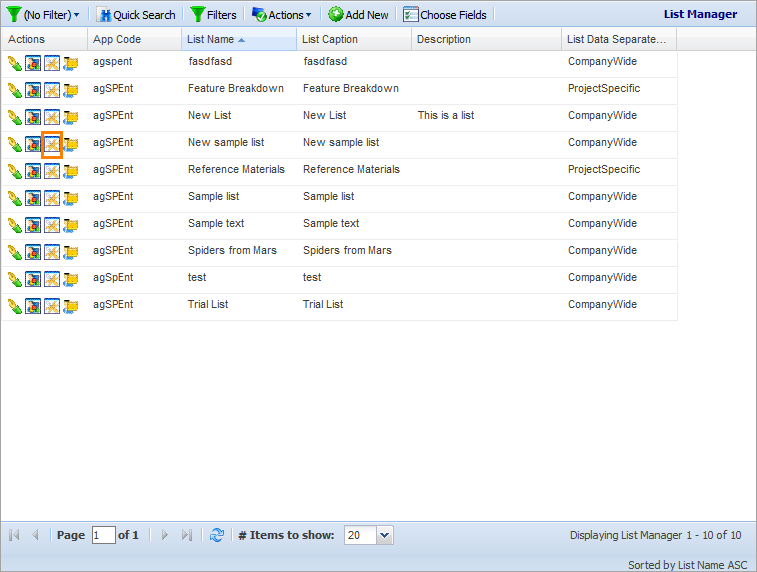
On the List Manager screen, click Manage Fields in the Actions column on the row of the needed list.
-
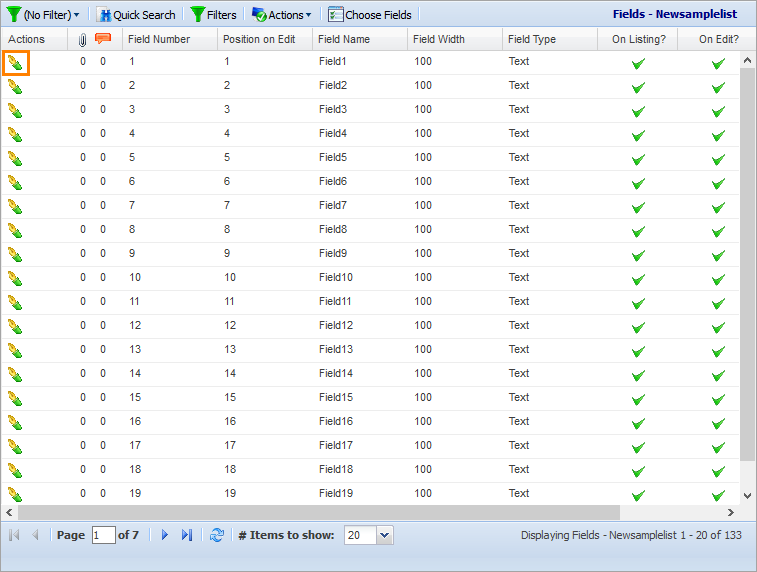
The Fields screen appears.
To configure a field, click Edit this record in the Actions column near the needed field.
-
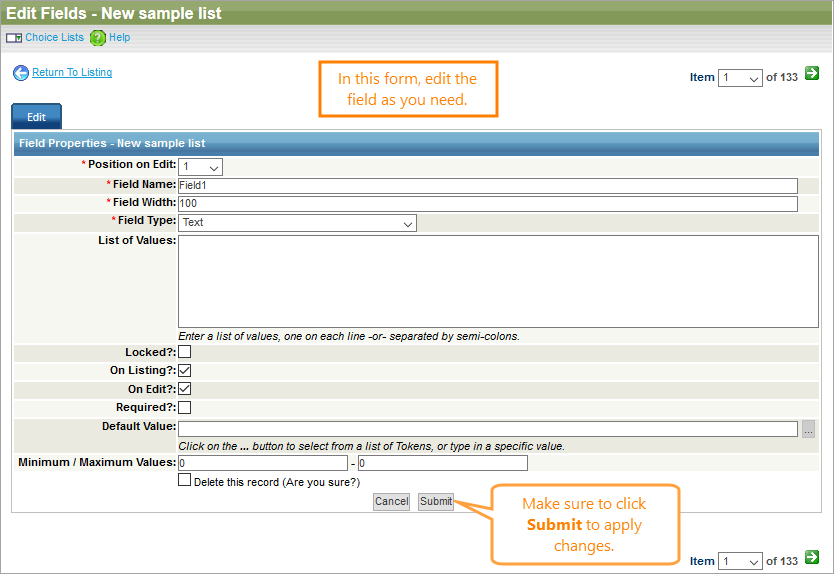
The Edit Field form appears.
In Position on Edit, select the position where this field will appear on the Edit form for list items.
-
In Field Name, name your field.
-
In Field Type, select a type for your field.
- Text
- Check box
- Choice list
- Currency
- Date
- Numeric
- Percentage
-
(Optional) In List of Values, specify which values will be acceptable for the field.
Tip: Separate values with semicolons or place each value on a new line. -
Select Locked to forbid other users to apply changes to this field.
-
Select On Listing for the field value to appear on the list screen.
-
Select On Edit for the field value to appear on the Edit form for the list item.
-
Select Required to always require some input in this field for the new list items.
-
In Default Value, specify a default value for the field.
Tip: You can click the ellipsis button to select the default value from the attached list of tokens. -
In Minimum / Maximum Values, specify the minimal and maximal values for the field.
-
Once ready, click Submit.
Repeat the procedure above for all fields you want to add to the list.
Add items to a list
To add items to a list:
-
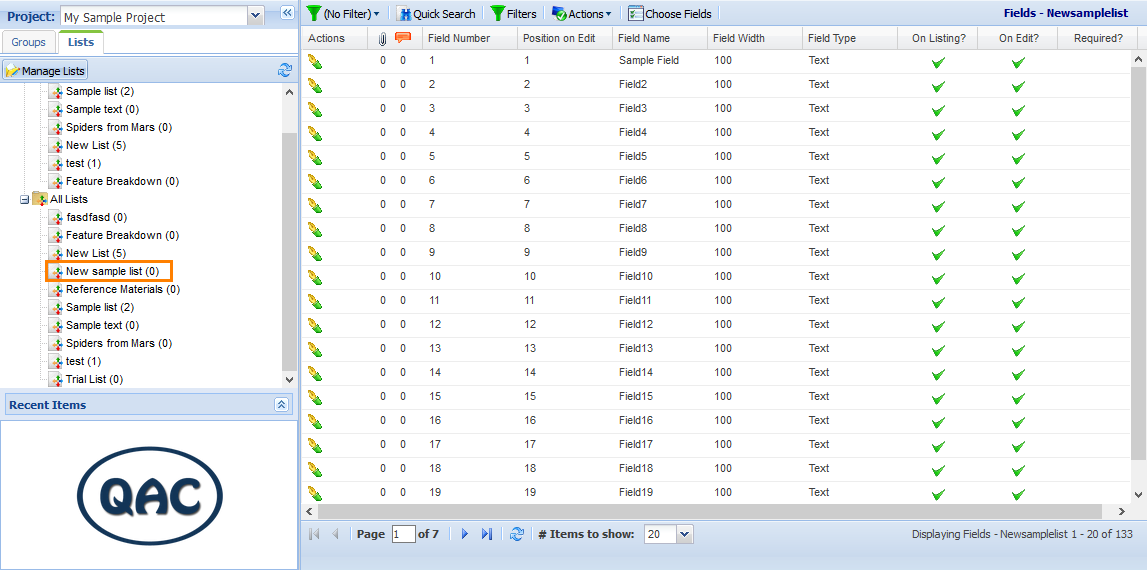
Find your list on the navigation panel to the left and click its name.
-
On the list screen, click Add New.
-
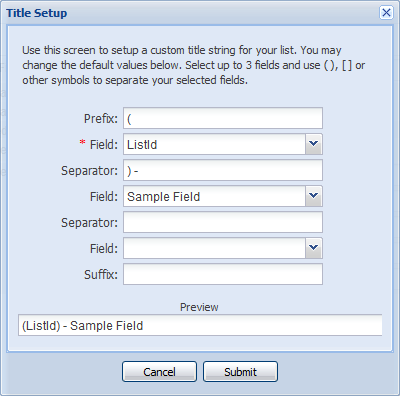
If you are adding an item for the first time, the Title Setup dialog will appear. Use it to configure the custom title string for your list. For more information, see below.
-
Describe your new list item using fields on the Add form.
-
Once ready, click Submit.
Grant permissions
In order for other users to work with your list, you need to provide them with necessary security permissions.
To learn more about that, see List Manager.
The Title Setup dialog
In the Title Setup dialog, you configure a custom title string for your list. It appears when you add an item to a list for the first time.
The fields selected in this dialog appear when you search for the items from the list. List items will also be sorted by the fields you selected there.
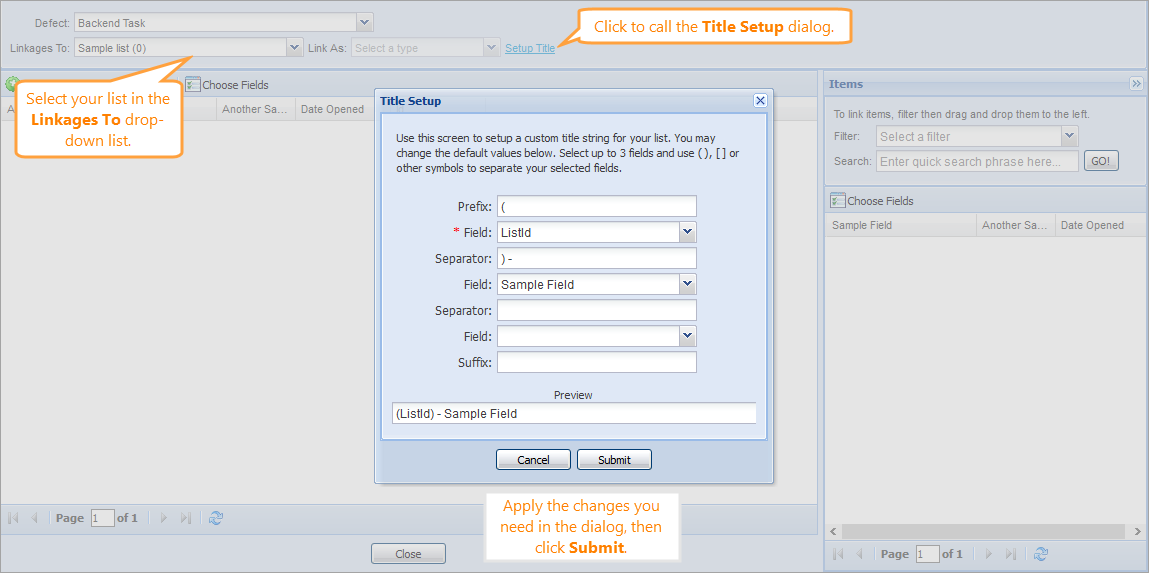
To modify the title setup later, go to the Traceability screen for any item. There, click Link to Item.
In the Linkages To drop-down list, select your list. A link appears. Click it to open the Title Setup dialog once again.

