Now, let’s create a user and add the user to the security group:
-
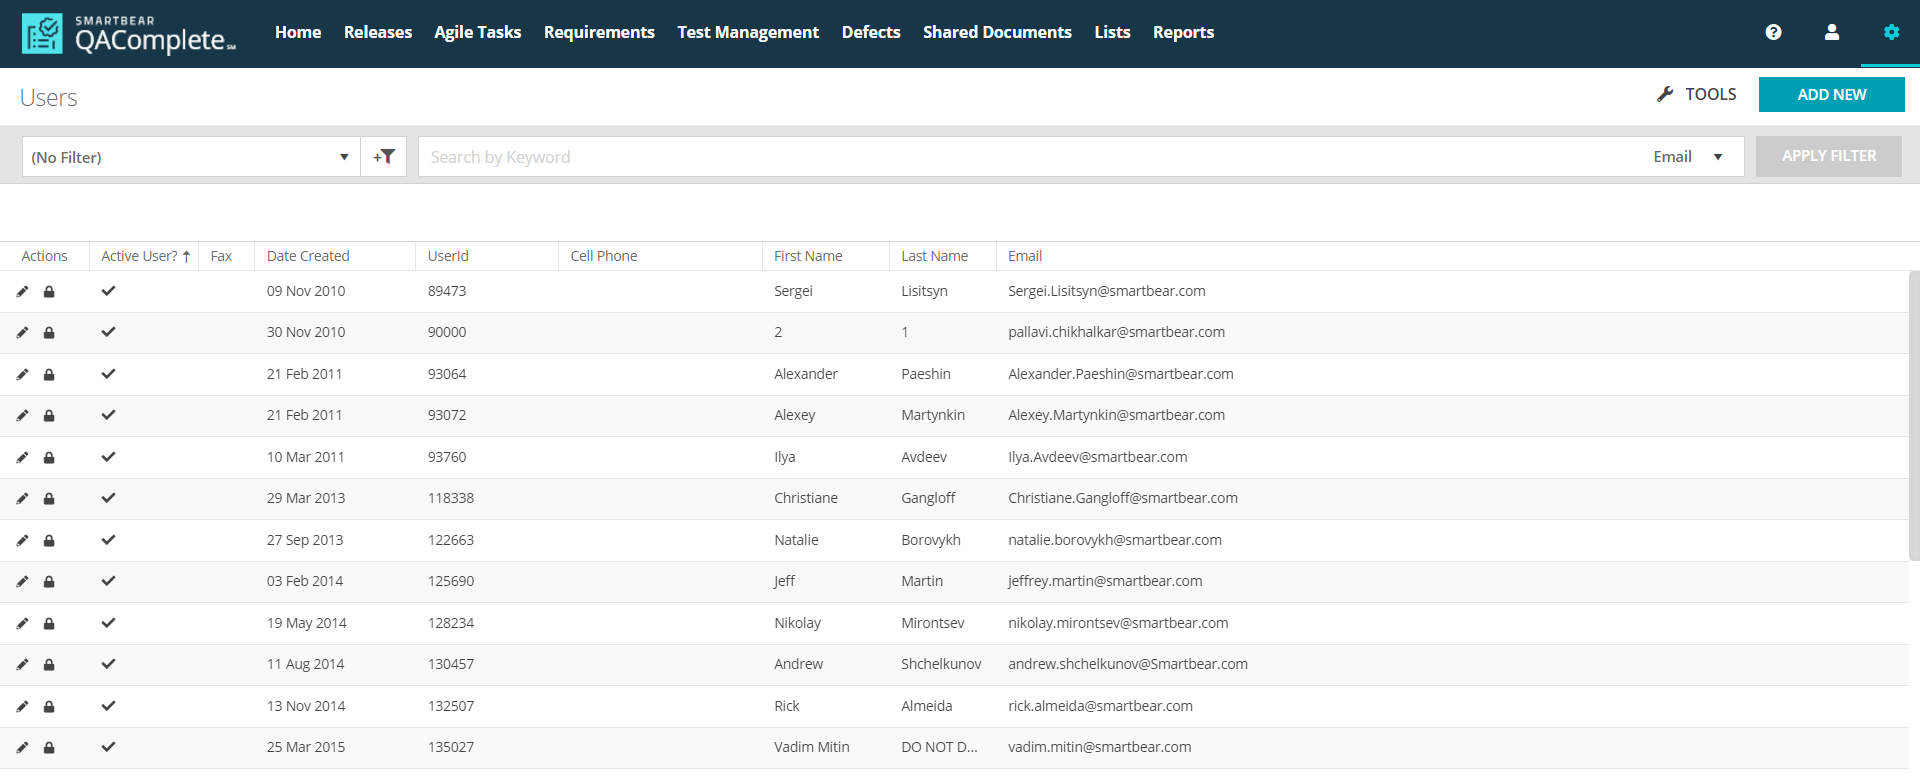
In the navigation panel of the > Setup Users.
-
Click Add New:
-
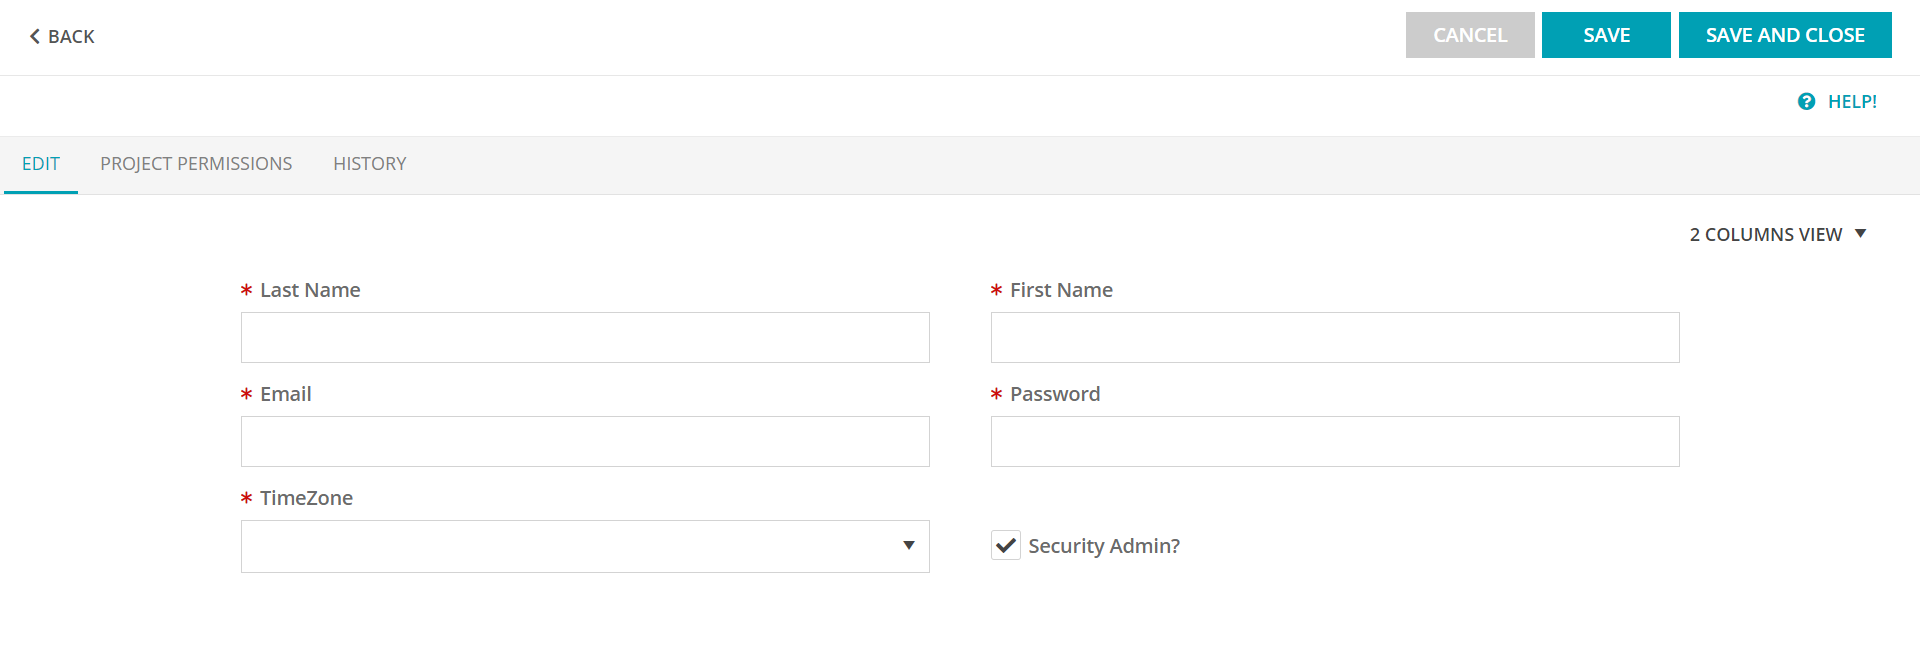
Enter the user information: name, email address, password, and so on.
-
You can give specific users different rights for each project and can restrict a user from accessing specific projects using Project Permissions tab.
-
Click Save or Save And Close button.
The created user will be added to the user list.
-
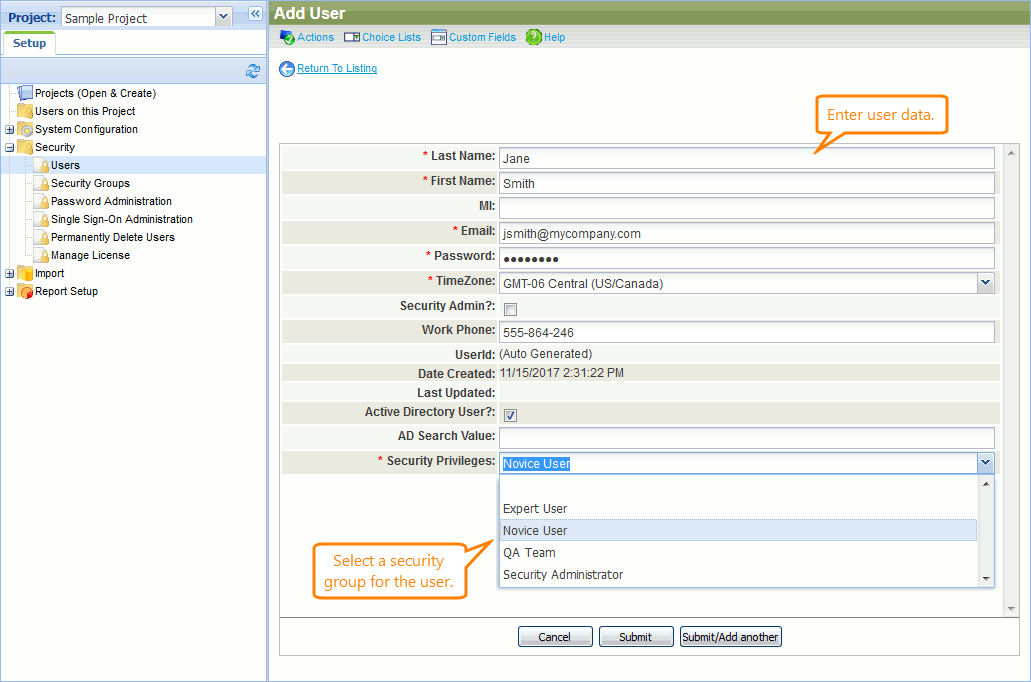
In the navigation panel of the > Setup screen, click Security > Users.
-
Click Add New:
-
Enter the user information: name, email address, password, and so on.
From the Security Privileges drop-down list, select a security group for the user:
-
Click Submit.
The created user will be added to the user list.
| Note: | To change your user’s security permissions, click |


 Prev
Prev