To validate the QAComplete installation and configuration, check the following:
Attachments and shared documents
Email notifications
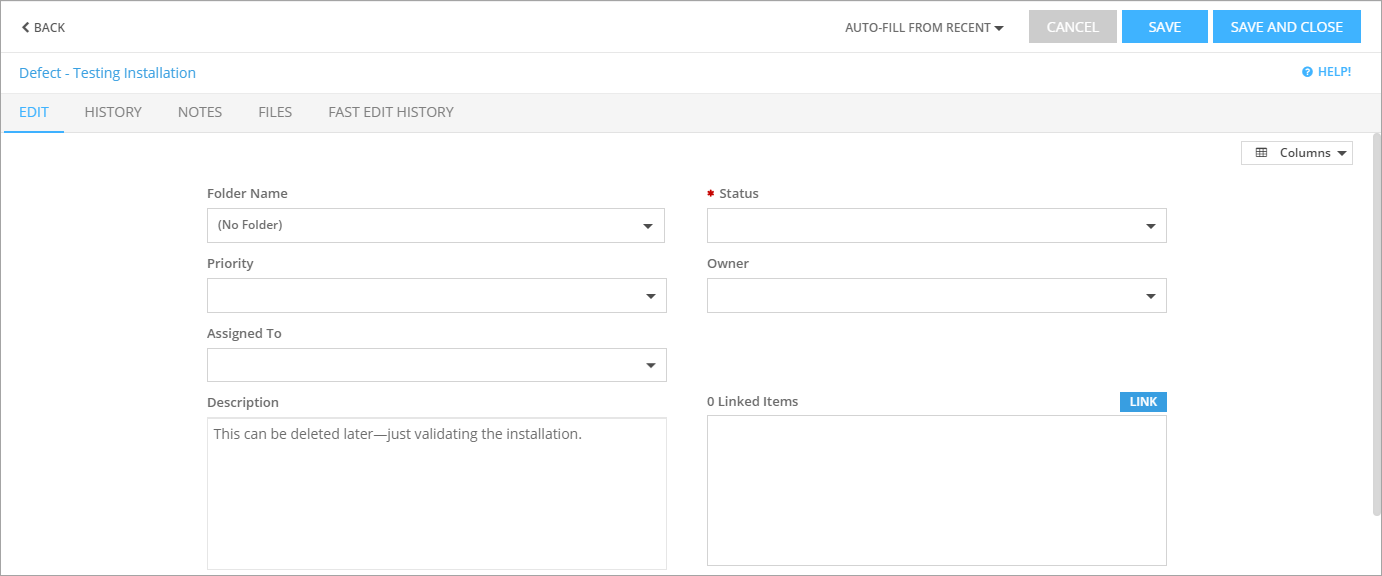
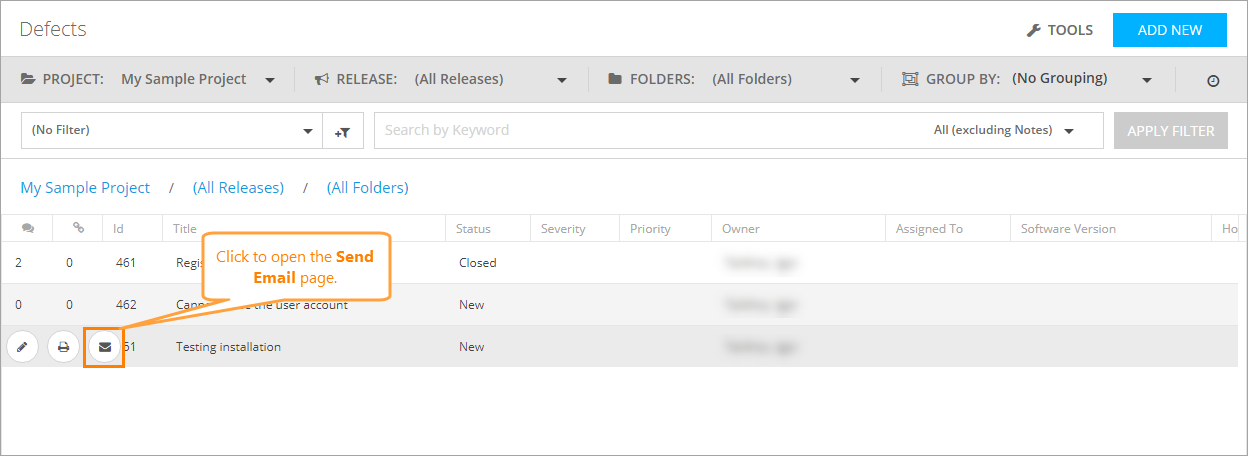
Now that you assigned yourself a defect, you can check the Email Alerts and Send Email function:
Enter your email address, body text, and click Send. Watch for the email to arrive to verify email is configured properly.
Report viewer
Click the Reports tab, select Defect Reports and run any of the reports to ensure the reports are rendered correctly.
Web service
-
On your server, open a web browser and navigate to –
-
You should see the Service page:
-
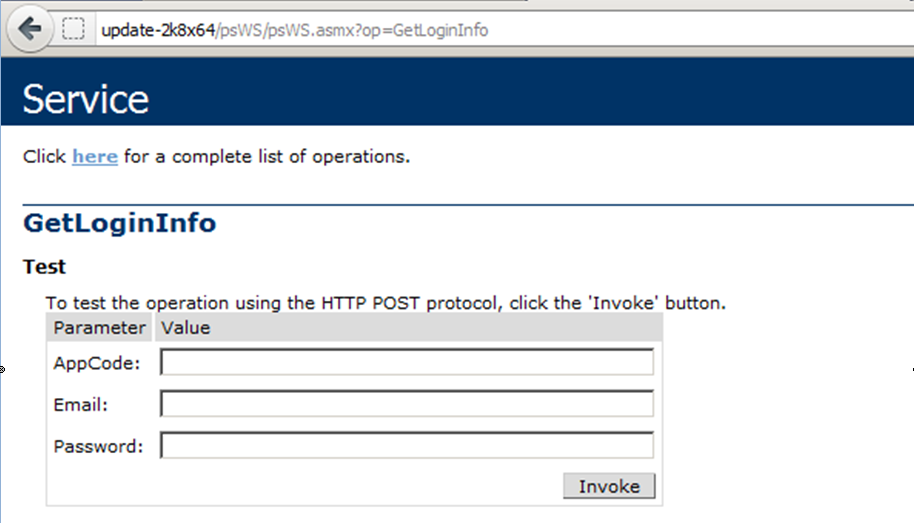
You can test the service with the GetLoginInfo method. Scroll down to GetLoginInfo and select it:
-
Enter:
AppCode: agSPEnt
Email: The email you use to log in
Password: Your password
Click Invoke.
-
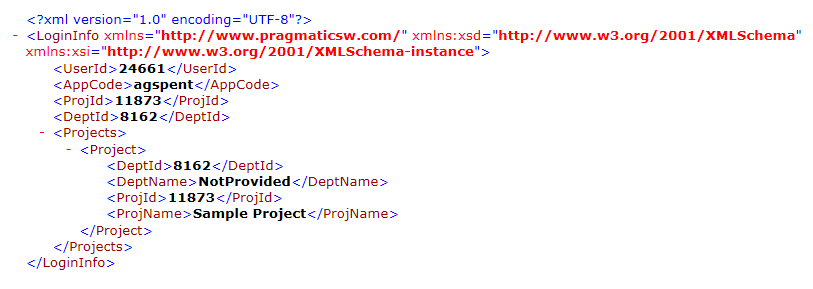
Since you are doing this on the server, you should see a response similar to this:
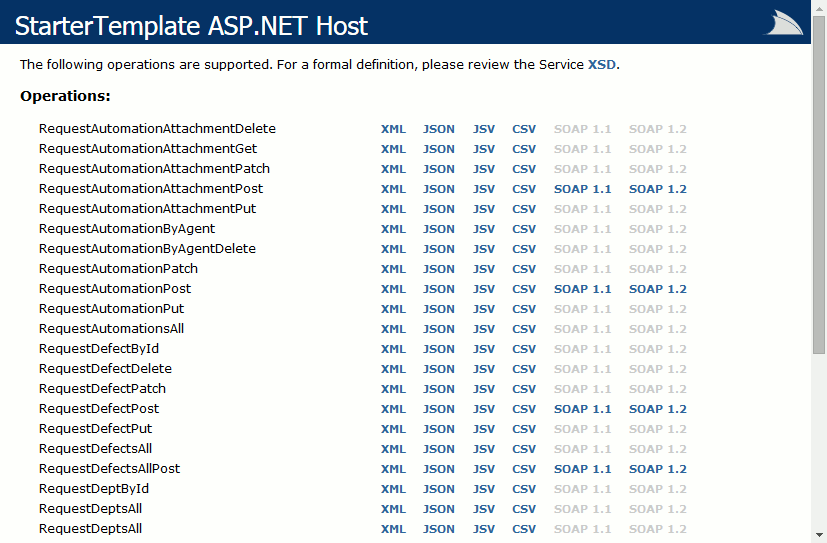
REST API service
On your server, open a browser and navigate to –
 http://localhost/rest-api/service
You should see the following page:
Email notifications on adding new users
When you add your new users, they will receive an automatic email with login instructions. You will need to create security groups, then add your users:
-
Click > Setup, then click Security > Security Groups to define your security groups.
-
As you add users, select the desired security group for the user. New users will be assigned to the selected security group in the currently active project.
-
Have your new users check for the email notification.

