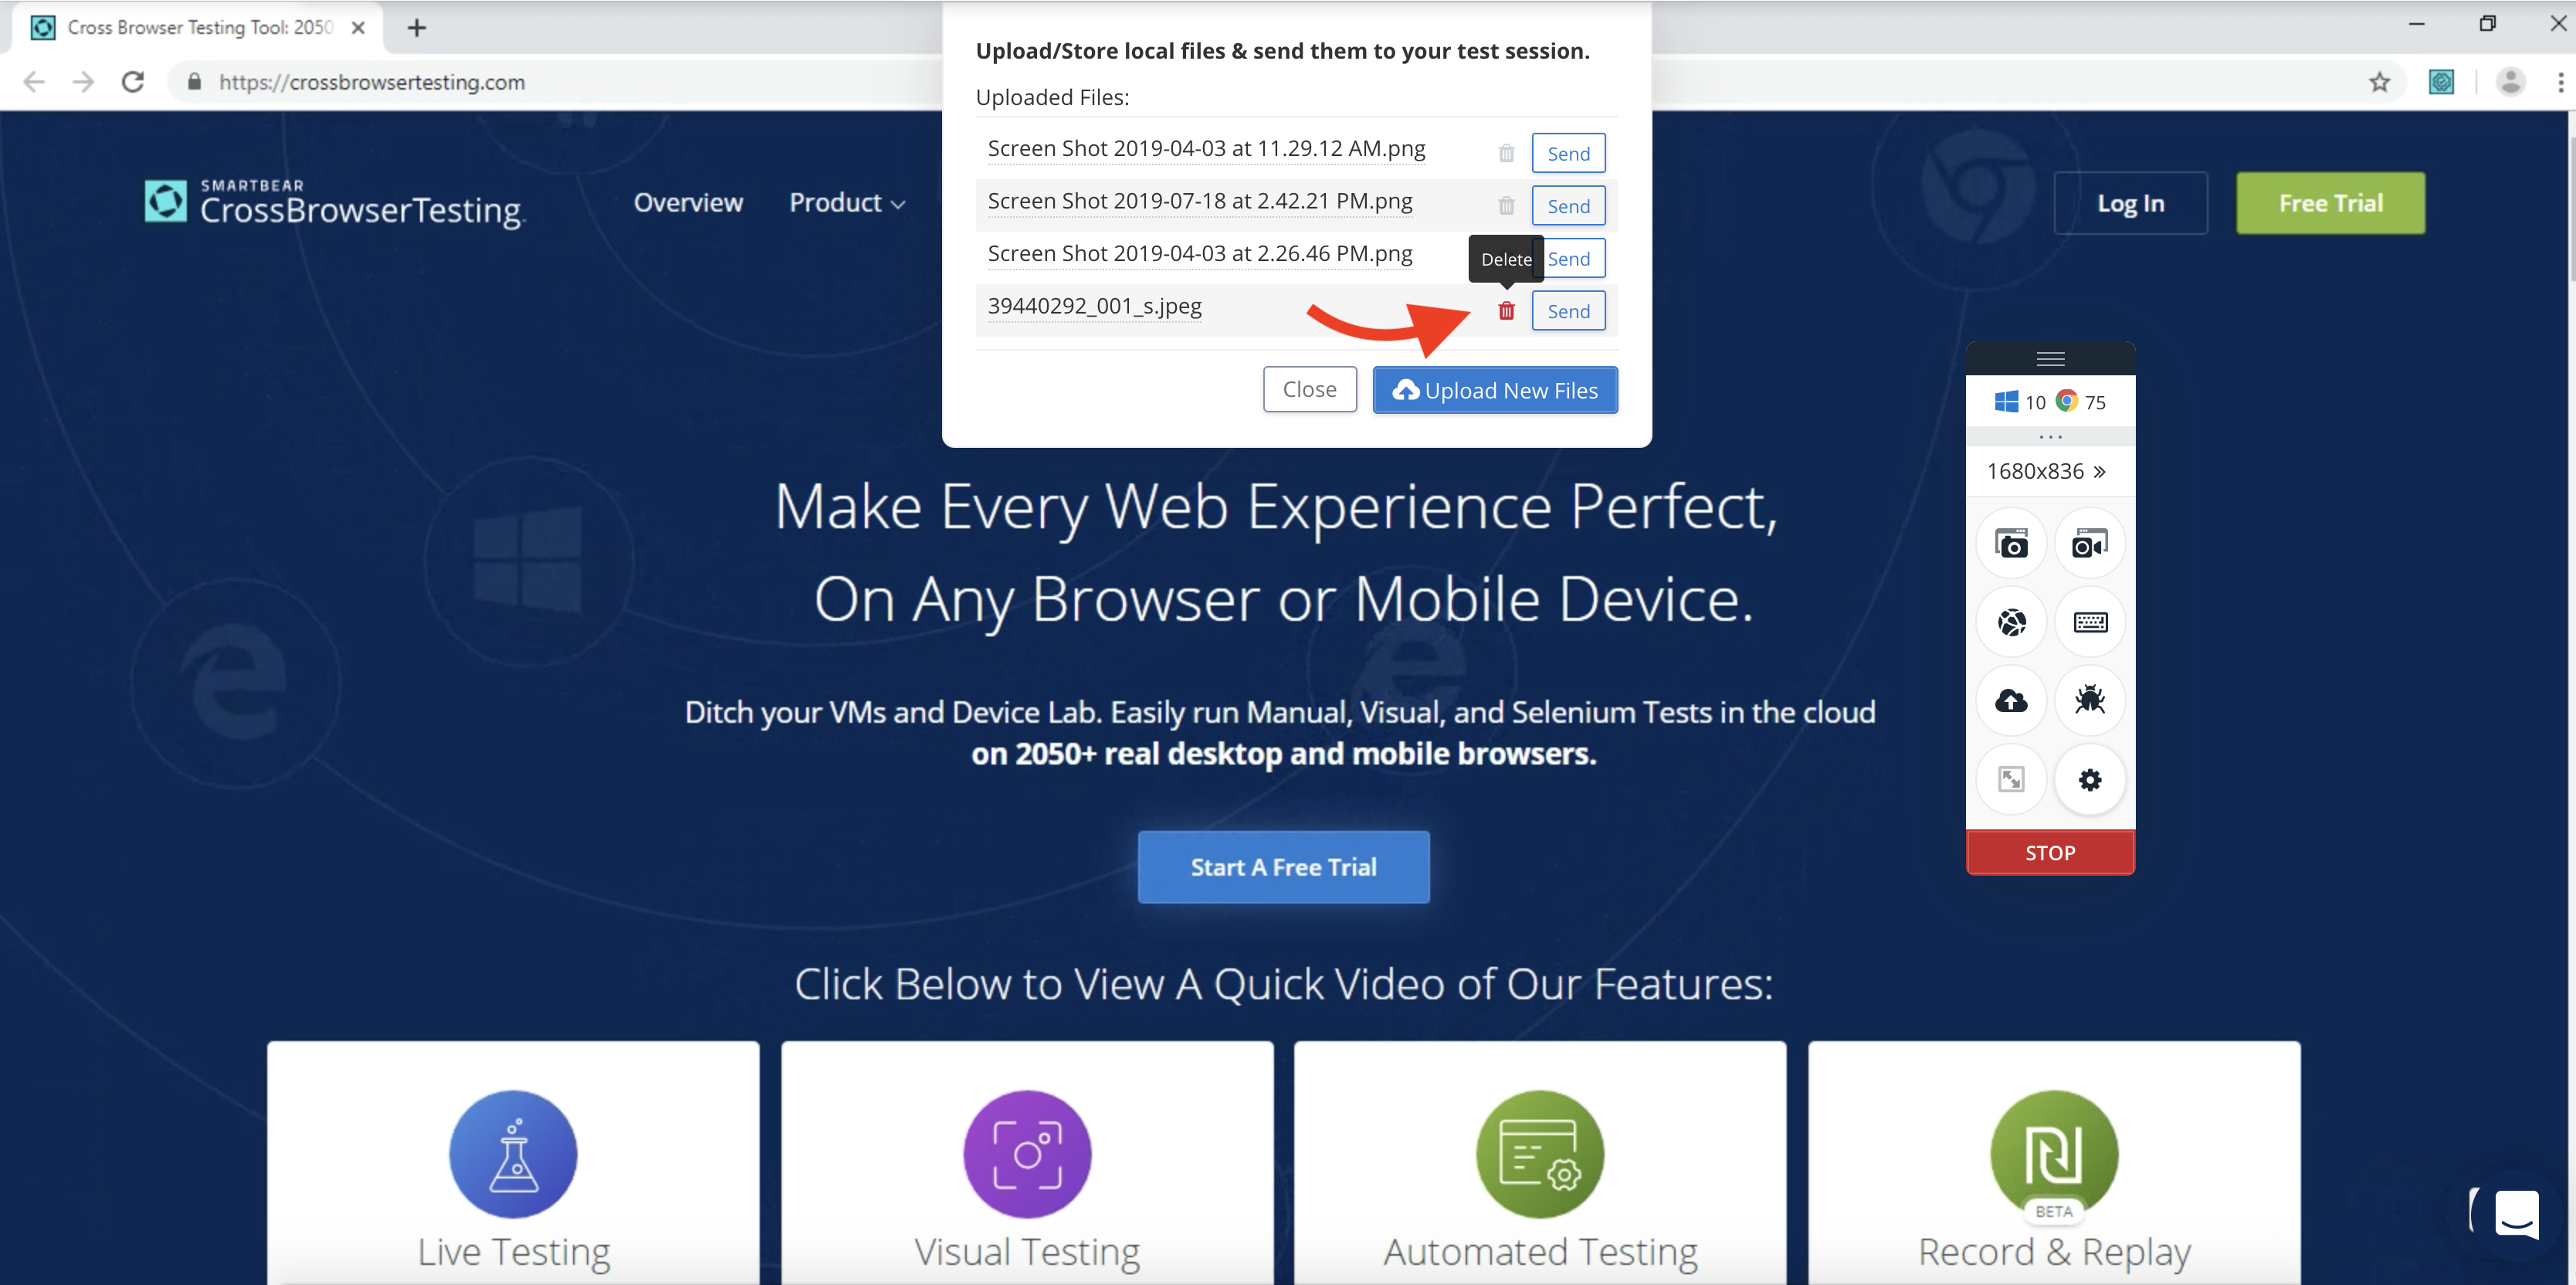
When running a Live Test session, you can upload files from your local machine to the desktop of the remote session. This guide will show you how.
There are two ways to upload new files:
After you have uploaded a file, you do not have to upload it again for future Live Test sessions. These links detail managing files after uploads:
Select files to upload
1. Start a new live test
-
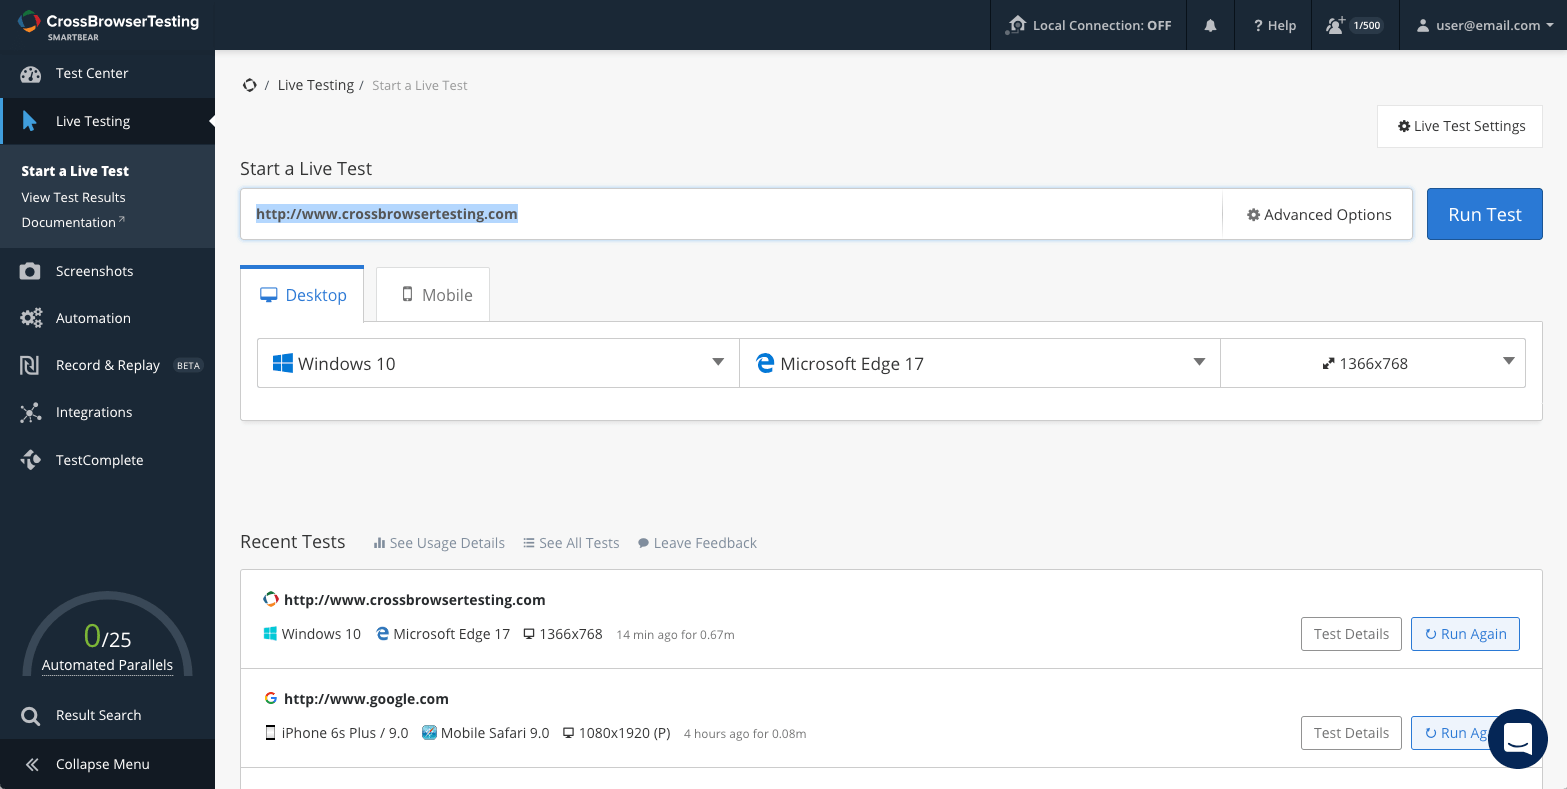
Login to CrossBrowserTesting and click Live Tests at the top of the app.
-
Enter the URL for the page you would like to test and select a operating system and browser.
-
Click Run Test to start the session.
2. Open the File Upload dialog
-
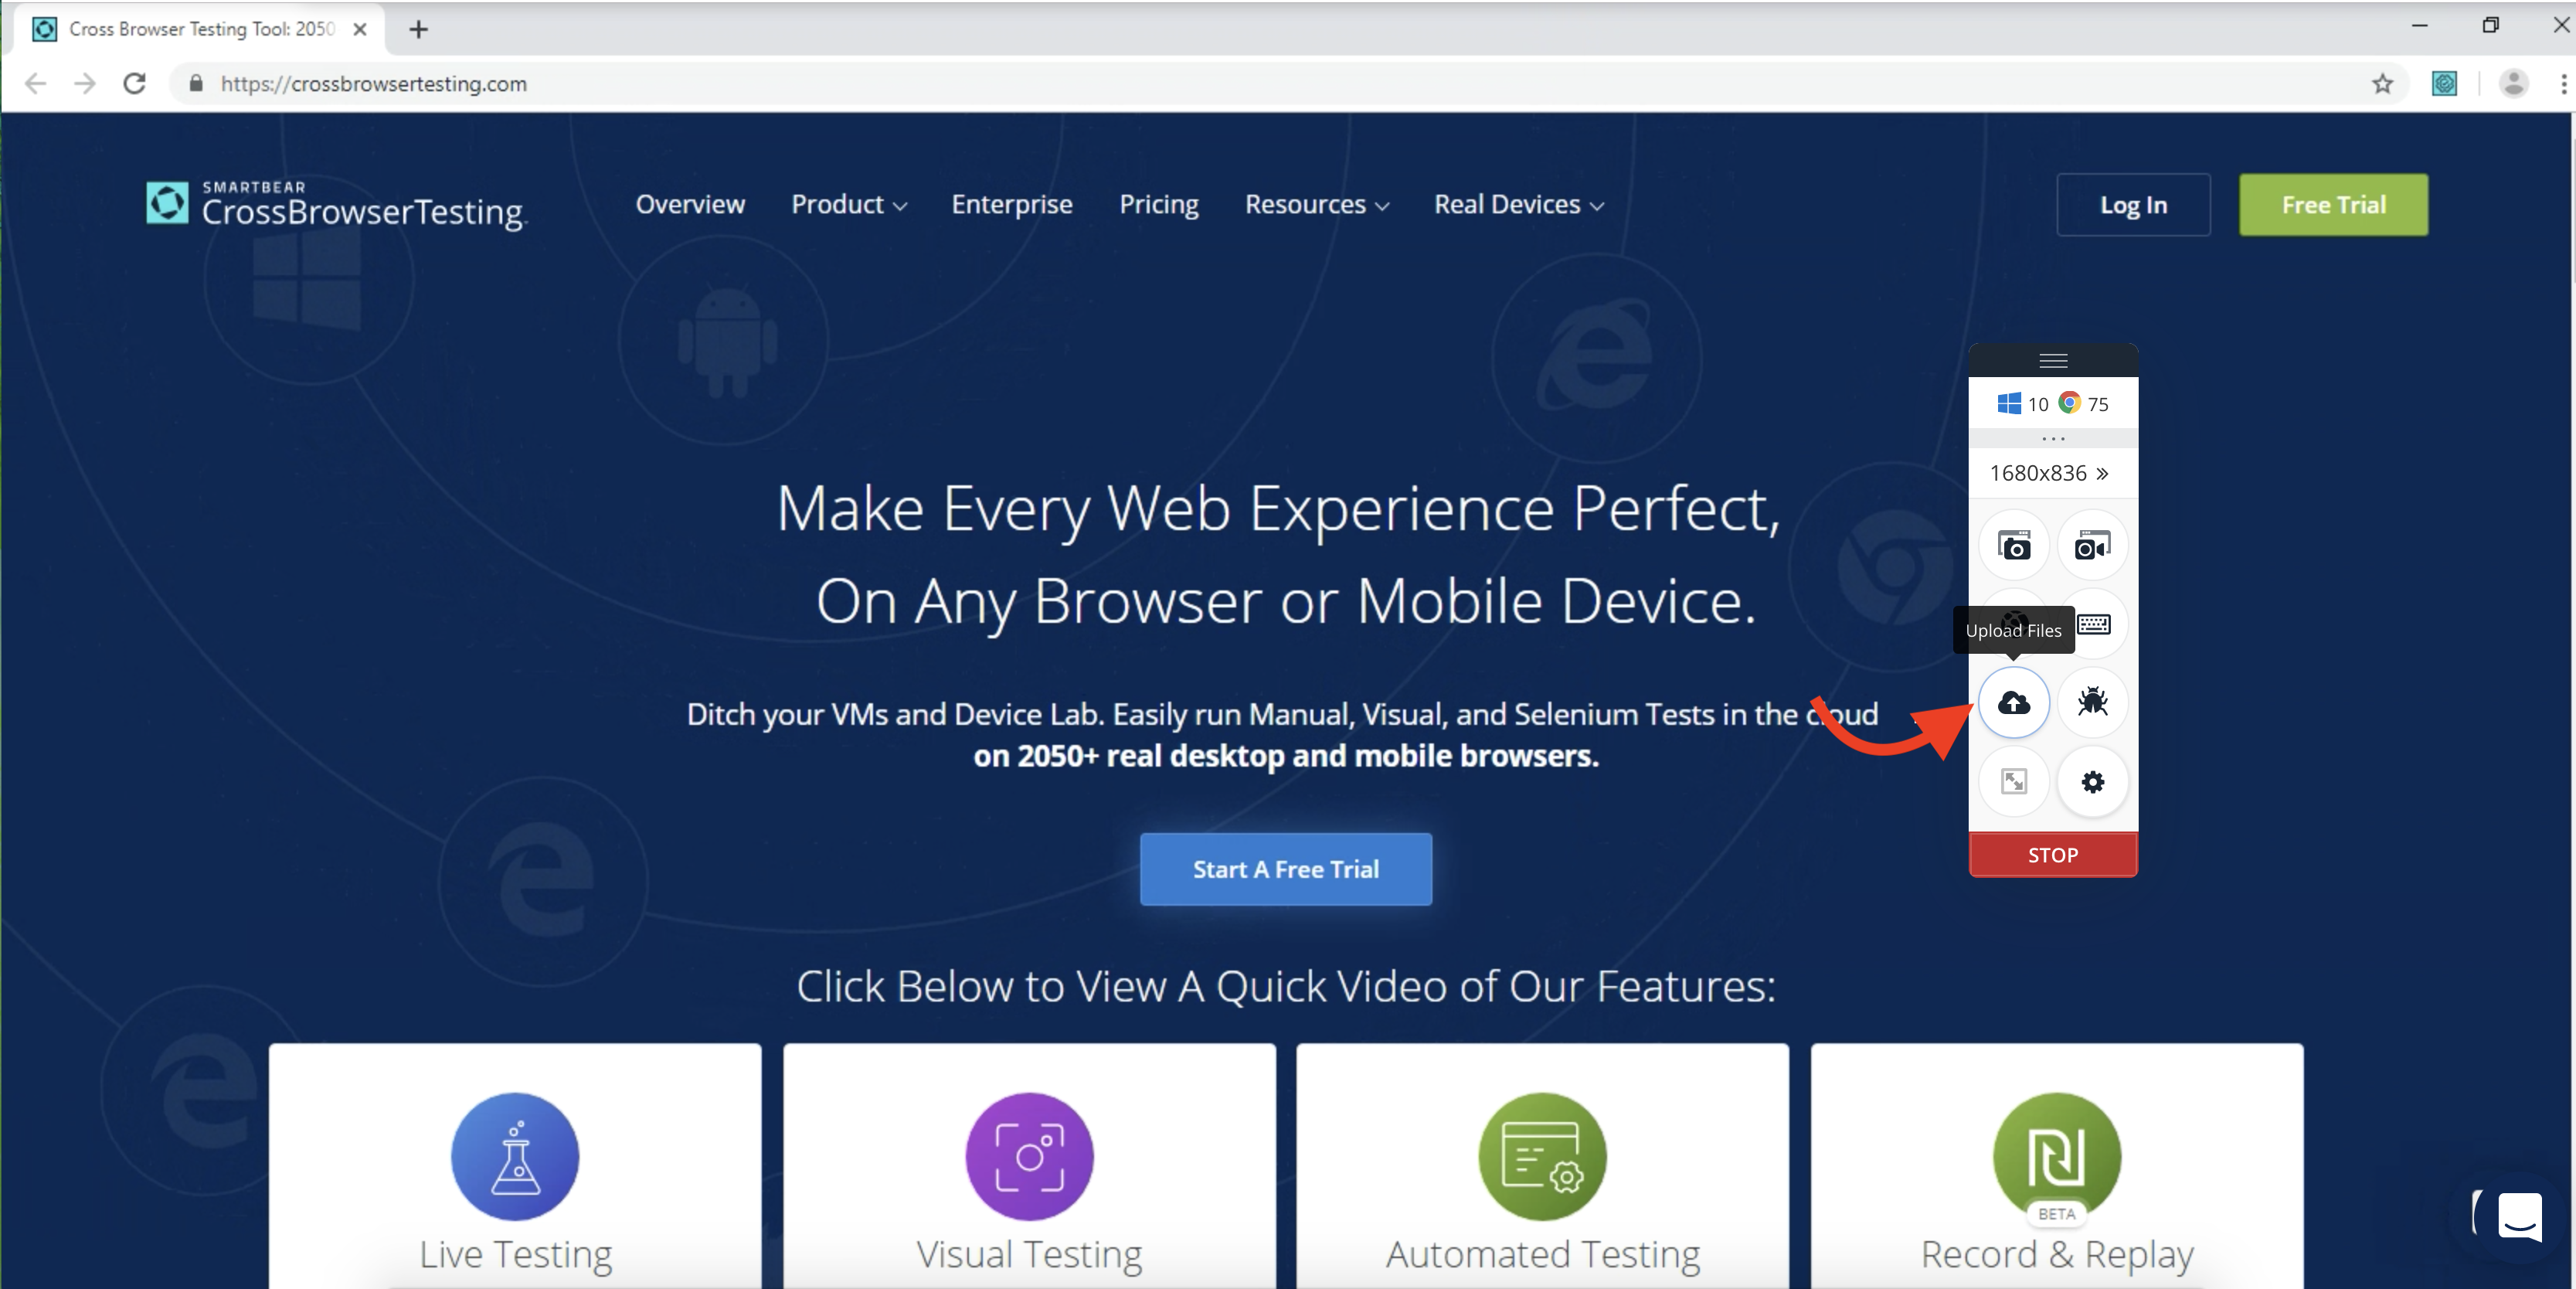
Click the Upload Files button.
-
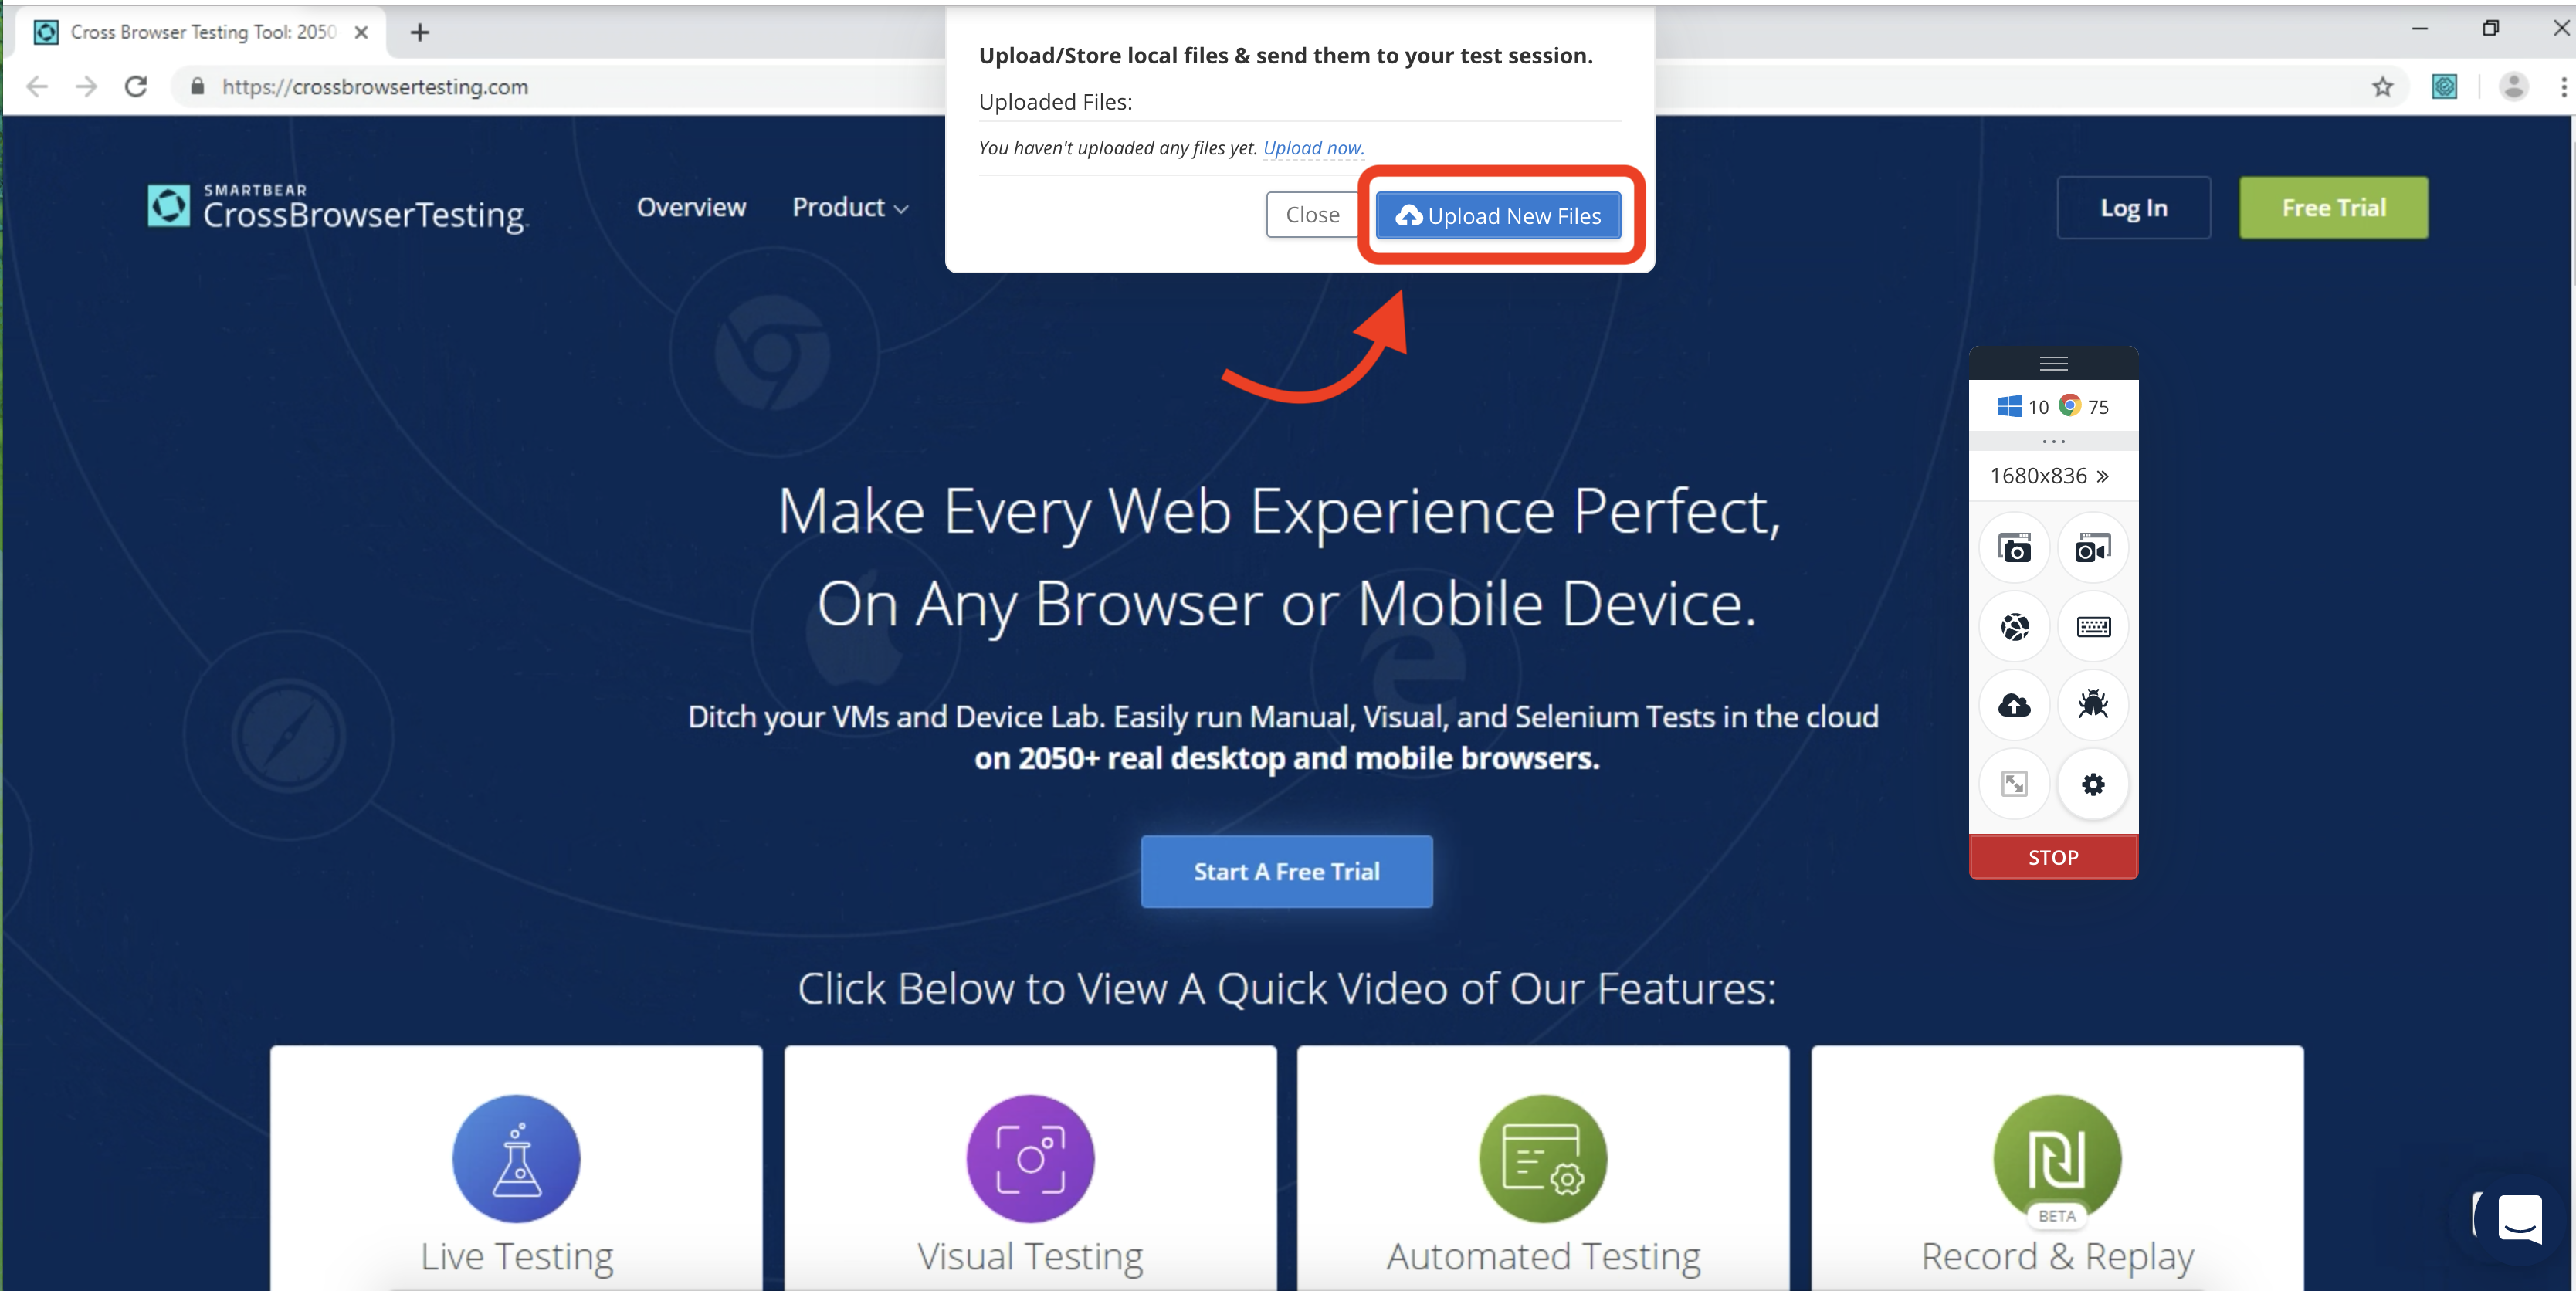
Then click the Upload New Files button in the dialog that appears.
3. Select files to upload
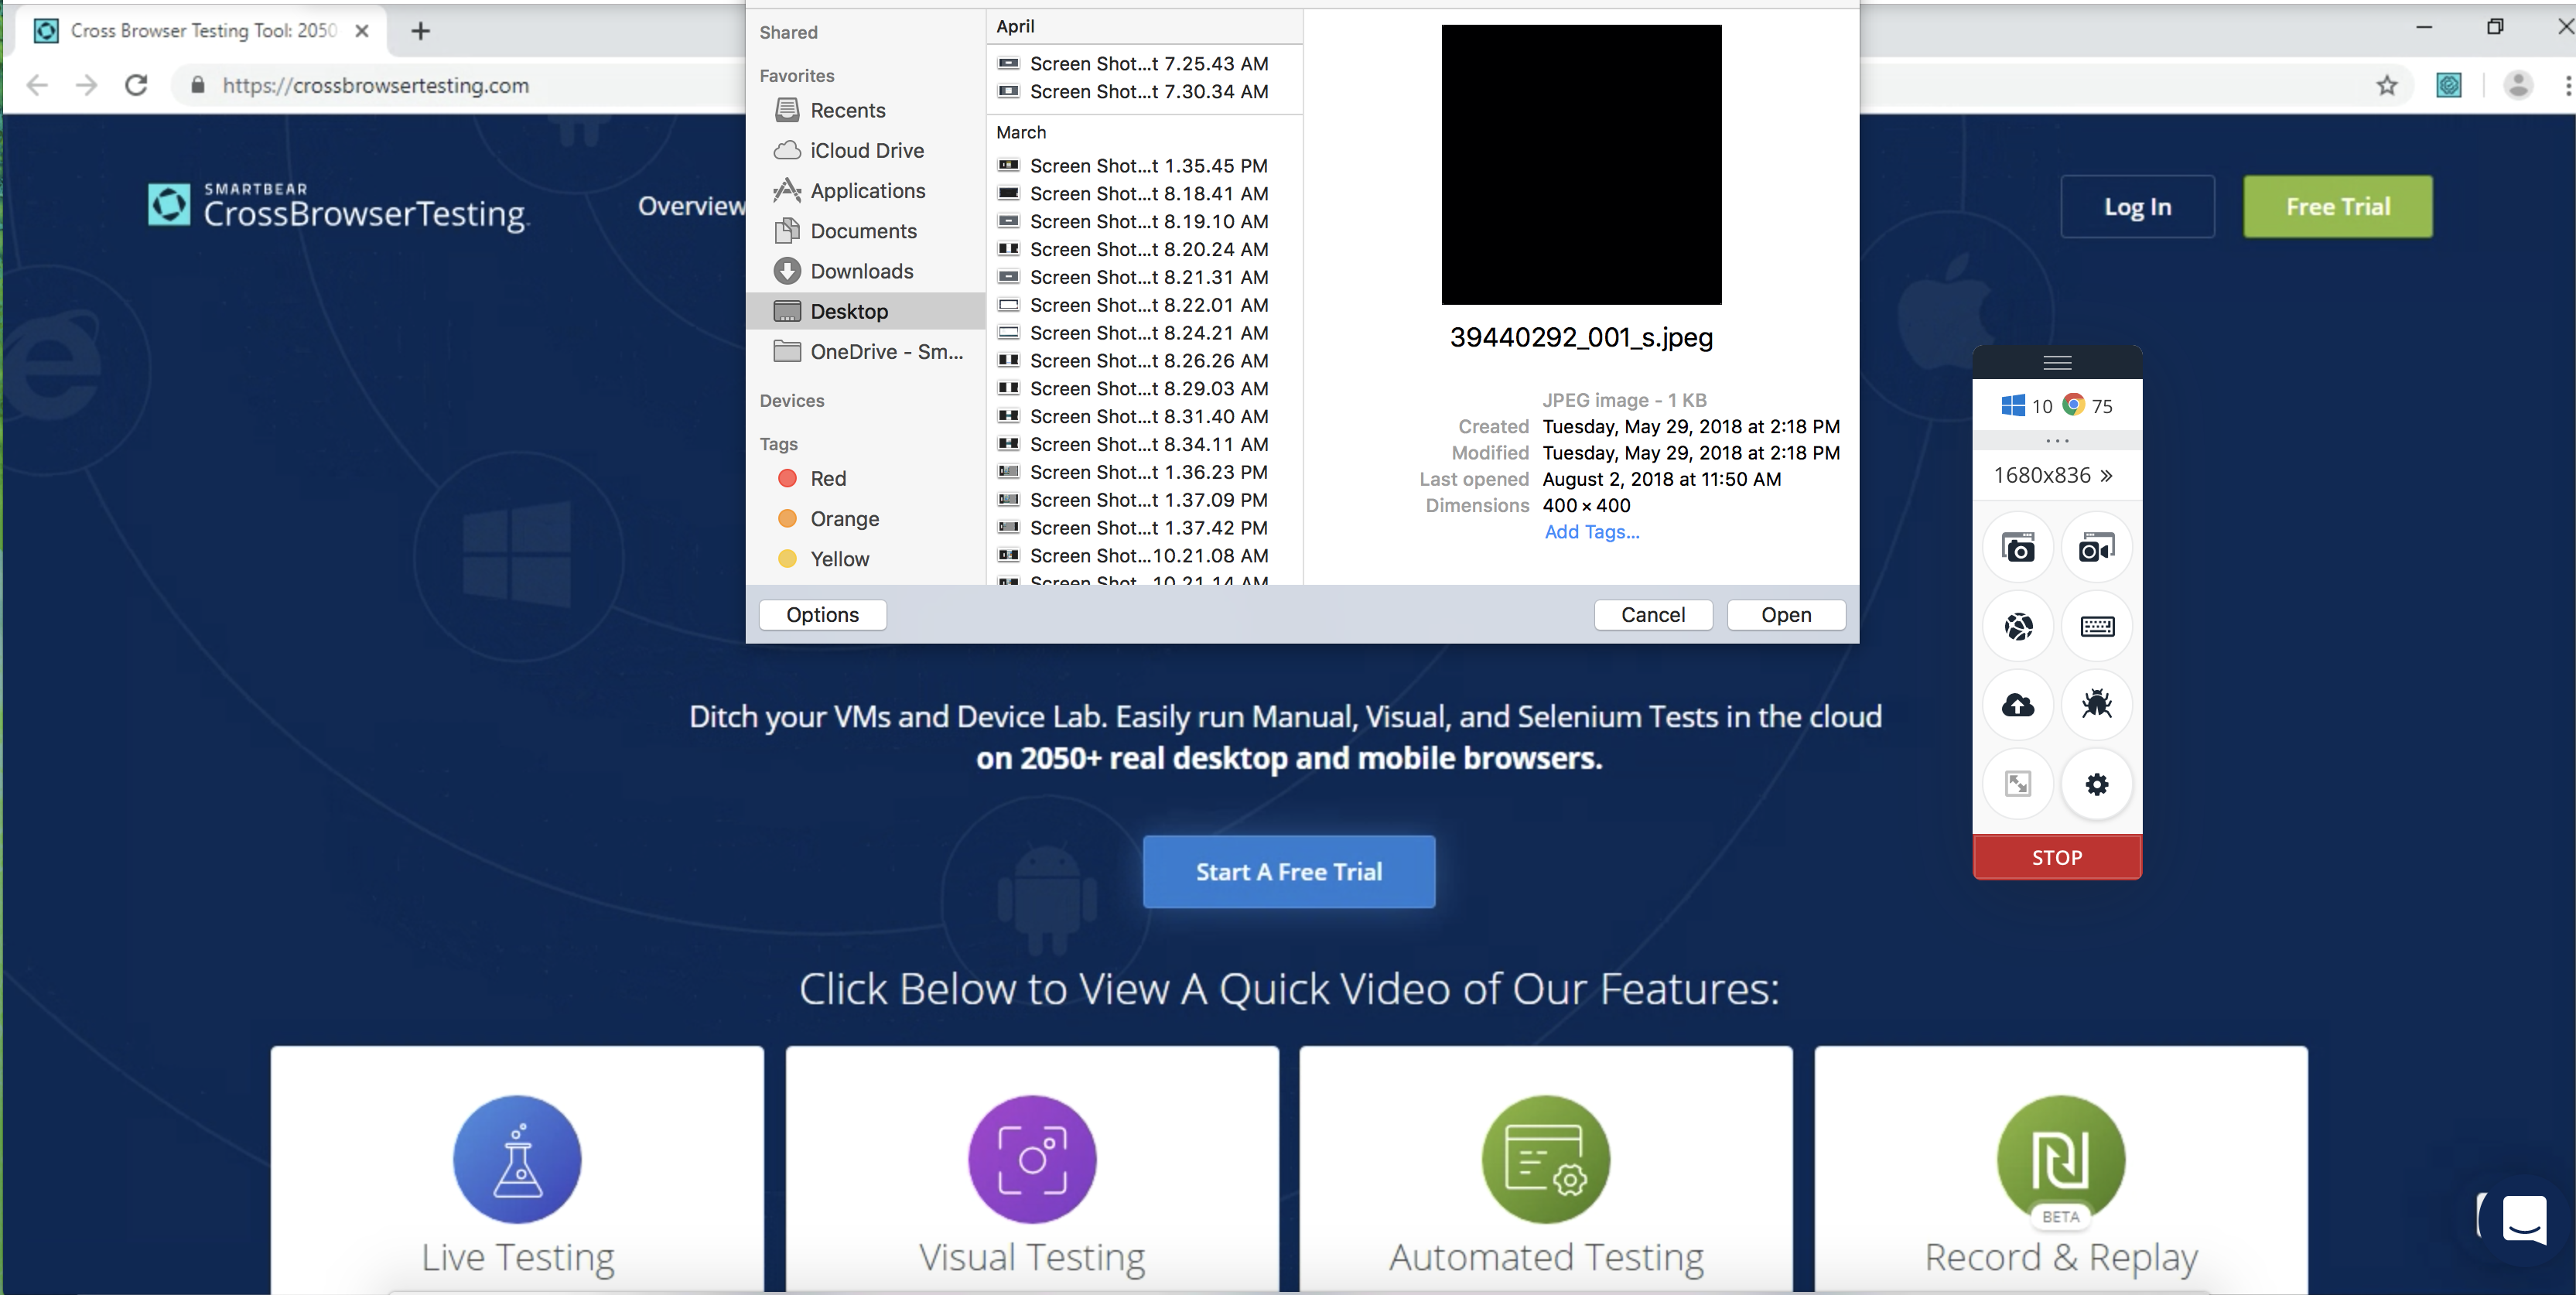
Once you click the button in the previous step, a new window will appear with a list of your local files.
Select one more files from this window and click Open to begin the upload.
4. Wait for file upload to complete
A notification will appear for each file selected indicating the file is in progress. As each file completes, the notification will update to show whether the file was uploaded successfully or not.
5. Find the files on the desktop of the remote session
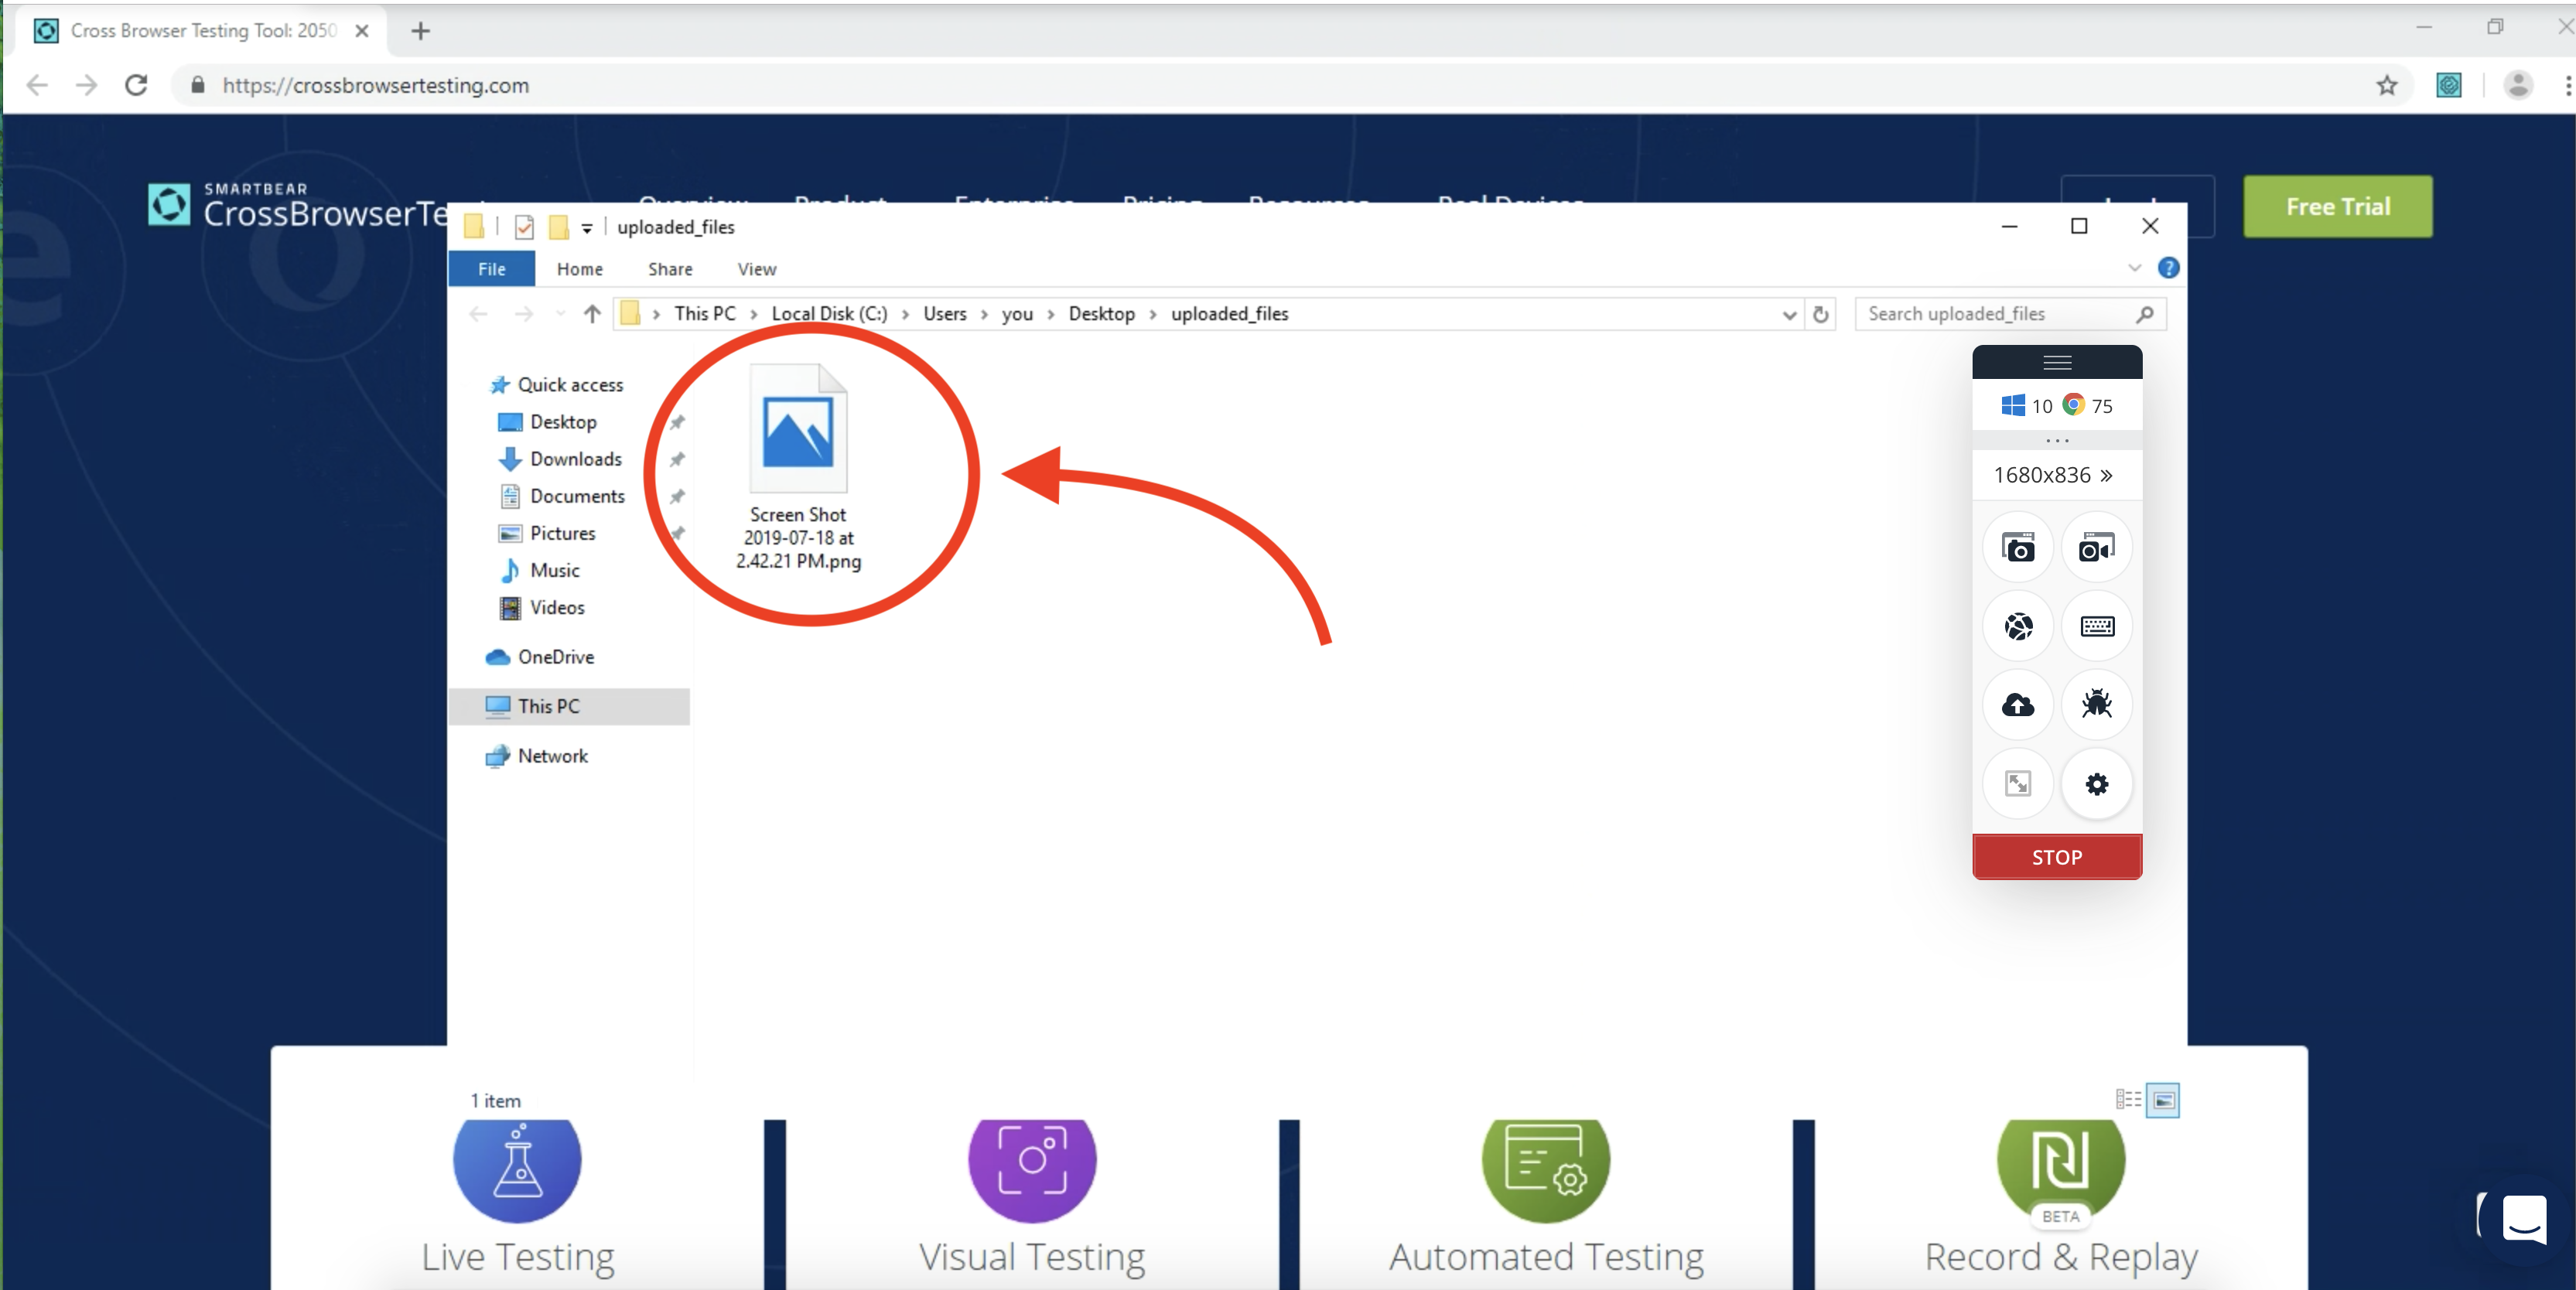
After the files finish uploading, the system will automatically deliver them to the desktop of the remote operating system and launch a window to their location.
Depending on the size of the files and other factors, this may take a minute before the window appears.
Once the files exist in the session, you are able to use them as necessary.
Here, you can see the file selected for upload is now on the remote session:
Drag and drop files to upload
-
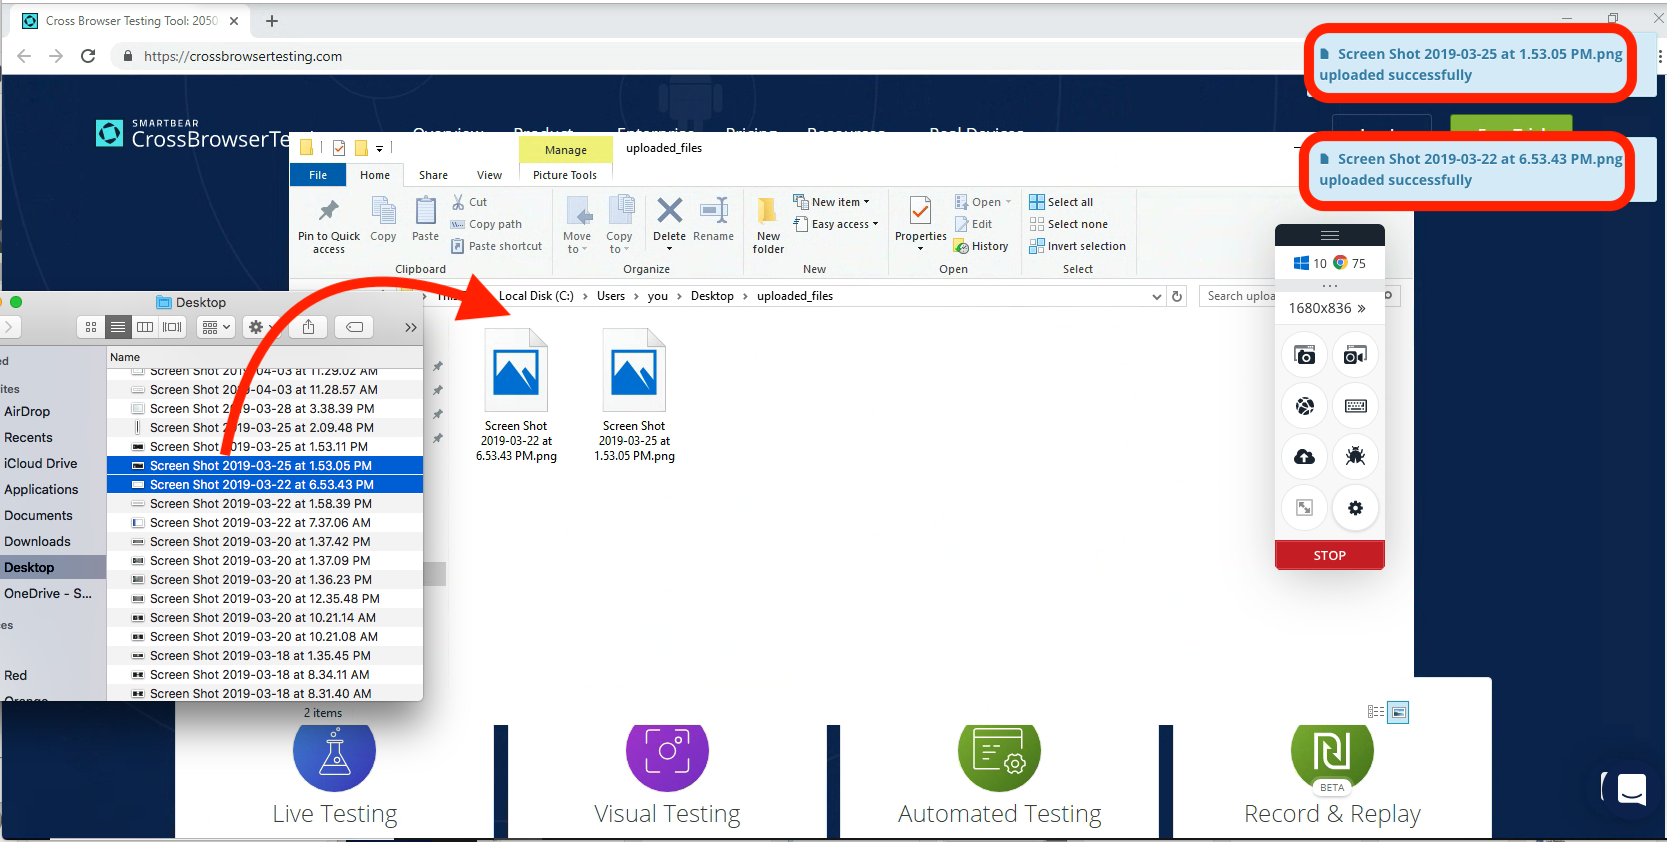
Once in a Live Test session, simple drag files from a local folder and drop onto the Live Test session.
-
You will see the notification about each file being uploaded:
Send a file
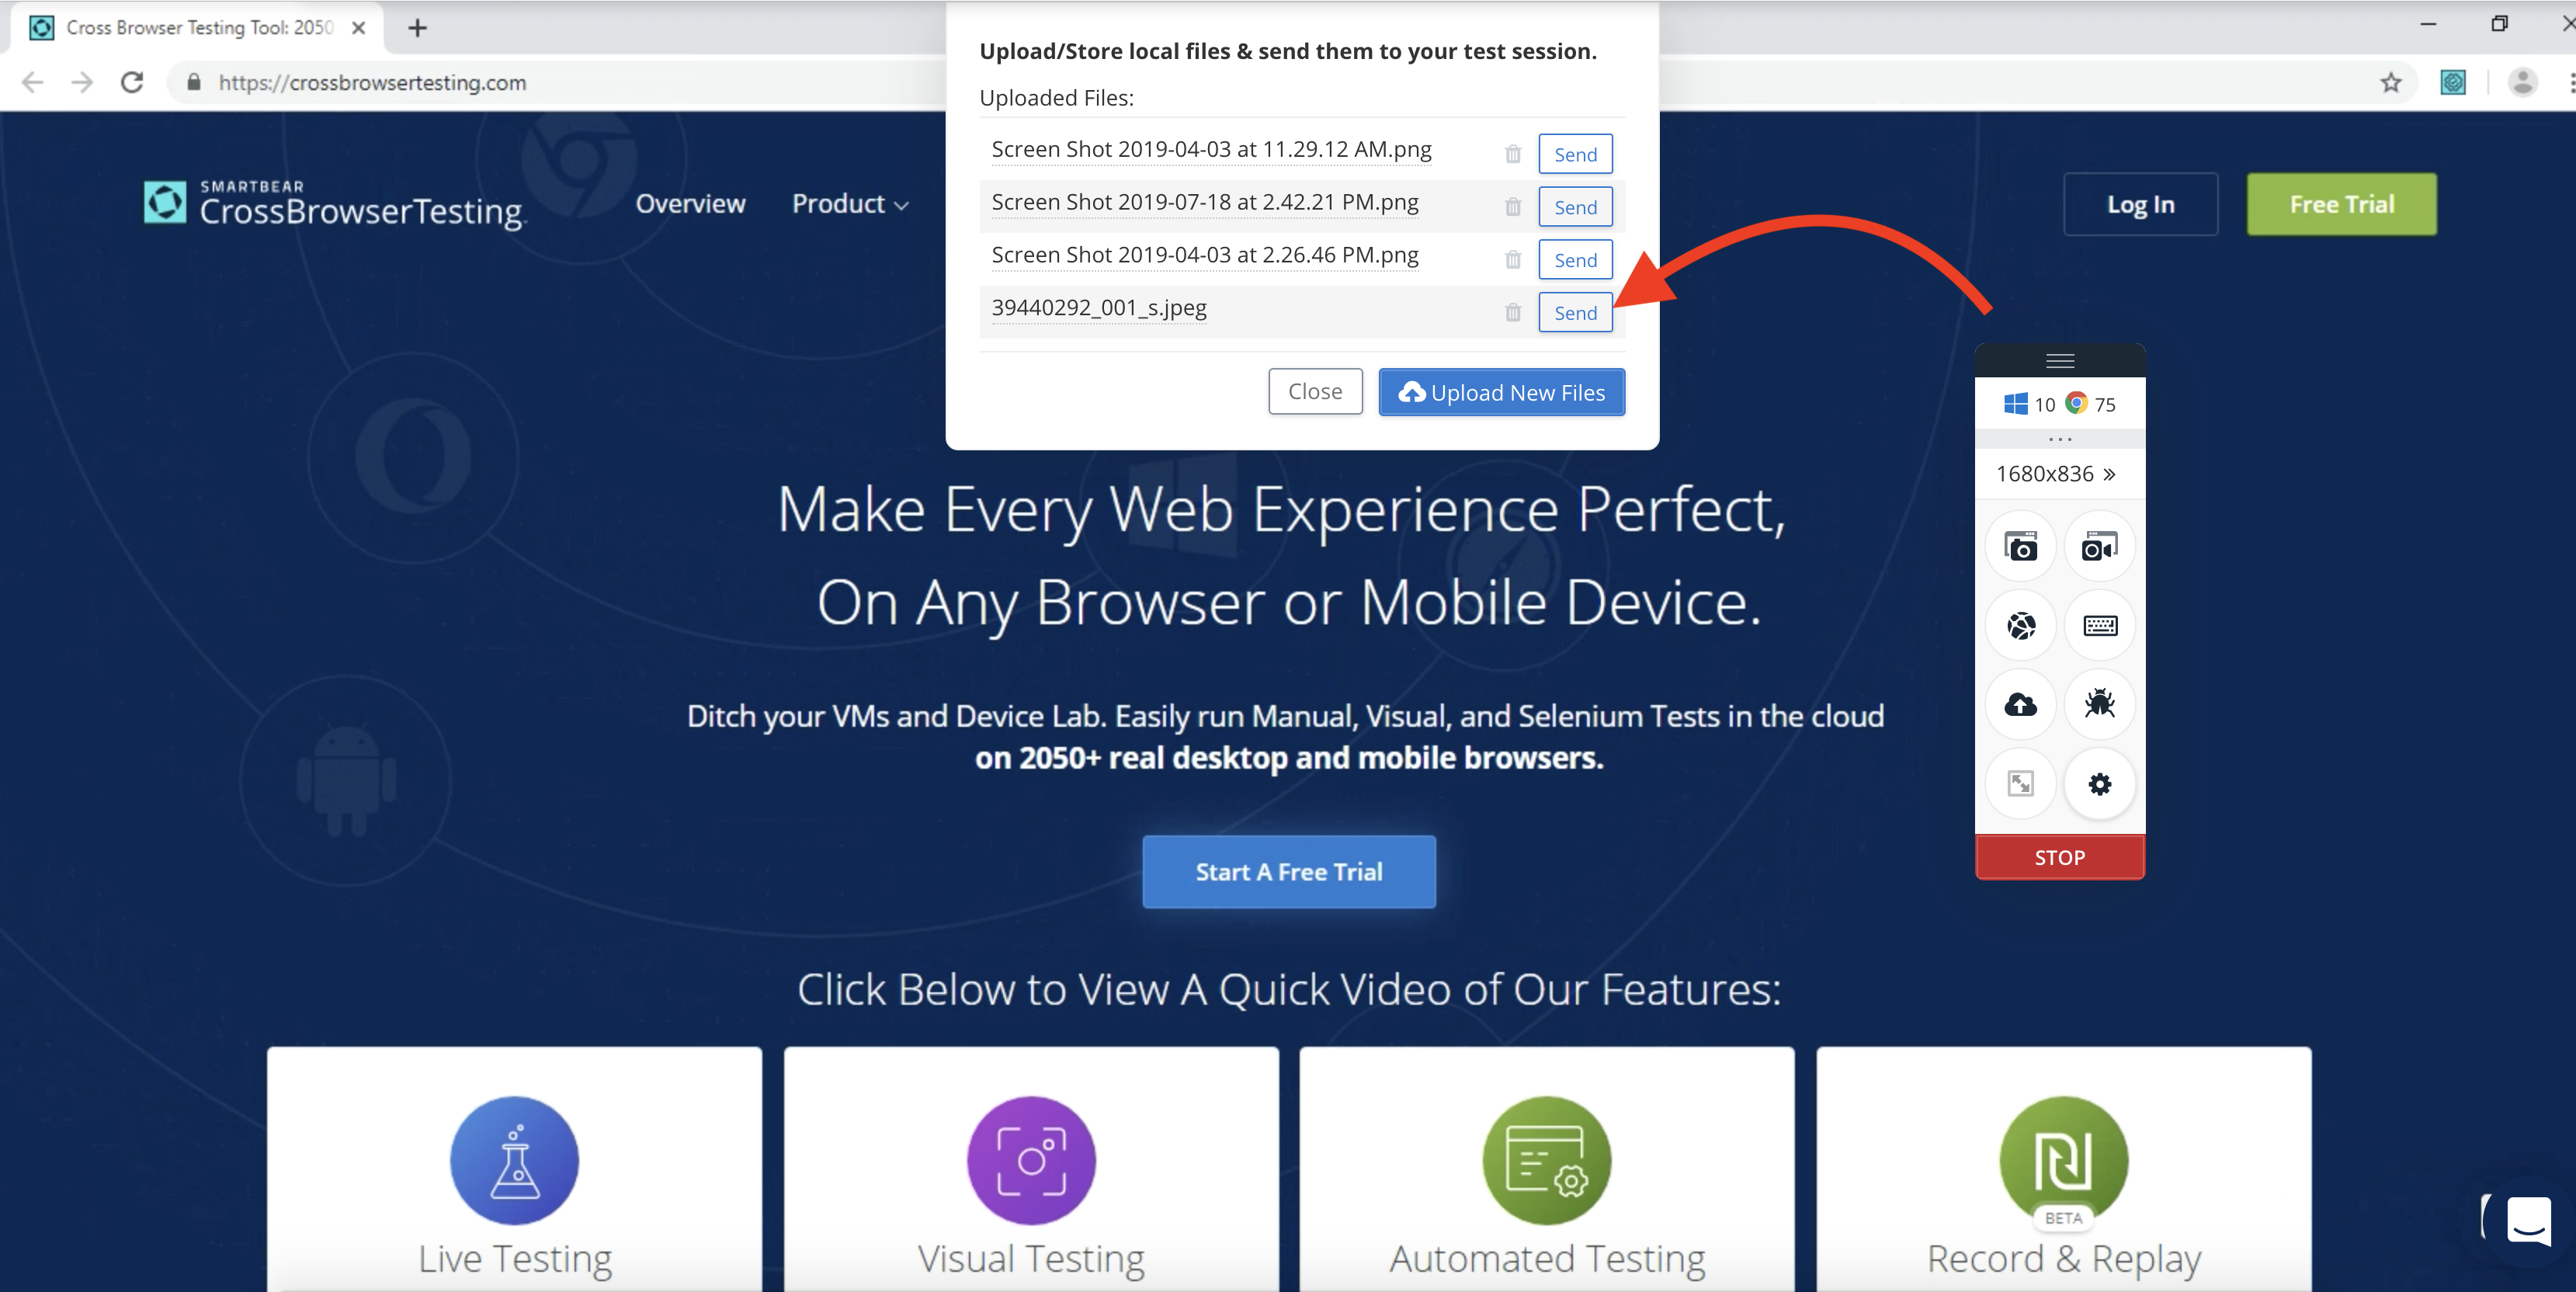
Any file uploaded previously for your login will appear in the Upload Files dialog. Simply click the Send button, and it will be added to the desktop of your current Live Test session.
View file info
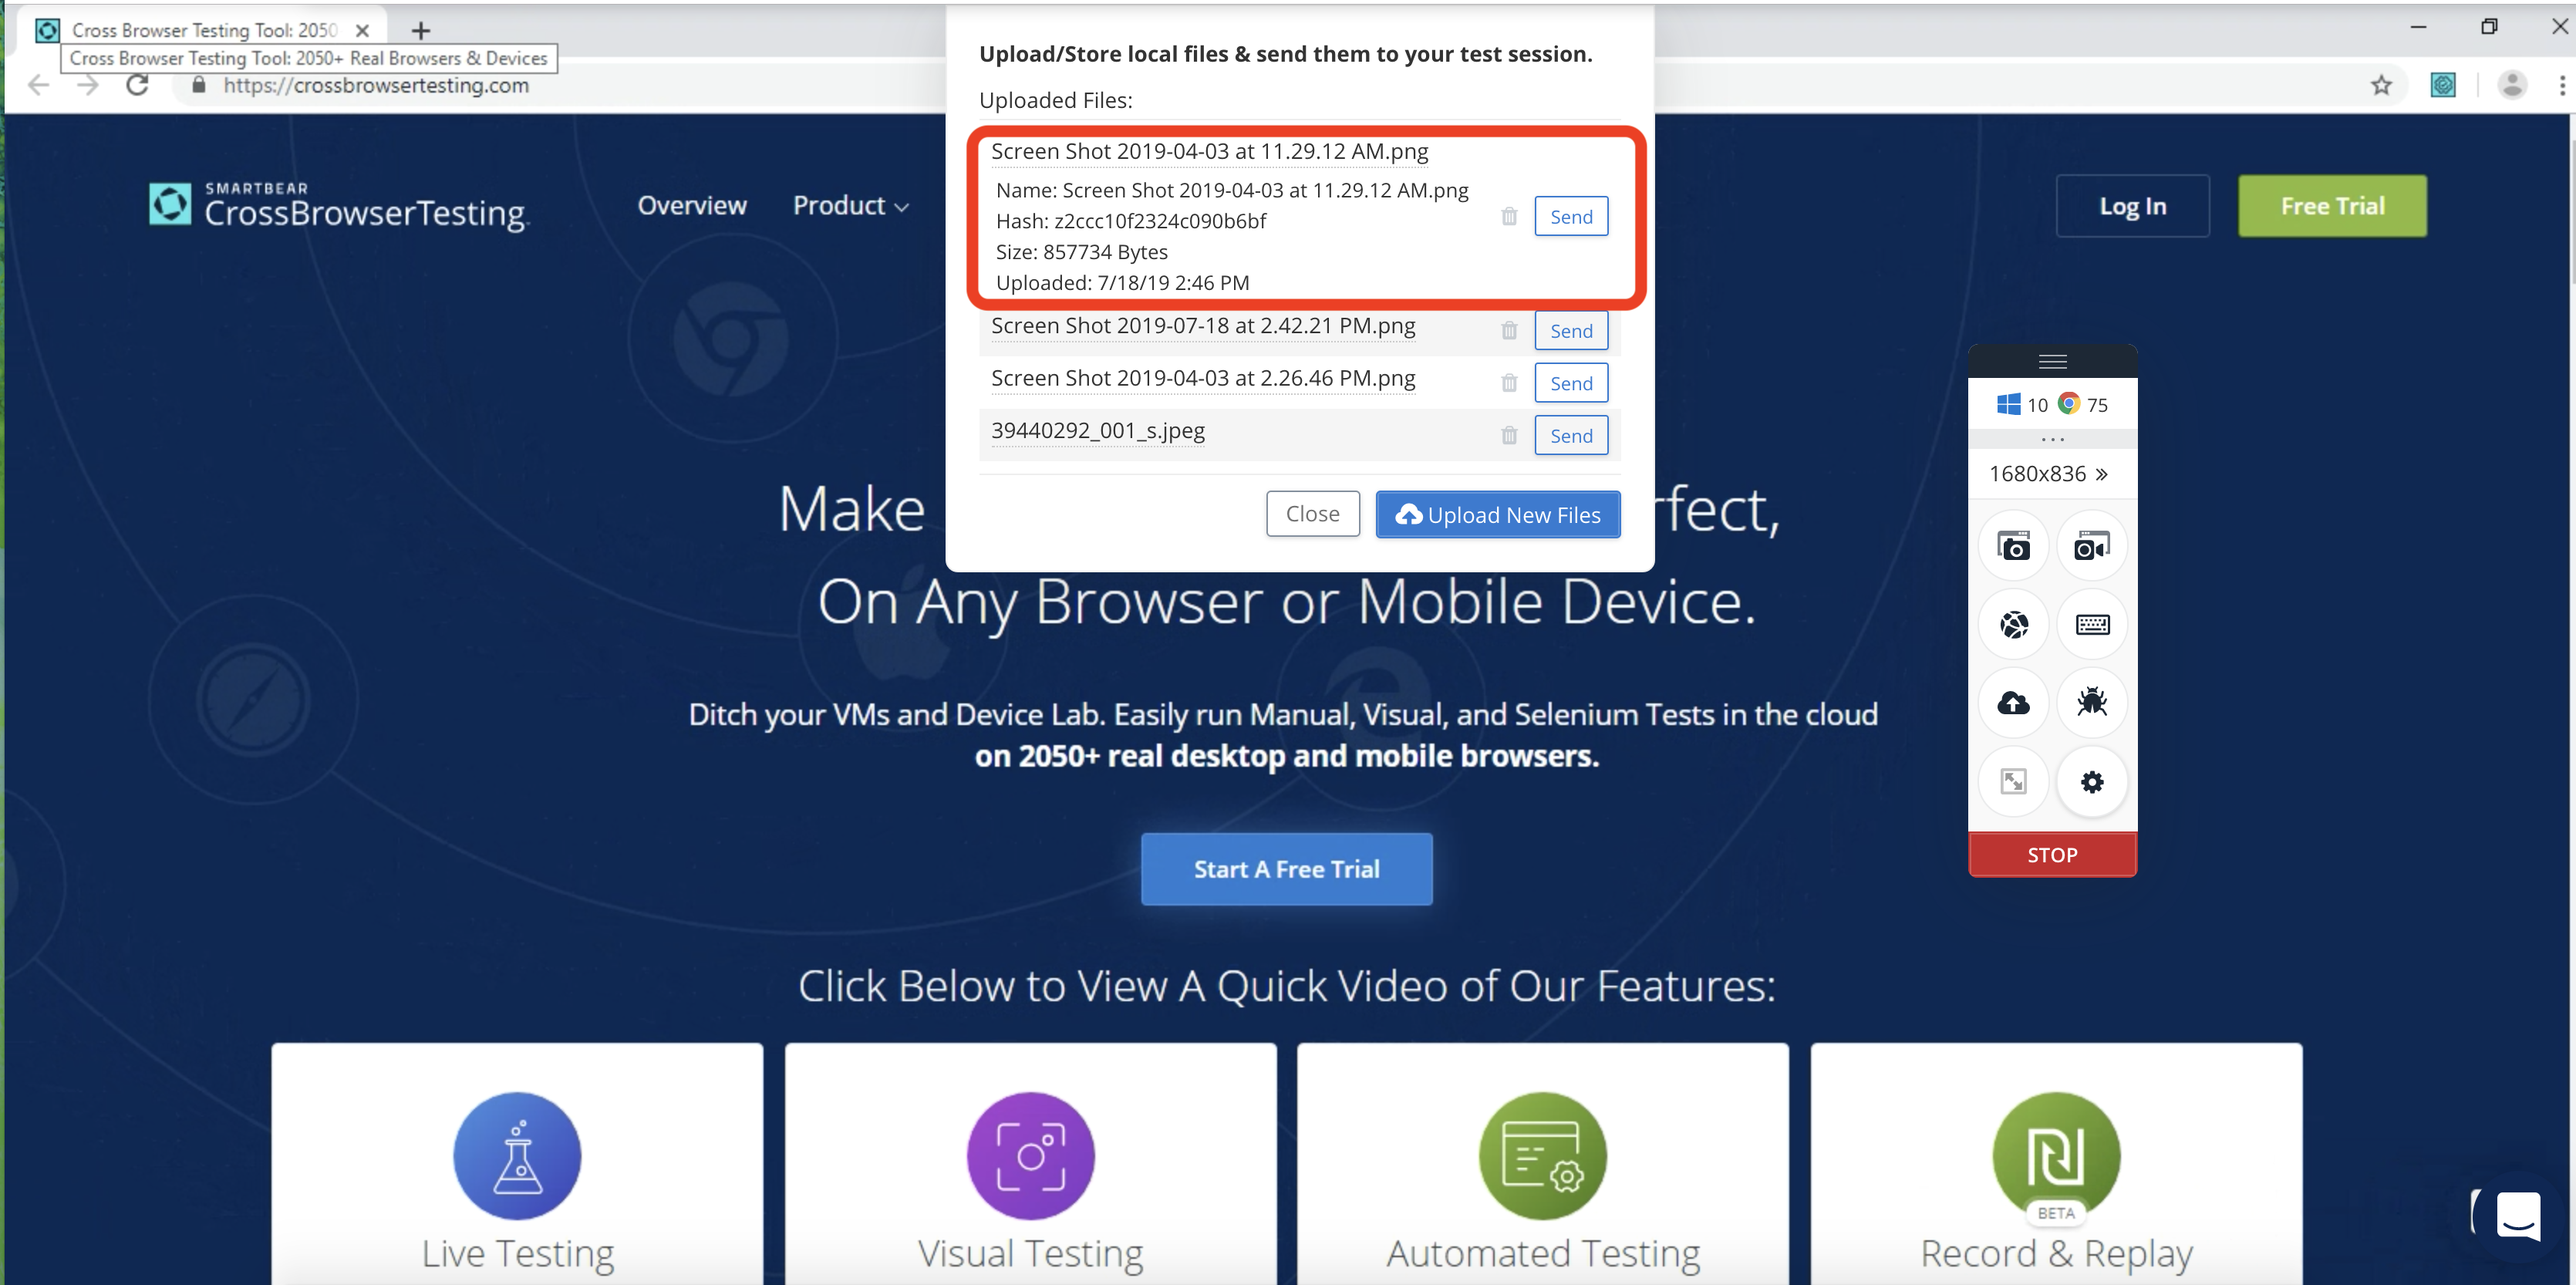
Any file uploaded previously for your login will appear in the Upload Files dialog. Click the filename to expand the files information into view.
Update a file
When you upload a file with the same name as an existing file, both files are kept. We do not overwrite the older file of the same name.
Simply delete the older file and upload a newer file to update your files appropriately.
Delete a file
Any file uploaded previously for your login will appear in the Upload Files dialog. Click next to the filename to delete this file from our server and remove it from the list.

