
In order to use Collaborator, you must first install and configure the server side of the Collaborator.
1. Download Collaborator Server
Navigate to SmartBear Downloads Center: http://support.smartbear.com/downloads/collaborator/ and download the "Server Installer" that corresponds to a platform of your server.
2. Install Collaborator Server
Launch server installer and go through the wizard to complete the installation.
| Note: | During the installation you may configure advanced settings for the Collaborator server: server port, authentication type, database type and so on. For first-time and evaluation installations we suggest that you leave the default values for these settings. |
Once the installation is finished, your default browser will start and open the Collaborator Web User Interface. The rest of the configuration and administration process is done using the Web User Interface.
3. Initialize Database
When opening the Web User Interface for the first time after installing the Collaborator server, the database initialization screen is displayed. Click Get Started to continue.
4. Log Into Web User Interface Client
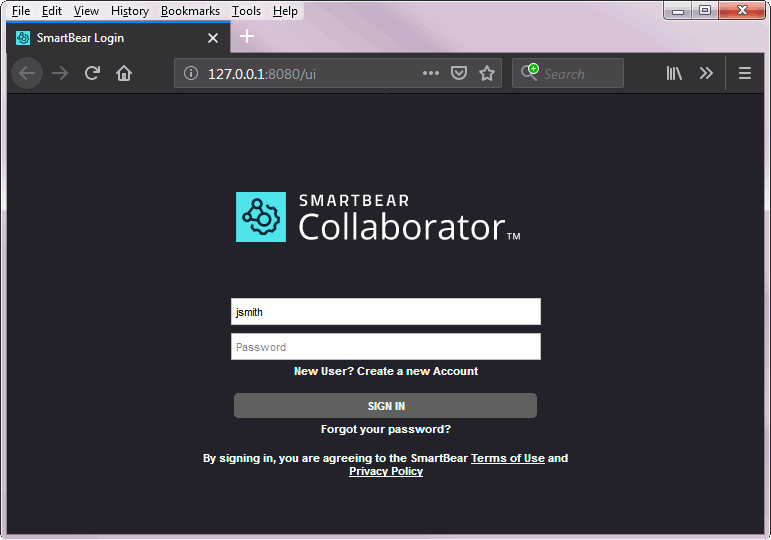
If you have chosen the default values for advanced settings or chosen Internal Authentication during the installation process, then specify the same username and password that you have provided during the installation. Click Login.
If you have chosen the LDAP Authentication during the installation process, then specify the same username and password that you have provided when configuring your LDAP integration. Please see LDAP Authentication for more information.
5. Perform First-Run Initialization
Once you have logged in as the admin, you will be redirected to the First-Run Initialization page. This page is displayed only once after the installation and asks you to provide necessary information to set up the Collaborator server.
In the Product Initialization section you will need to choose which product you would like to use: Collaborator Community, Collaborator Team or Collaborator Enterprise.
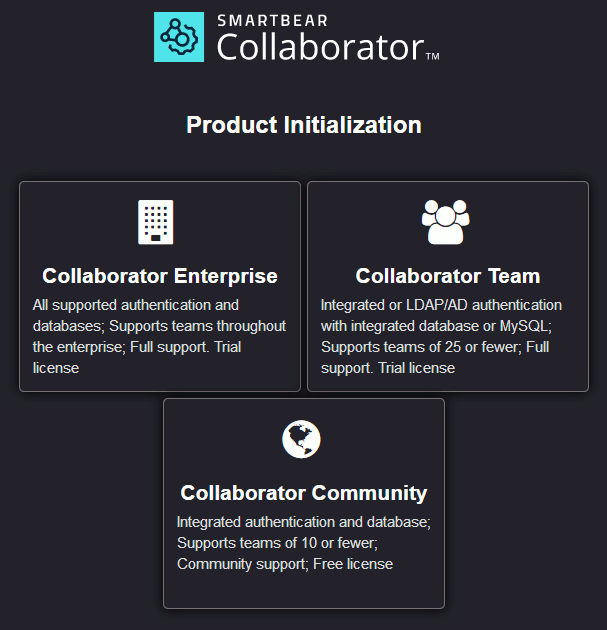
All products have the same goal, to make your peer review process easier and more effective, but provide different sets of features. Collaborator Community is intended for small developer groups, Collaborator Team is for medium groups and Collaborator Enterprise is for large enterprise level companies. To view all differences between Collaborator editions, please read this page.
| Note: | Depending on certain features that were chosen during the installation, the Product Initialization section may show a smaller set of available products. For example, if Oracle database was selected during the installation, then only Collaborator Enterprise will be available. |
6. Get Familiar With Web Client Home Page
After the first-run initialization, you are redirected to the Home page. This will be the starting page for administrating and working with Collaborator. Later on, after logging in you will start your work with Collaborator from the Home page.
This page looks much the same as your average Collaborator user’s home page. For the administrators the page additionally displays the Admin section on the top toolbar and the System link in page footer.

Click the image to enlarge it.
As the Collaborator administrator, you would like to familiarize yourself with the administration settings, so click the Admin section in header menu.
7. Configure Site-Wide Administration Settings
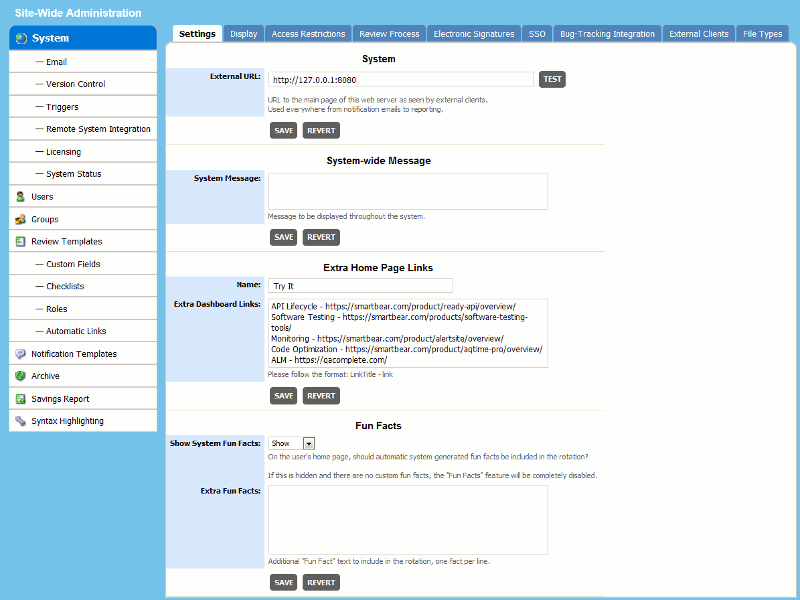
The Site-Wide Administration Settings section is where you can configure the settings of your Collaborator server.
The administration settings are grouped into a number of categories: General, Users, Groups and so on. You can read the detailed description of each setting in the Collaborator Settings section.
When configuring a Collaborator server for the first time, pay your attention to the following settings from the System category:
- External URL – Enter the full URL to the main page of the web server on which Collaborator was installed, as it would be seen by external clients.
- Display > Global "Create User" – When you are starting out, and you do not want to manually create usernames for all users, mark this field as "Show" so the users can create their own username and password. Mark it as "Hide" if you want to control the creation of users and usernames.
- Access Restrictions – Control who has access to reviews, reports, subscriptions, and systems information.
- Review Process – Control what users can or cannot do during the review process.
- Bug-Tracking Integration – Add the URL for creating a new bug in your bug tracking system. See Bug-Tracking Integration for more information.
8. Activate Your Licence
If you have an external internet connection, Collaborator will attempt to contact our licensing server so that we can automatically set you up with a 30-day trial license. Your licensing status is displayed in the bottom-left side of home page footer.

If you do not have an external connection, or if a firewall prevents access to our licensing server, you need to obtain a license code manually.
If you want to obtain and enter a permanent license code, you can follow the same instructions.
Click Licensing category of the Admin section.
This will open a page that gives you information regarding the licensing, such as when the license expires, when the support and upgrades expire, how many seats you have and so forth.
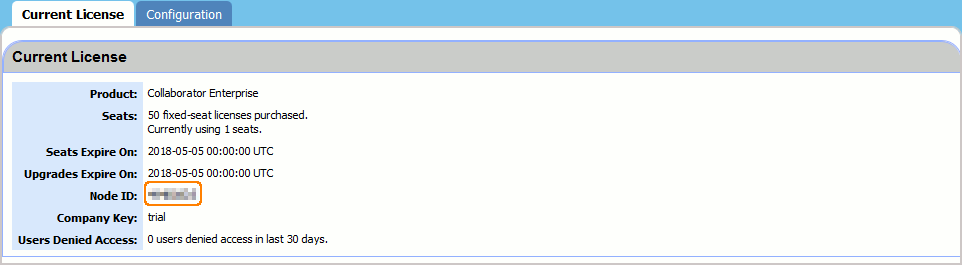
Find the Node ID field in the Current License pane. The Node ID is an 8-character value that is unique to every installation. Node ID is tied to every license code we generate.
Copy an 8-character value of Node ID and send it to your Account Manager to activate your license. If you do not know who your Account Manager is, just send the Node ID to [email protected].
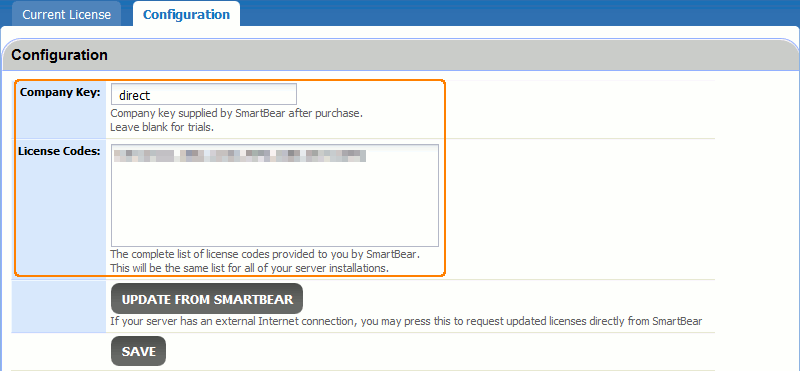
After you send us the Node ID, you will receive an email with a company key and license code. The company key is "trial" for temporary licenses and a word or phrase for permanent licenses. The license code will be a 32-character code. Enter the company key and the license code in their respective fields, and click Save.
That is all. Collaborator server is installed, configured and ready for operation.
Where to Go Next
To get detailed information about the server, its configuration and maintenance, read Collaborator Server section.
To learn how to upgrade an existing Collaborator server, read Server Upgrades section.
To learn about using Collaborator in a daily work, see Getting Started For Users and Web Client - Overview sections.