Collaborator uses a stand-alone web server for a cross-platform, no-client, firewall-friendly user interface. Please see the System Requirements section before continuing.
First, you need to download the correct installer for your platform from our website:
http://support.smartbear.com/downloads/collaborator/
To learn how to upgrade an existing Collaborator server, please see Server Upgrades.
Graphical Installer
Installers can be run in a graphical, interactive mode or an automatic mode. For first installation, you will need to run the graphical version so you can configure the options.
Normal installation
The Collaborator installation wizard includes the following screens:
-
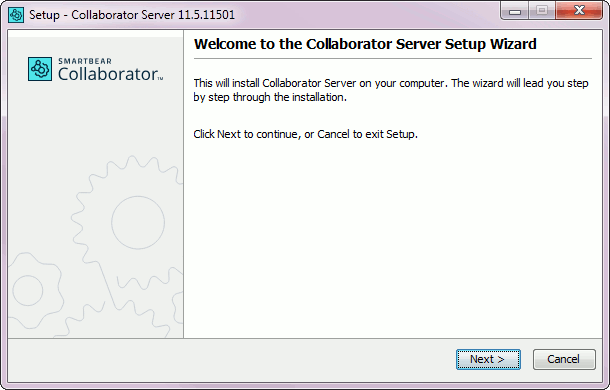
The first screen contains a welcome message.
-
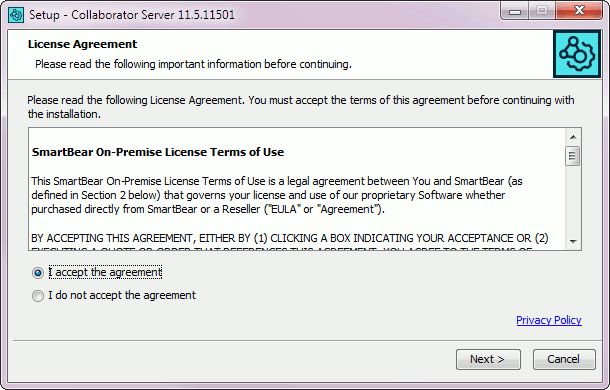
On the second screen, you can familiarize yourself with the end-user license agreement (EULA).
-
After that, you can select a disk location for the installation files.
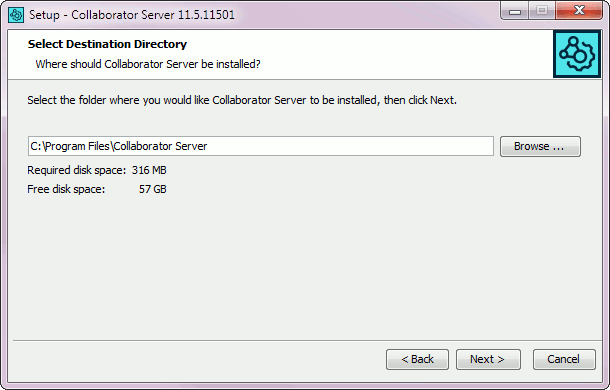
This directory should be writable by the server because several dynamic files are created here including web server logs, temporary storage, and long-term storage for file content uploaded by users. All of these locations can be changed if it is critical that the installation location be read-only, but this requires significant work on the part of the administrator and makes upgrades more difficult.
Make sure at least 5 GB of disk space are available in the specified directory. Your users will need the space for file uploads. You can always move the file upload directory.
-
Next, create the first user for your Collaborator server.
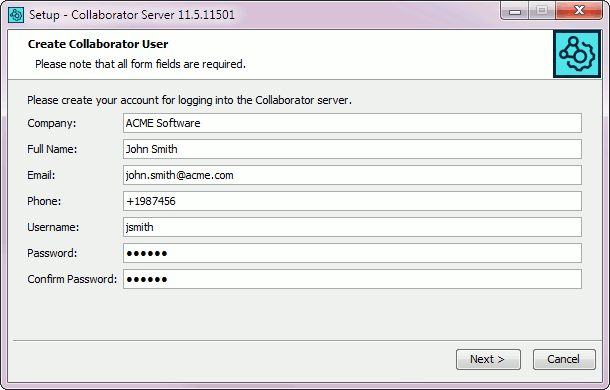

This newly created user will have the administrator privileges on the Collaborator server. Fill in the company name, the full name of a user, their email address, phone number, username, and password. The contact information is primarily there for your users to know who to contact if they are having issues with Collaborator. SmartBear only uses this information to contact you when there is a critical issue with your Collaborator installation. We will not sell or share this information.
-
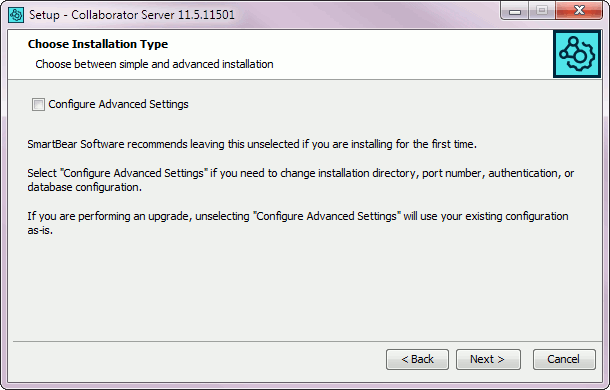
On the subsequent screen, you can decide whether you want to configure advanced options. By default, the check box is not checked, so the wizard uses the default options. This is recommended behavior for the first-time and evaluation installations.
-
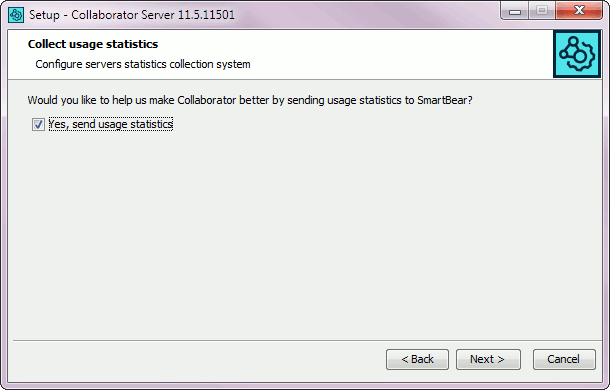
After that, select whether you want your Collaborator server to collect and send usage statistics to SmartBear. To learn about our privacy policy, visit https://smartbear.com/privacy/.
The installer copies the server files, stopping any existing server if necessary. Once the new files are installed, the server is started automatically, and the installer tells you it is finished:
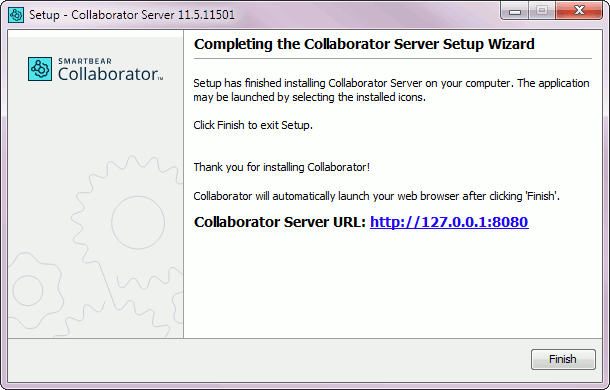
After you click Finish, a web browser will open at your server’s configuration page.
 |
If the server has not quite had enough time to fully start up, it might take a while for the web page to load and it might even fail to open. Just refresh the page opened in browser. |
Advanced installation
When you select the Configure Advanced Settings check box on the corresponding screen of the installation wizard, you can override the default settings and create your own configuration.
The advanced settings configuration routine includes the following steps:
-
On the first step of advanced configuration, you can change the installation files' location on the hard drive.

This directory should be writable by the server because several dynamic files are created here including web server logs, temporary storage, and long-term storage for file content uploaded by users. All of these locations can be changed if it is critical that the installation location be read-only, but this requires significant work on the part of the administrator and makes upgrades more difficult.
Make sure at least 5 GB of disk space are available in the named directory. Your users will need the space for file uploads. You can always move the file upload directory.
-
Then, specify a port number for your server.
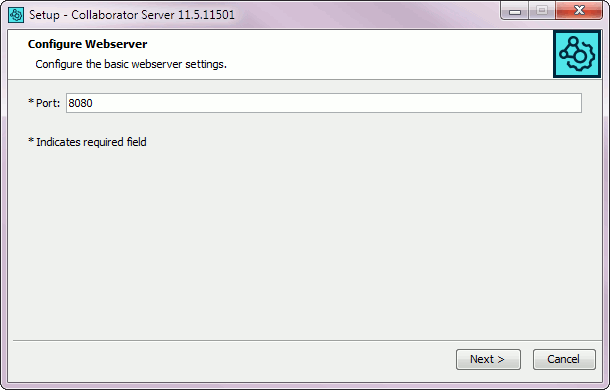
The port number should be selected as to not conflict with any existing services. The installer will try to connect to this port when you click Next. If the port is already taken by another process, you will receive a warning message. You can try a different port, or continue. Continue at your own risk – the server probably will not be able to start up and you will have to make the port available and restart the server manually.
Additionally, your firewall settings may prevent remote access on the default port or on your selected port. In order to allow access, you will have to modify your firewall settings accordingly. For more information see the troubleshooting section.
-
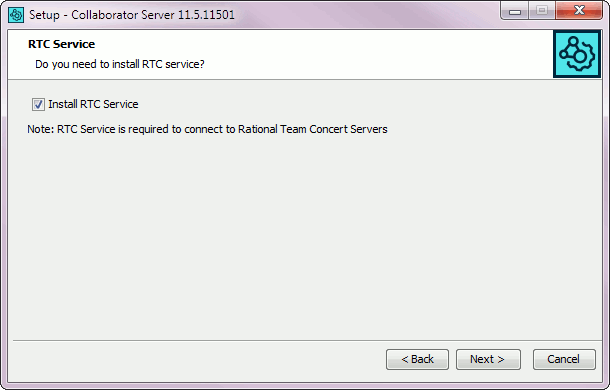
After that, you can select whether to install helper RTC Service to your server. This service is required if you plan to use RTC integration:
-
Next, you configure the database connection. The database should already be installed and ready:
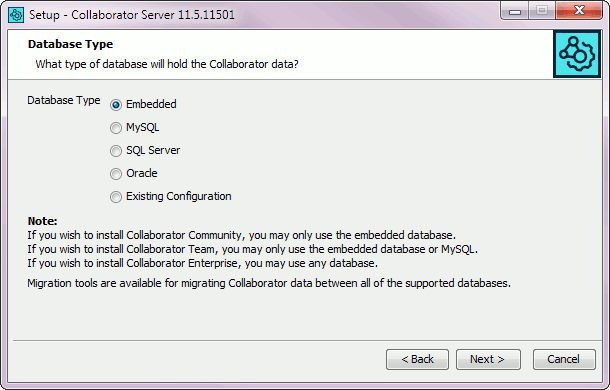
For trial installations, you will probably want to select the default embedded database. You should migrate to a full-featured database before you use the server in production.
If you pick anything but the embedded database, the next screen will allow you to configure the connection to the database server:
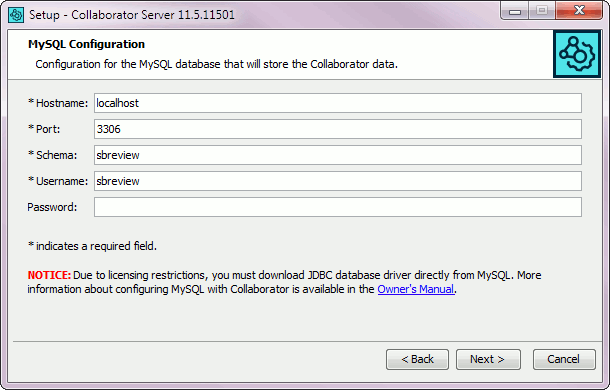
The exact format of this screen depends on the database you chose. The Username and Password fields there refer to the database username and password. Typically, you will want to create a special database username and password for the Collaborator application so you can control exactly which data it has access to. This usually means full access to the database created for Collaborator and no access to any other database.
-
On the subsequent screen, you configure how you want the user to authenticate in Collaborator.
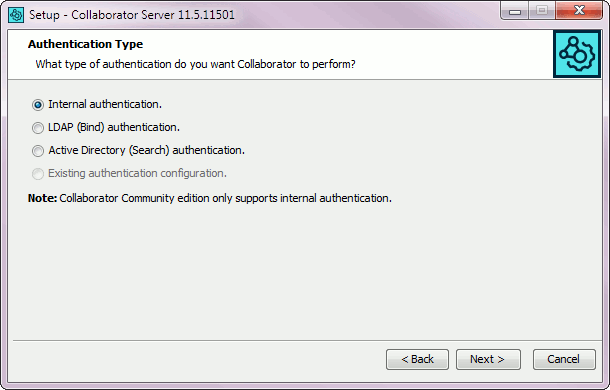
With Internal, Collaborator maintains usernames and passwords in its own database.
If your company uses LDAP or Active Directory authentication, you can use one of these methods to authenticate users in Collaborator, which means you do not have to maintain the Collaborator user list at all. If you select the LDAP method, you will get an additional wizard screen that lets you supply the settings for your LDAP server. See LDAP and Active Directory Authentication for details.
You will also have the option to choose Existing LDAP authentication configuration, if you are upgrading an existing installation.
-
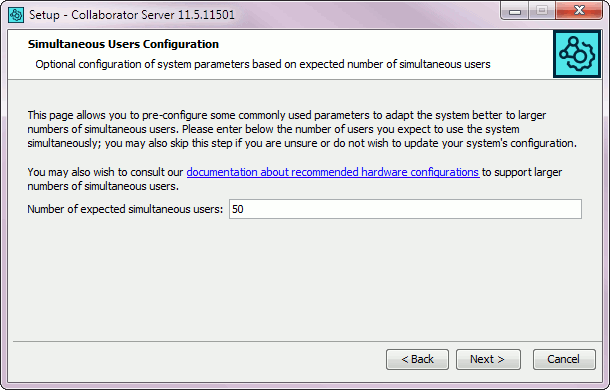
After that, you can decide how many simultaneuos users should your Collaborator server support.
-
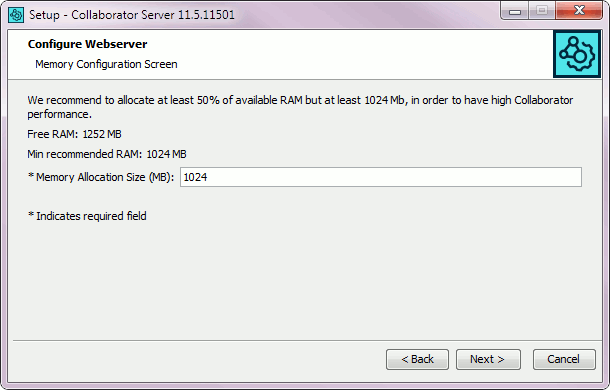
Finally, specify the lower memory bound for Collaborator server memory allocation.
Upgrade installation
If the installer detects an existing Collaborator server, it offers to either upgrade the existing server or install into another directory.
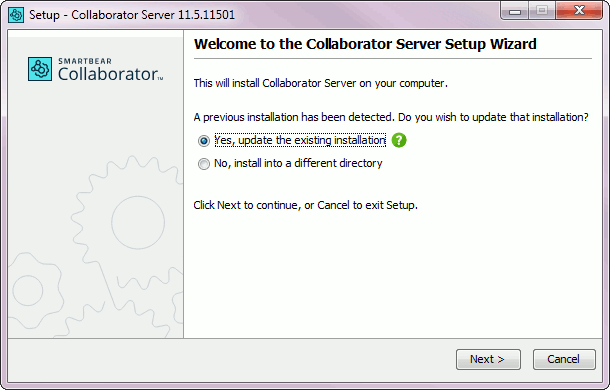
When upgrading, the installer retains the current configuration of a server, that is, it assigns the same installation folder and all setting values as in the current configuration – though these can be edited if needed.
Non-Graphical Installer
If you are upgrading the server instead of installing from scratch, you have the option of installing without any graphical user interface.
We recommend that you always use the graphical interface when possible because it gives you the chance to review settings, especially new settings that we might have added since your last installation.
To run the installer without a GUI, run the installer from a command-line using the -q switch. To set the installation directory from the command line, use the -dir [directory] switch. The -q switch gives you a silent install and will not prompt you for any installation instructions. If you would like to be prompted for installation instructions without using the graphical installer, you can run the installer from the console using the -c command.
Installation Tips
Multiple server instances on single machine
All server instances need to be running on unique and available ports. Each server instance will also need a separate database and license code.
On Windows, install the different instances in different directories, on different ports, with separate database instances. This will get all of the software installed, but only the last one will be properly installed as a service. To install the others as a service, run the following command from the command line:
This will install that instance as a Windows service with the specified service name. To uninstall a service that was misnamed or no longer used:
On Unix platforms, you should install the server in multiple directories and then edit your /etc/init.d scripts accordingly.
System with multiple JRE installations
On systems with multiple JREs installed, it may be necessary to specify to the installer which JRE should be used for Collaborator. On Windows platforms, running the installer with the -manual argument will suppress the JRE search and cause the installer to prompt for the JRE location (specifically, java.exe). On Unix platforms, you can specify the JRE location by setting the INSTALL4J_JAVA_HOME_OVERRIDE environment variable to the JAVA_HOME value.
