In order for TestExecute to be able to test your iOS application, the application must be instrumented, that is, it must be prepared for testing in a special way.
To instrument your application, you compile it with the TestComplete-agent-static.a library and then validate the application by using certificate files:
-
the Apple WWDR file,
-
a developer certificate,
-
the PEM file,
-
a provisioning profile.
To learn more about instrumenting iOS applications, see Preparing iOS Applications.
 Do not submit instrumented applications to the App Store. Instrumented applications use private APIs and will be rejected. Create a separate build configuration for test builds.
Requirements
-
To get the files, you must have access to the Mac computer where the developer certificate you want to use is installed.
If you do not have access to the Mac computer, you will have to ask the developer of your tested application to get the files as described below.
-
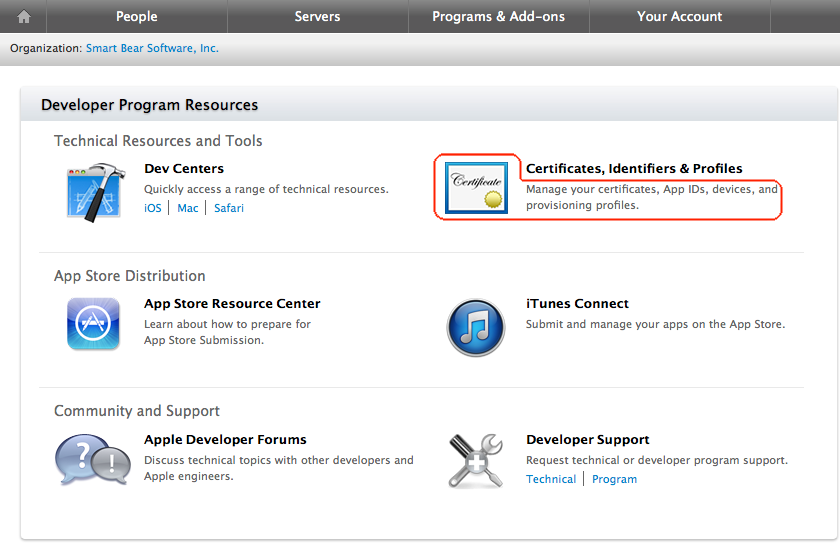
If you use the iOS Developer Program (not the iOS Developer Enterprise Program) to develop your tested application, the provisioning profile you will use for instrumentation must include the devices where you will run your tests. Register the devices before you start instrumenting your application:
We recommend that you use the iOS App Development profile for your applications. This way, you will be able to automate the deployment of the tested applications to your iOS devices and launching the applications on them from your tests. To learn how to do it, see the TestComplete documentation.
Get the Apple WWDR Certification Authority File
The Apple Worldwide Developer Relations (WWDR) certificate will link your development certificate to Apple, completing the trust chain for your application.
Download the certificate from the Apple web site:
 developer.apple.com/certificationauthority/AppleWWDRCA.cer
Copy the file to your TestExecute computer.
Get Certificate Files
By Using the Certificate Exporter Utility
To get a developer certificate, the PEM file and a provisioning profile, you can use the Certificate Exporter utility that is shipped with TestComplete. The utility is in the <TestComplete>/Bin/Extension/iOS/CertificateExporter.zip archive. To get the files by using the utility:
-
On the computer where TestComplete is installed, locate the Certificate Explorer utility archive:
<TestComplete>/Bin/Extension/iOS/CertificateExporter.zip
 Do not unpack the utility on a Windows machine. This will corrupt the utility.
 -
Copy the archive to the Mac computer where the needed developer certificate and provisioning profile are installed.
-
Unpack the archive on the Mac computer.
-
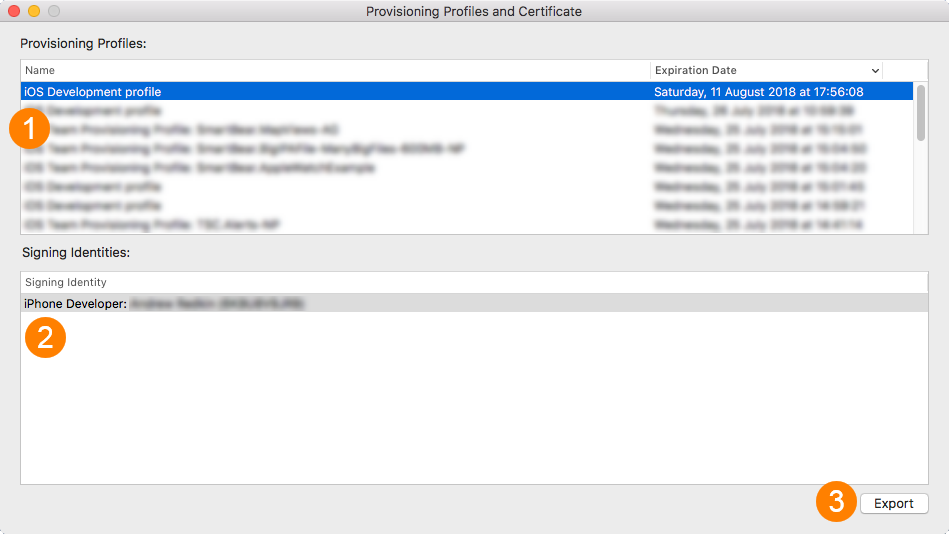
Run CertificateExporter.app. It will show a list of available provisioning profiles.
-
Select a profile from the list. The utility will show you the assigned certificates in the list below.
-
Select the certificate you want to export and click Export.
-
Specify the directory to which you want to export the files.
-
If a dialog appears asking you to allow the utility to access your keychain, click Allow.
The utility will export the developer certificate, provisioning profile and the PEM file to the specified directory. To learn how to use these files to instrument your application, see below.
Manually
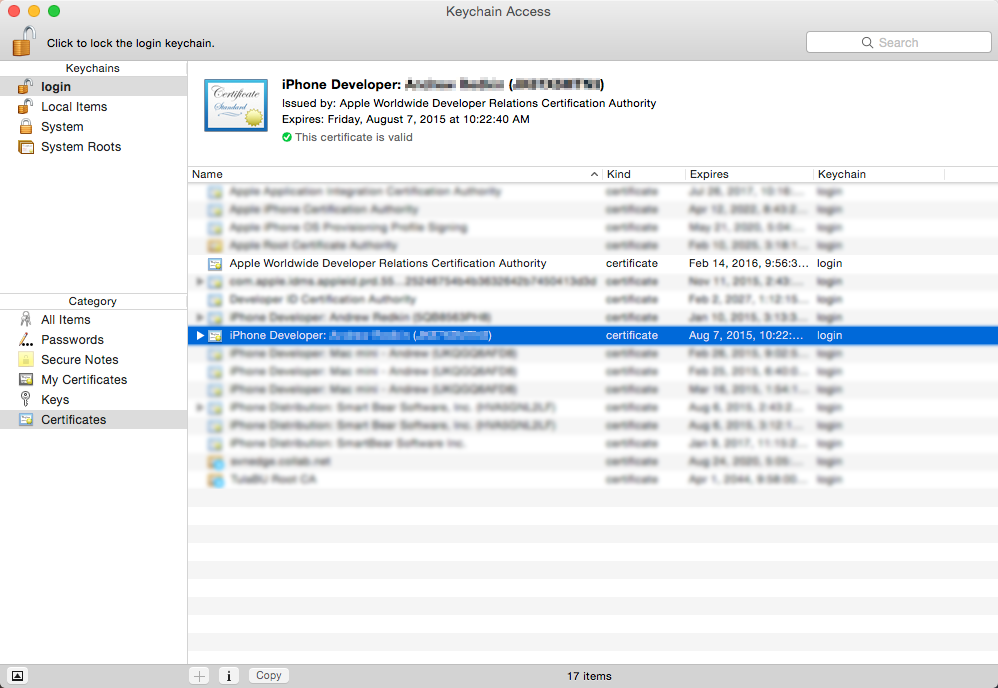
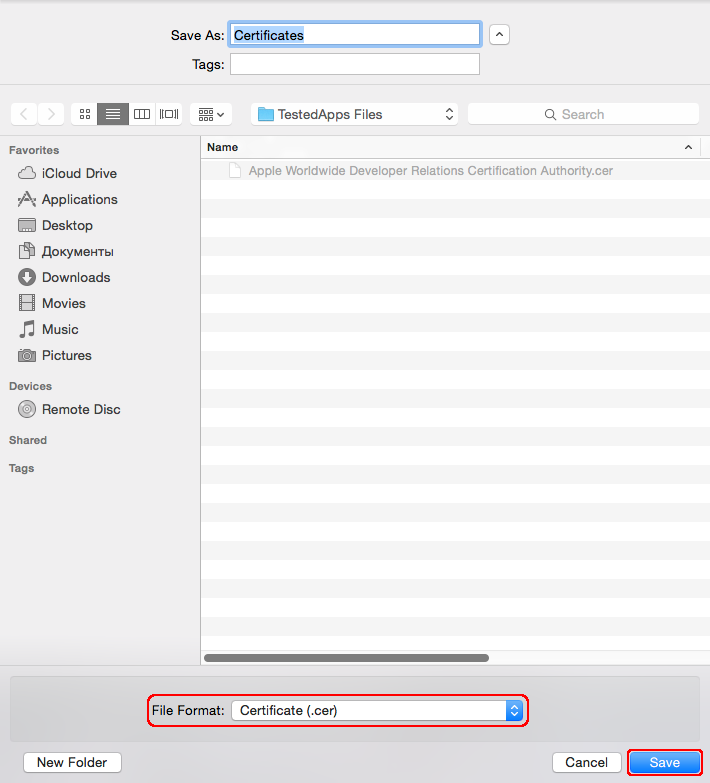
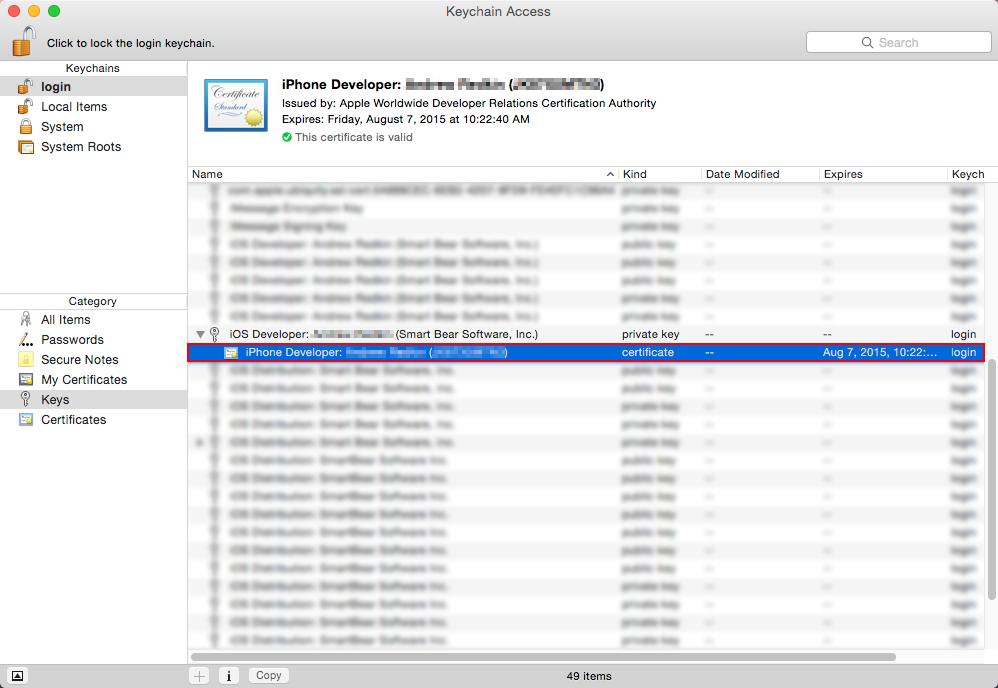
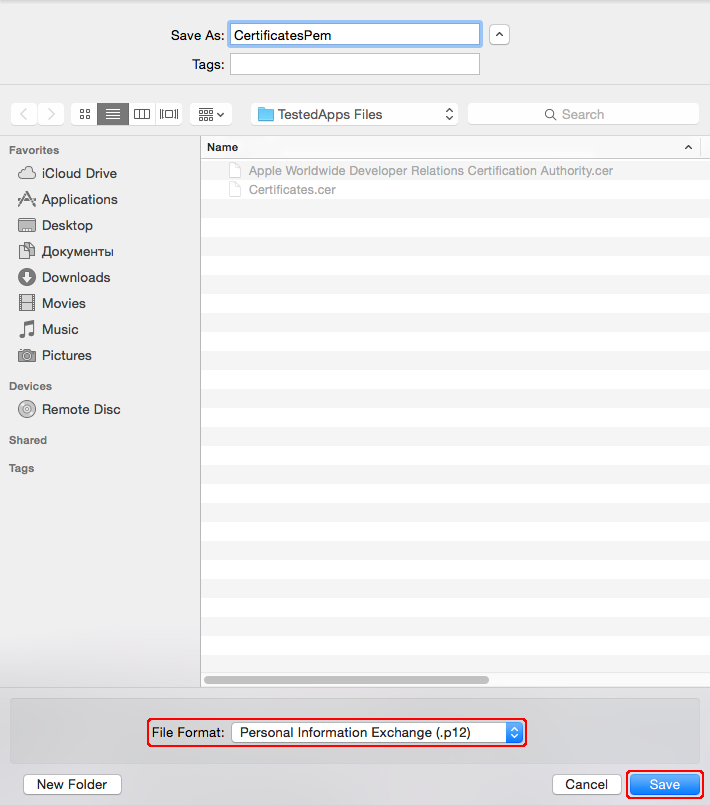
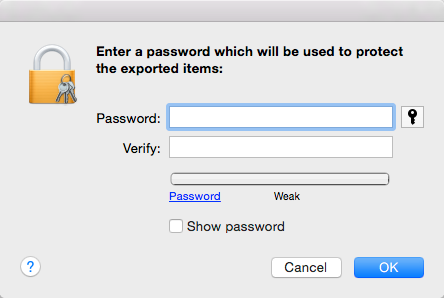
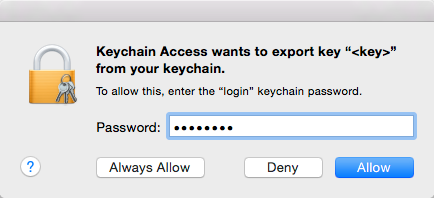
Getting a Developer Certificate and the PEM File
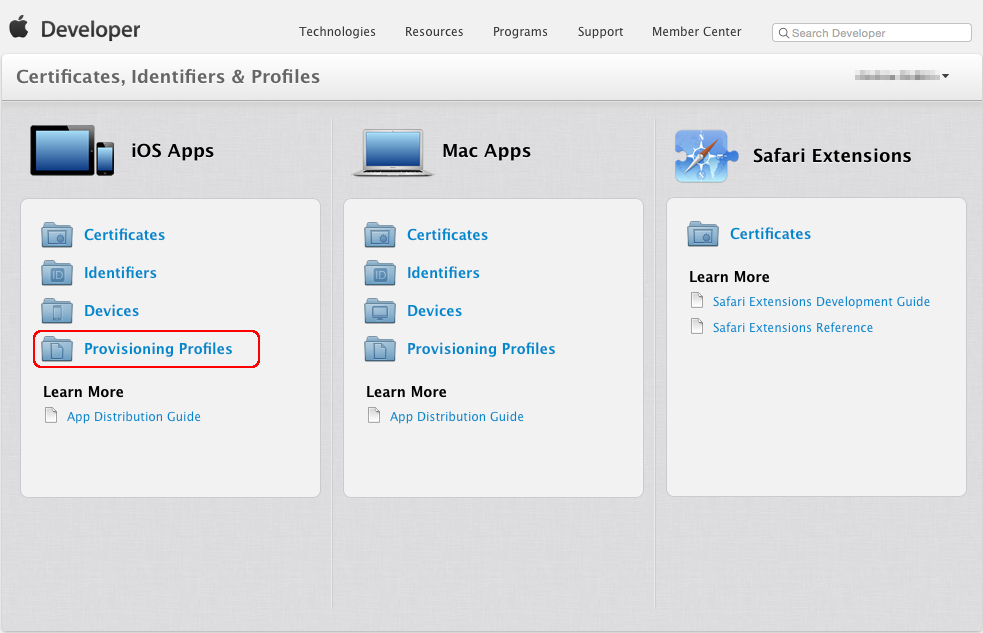
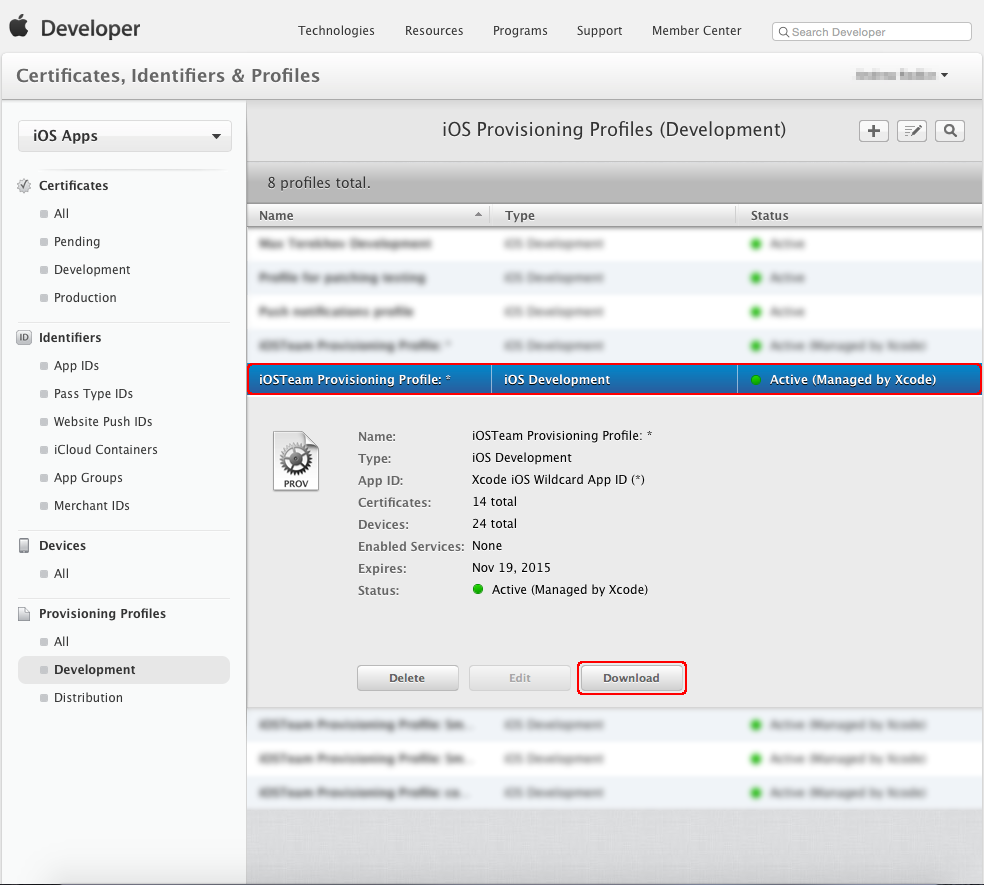
Getting a Provisioning Profile
 The provisioning profile must belong to the same developer as the certificate and PEM file.
Next Steps
After you get all the required files, you are ready to instrument your iOS application:
-
If you are instrumenting your application in the TestComplete IDE or from tests, see the TestComplete documentation.
-
If you are instrumenting your application in Xcode or Xamarin Studio, follow the appropriate instructions:
See Also
Preparing iOS Applications
Preparing Test Computers for iOS Testing
Preparing iOS Devices

 Getting a Developer Certificate