Once you make changes to your TestComplete project (or project suite), you can send these changes to your team project repository.
You can check in changes made to the entire project suite or project, or to individual project items.
Note: To perform any tasks over a project (or a project suite) bound to a team project repository in Azure DevOps Services or Azure DevOps Server or on Team Foundation Server, your computer must have access to the repository.
-
Select File > Source Control > Check In from the TestComplete main menu.
– or –
Right-click your project or project suite in the Project Explorer and then click Source Control > Check In.
– or –
Click
 Check In on the Source Control toolbar (if the toolbar is hidden, right-click the toolbar area and select Source Control).
 -
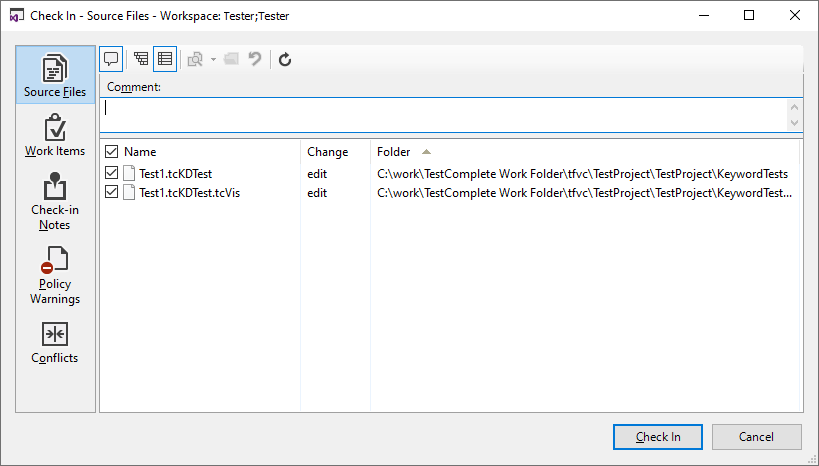
Team Explorer’s Check In dialog will appear.

-
The dialog lists all the changed files of your project suite. Select the check boxes next to the items you want to check in, and clear the check boxes next to the other files.
-
(Optional.) Enter a check-in comment.
-
Click Check In.
TestComplete will send your changes to your team project repository.
Related Tasks
See Also
Integration With Team Foundation Version Control - Common Tasks
Integration With Microsoft Team Foundation Version Control

 Reverting Pending Changes