 |
The information below concerns legacy mobile tests that work with mobile devices connected to the local computer. For new mobile tests, we recommend using the newer cloud-compatible approach. |
 |
Information in this topic applies to testing iOS mobile applications. To learn how to test web applications, please see About Cross-Platform Web Tests. |
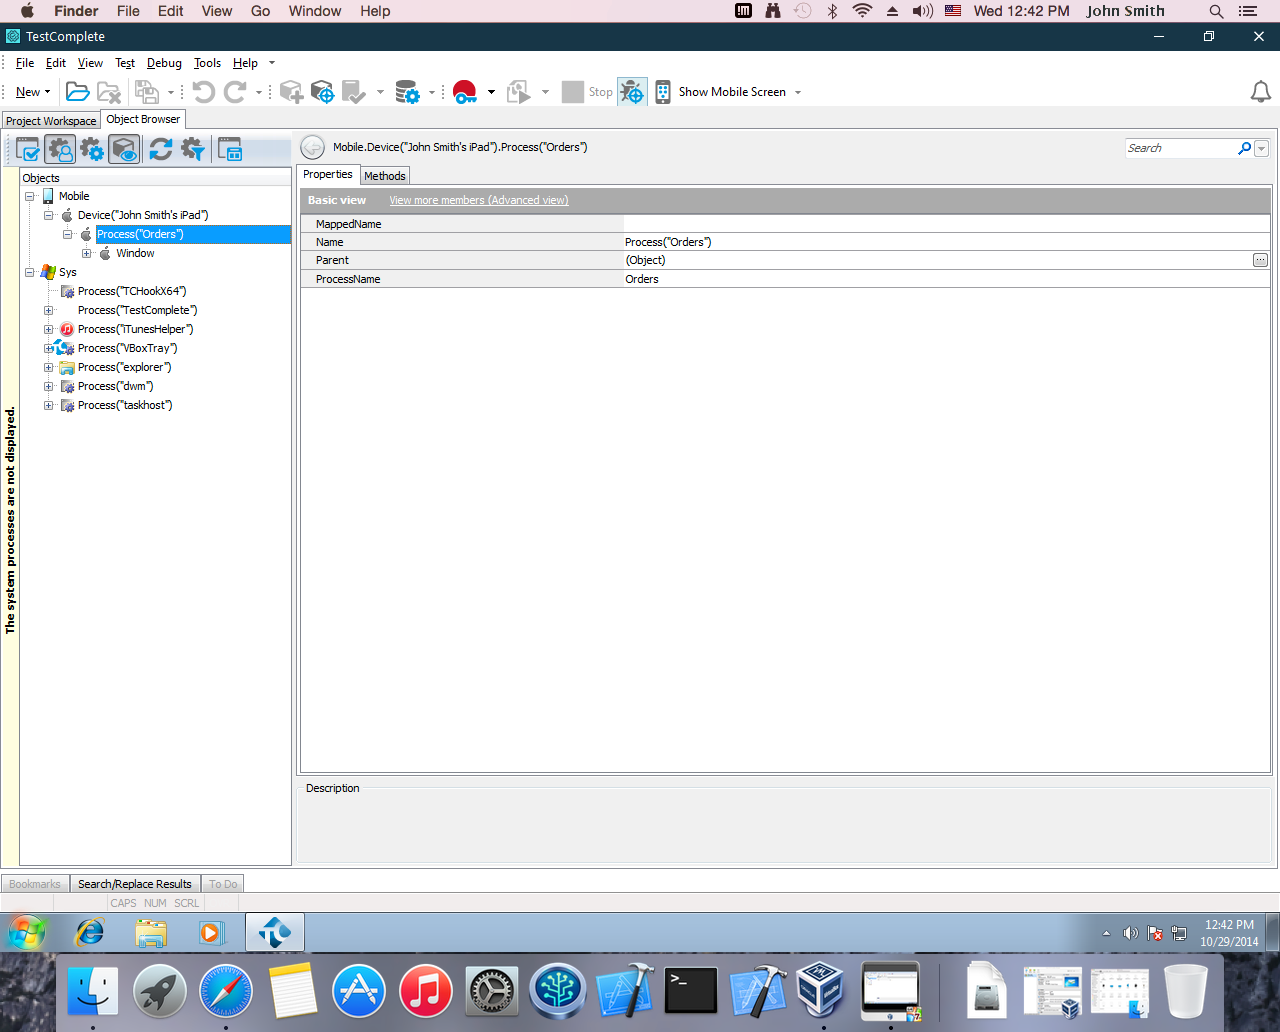
TestComplete is a Windows application. However when testing iOS mobile applications, you may want to launch TestComplete on your Macintosh computer. This can be done by using hardware virtualization tools.
The general idea is quite simple: using a virtualization tool, you can create a virtual machine on Mac OS, install Windows on that virtual machine and then install and run TestComplete in this virtual Windows environment.
In this topic, we explain how to run TestComplete on Mac OS X by using one of the following virtualization tools:
-
Oracle VirtualBox for OS X.
-
Parallels Desktop for Mac.
Note: To use TestComplete on a Windows partition running by using Mac Boot Camp, you must use a Floating User TestComplete license and have it activated on a physical Windows computer. Activating TestComplete licenses on Boot Camp Windows partitions is not supported.
 1. Install and Configure the Virtualization Tool
 2. Create a Windows Virtual Machine
 3. Setup the License Manager PC and Activate the TestComplete Floating User License
 4. Install TestComplete on the Windows Virtual Machine
 5. Prepare the Virtual Machine and TestComplete for iOS Testing
Requirements
You need the following:
-
An Apple Macintosh computer.
-
One of the following virtualization tools:
-
Oracle VirtualBox for OS X with the VirtualBox Extension Pack.
-
Parallels Desktop for Mac.
-
-
A Microsoft Windows installation disk or a .iso image to install the operating system on a virtual machine.
-
Apple iTunes for Windows - it includes drivers for iOS devices.
-
SmartBear TestComplete with a Floating User License - this license type allows using TestComplete on multiple computers, including virtual machines.
-
A Windows-based computer/server to activate the Floating User License. The Windows-based computer must be available on the local network. This computer will be used as the License Manager PC.
-
License Manager Utility - a standalone resource-friendly utility that turns the selected computer into the License Manager PC.
1. Install and Configure the Virtualization Tool
Oracle VirtualBox for OS X
Oracle VirtualBox is a free virtualization tool that allows running multiple operating system on a single computer. You can use it to run the Windows operating system on your Macintosh computer.
-
Download VirtualBox for OS X from the VirtualBox web site –
-
Install VirtualBox on your Macintosh computer.
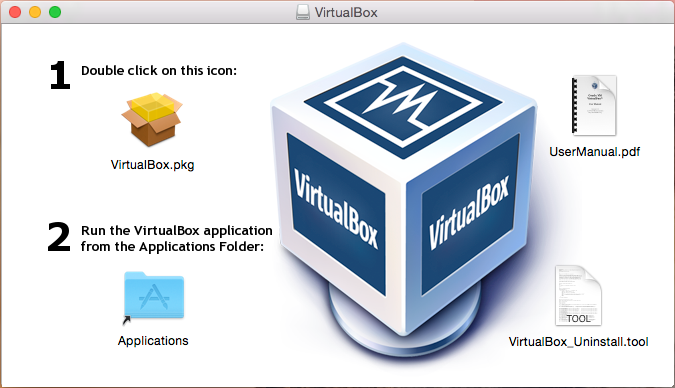
You can find information on how to do this in the Installing on Mac OS X Hosts section of the Virtual Box user manual. The on-line version is available on the VirtualBox web site –
-
Download the VirtualBox Extension Pack from the VirtualBox web site and install the extension.
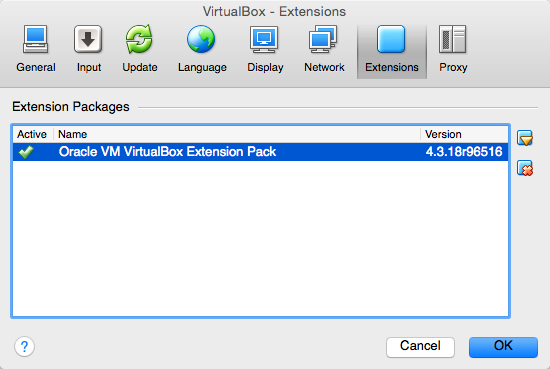
The extension pack allows VirtualBox virtual machines to access USB devices connected to the host computer.
Parallels Desktop for Mac
Parallels Desktop for Mac is a hardware virtualization tool that allows you to run several operating systems simultaneously (side-by-side). You will use it to run the Windows operating system and Mac OS in parallel.
-
Purchase or download a trial version of Parallels Desktop for Mac from the Parallels web site –
-
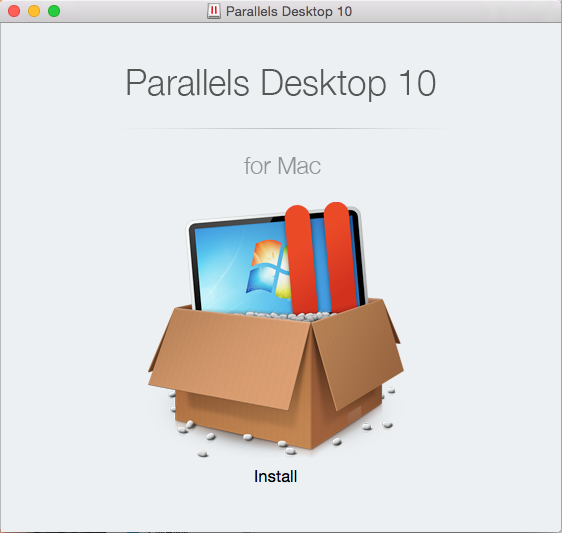
Install and activate Parallels Desktop for Mac on your Macintosh computer. Watch video instructions.
If you experience issues on these steps, refer to the following articles in the Parallels knowledge base: How to install or upgrade to Parallels Desktop 10 and Parallels Desktop 10 for Mac Activation.
2. Create a Windows Virtual Machine
Now you can create virtual machines on the Mac computer and install different operating systems on them.
Oracle VirtualBox for OS X
-
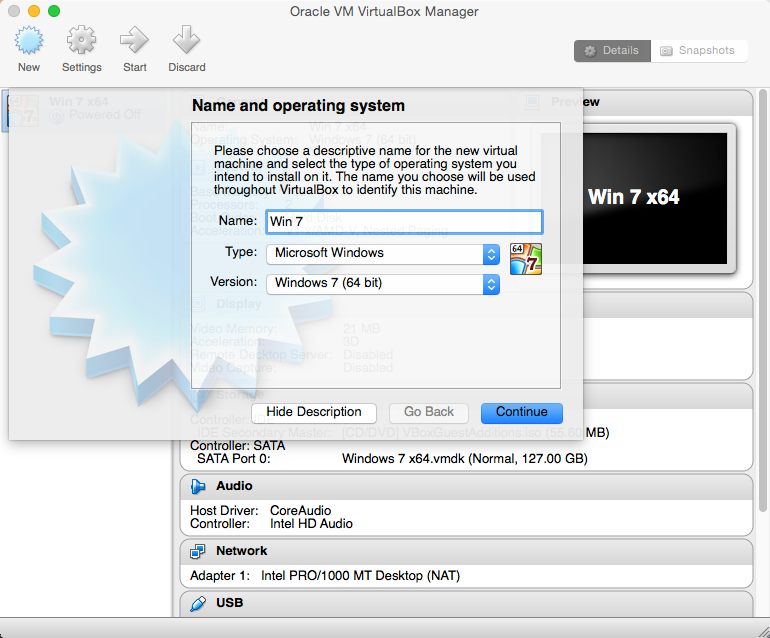
Create a new virtual machine in VirtualBox.
-
Install the Windows operating system on the virtual machine.
-
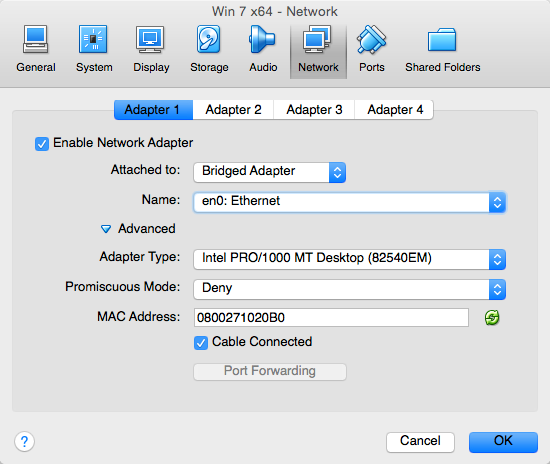
Configure the network settings of your virtual machine and make sure that it is able to connect to the local network.
-
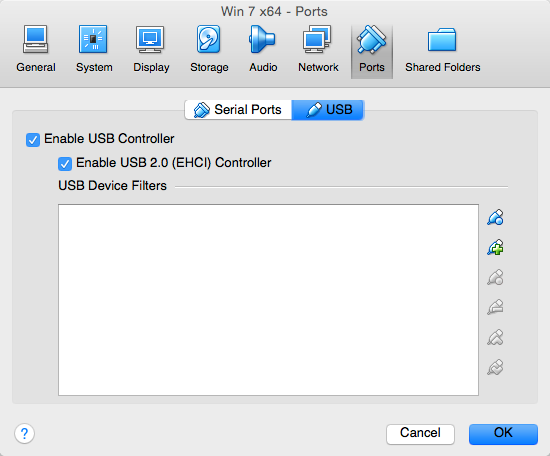
Configure the USB settings of the created virtual machine. Select the Enable USB Controller and then the Enable USB 2.0 (EHCI) Controller check boxes to allows the virtual machine to access the USB devices connected to your Macintosh computer.
If you experience some issues while performing these steps, refer to the VirtualBox user manual. The online version is available on the VirtualBox web site –
Parallels Desktop for Mac
-
Create a new virtual machine in Parallels Desktop.
-
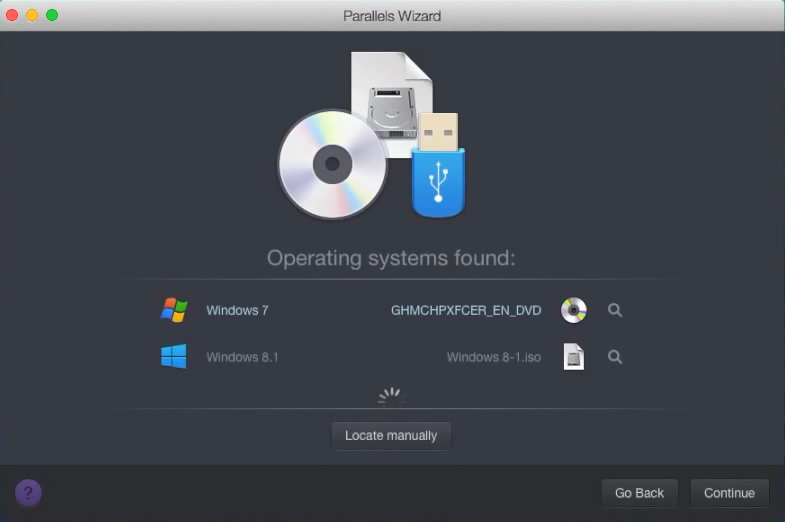
Install the Windows operating system on the virtual machine. Watch video instructions.
-
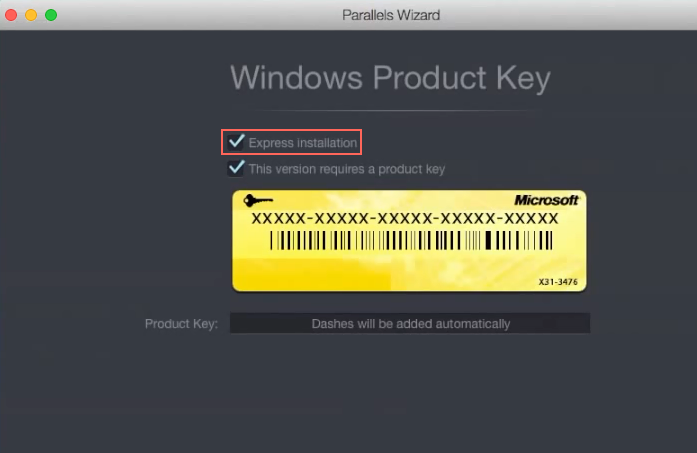
In the installation wizard, select the Express Installation check box to install Parallels Tools (they improve integration between guest and host operating systems).
-
Make sure that the virtual machine is able to connect to the local network. Install hardware drivers, if needed.
If you experience issues on these steps, refer to the following article in the Parallels knowledge base: Installing Windows on your Mac using Parallels Desktop.
3. Setup the License Manager PC and Activate the TestComplete Floating User License
In order to use TestComplete on the virtual machine, you need to have an active Floating User License. To activate a Floating User License, you need to setup the License Manager PC.
- Choose a computer (preferably a server) that will work as the License Manager PC.
The computer must meet the following requirements:
-
It must be a physical machine (not a virtual machine) with the Windows operating system.
-
It must have a local network connection.
-
It must be available on the network whenever users run TestComplete on their computers.
-
-
Install the License Manager utility on that computer.
You can download the utility from SmartBear's web site –
- Launch the License Manager utility. Select All Programs | SmartBear | License Manager | Activate or Deactivate License from the Windows Start menu.
- Go through the License Management Wizard and activate the TestComplete Floating User License.
For details and instructions, see Using TestComplete on Virtual Machines.
To resolve licensing problems, you can also use the Licensing Troubleshooter on our web site:
The troubleshooter will help you collect information needed to submit a request to the SmartBear Support Team.
4. Install TestComplete on the Windows Virtual Machine
After you activate the Floating User License, you can install and use TestComplete on the virtual machine.
- Open the Windows virtual machine on the Macintosh computer.
- Install TestComplete on the virtual machine.
5. Prepare the Virtual Machine and TestComplete for iOS Testing
To interact with iOS devices, you need to install device drivers. These drivers are provided along with Apple iTunes.
-
Install the latest version of iTunes on the Windows virtual machine.
You can download iTunes from Apple's web site –
-
Make sure that the virtual machine, TestComplete, mobile device and the tested mobile application are prepared for testing iOS applications as described in the subsections of Preparing Applications, Devices, and Test Computers for iOS Testing (Legacy).
6. Connect an iOS Device to the Window Virtual Computer
Now you can connect an iOS device to your Mac computer. Most mobile iOS devices can work with either Mac OS X or Windows applications. When you connect such a device, you must specify that the device will work with Windows applications. In this case, TestComplete will be able to access the iOS device.
Oracle VirtualBox for OS X
-
Connect the iOS device to your Macintosh computer via a USB cable.
-
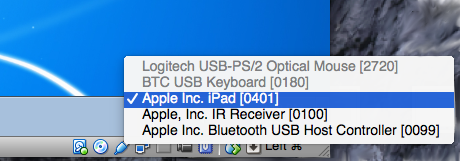
Click the USB item on the panel at the bottom of the Windows virtual computer and choose the iOS device from the context menu.
Parallels Desktop for Mac
-
Connect the iOS device to your Macintosh computer via a USB cable.
-
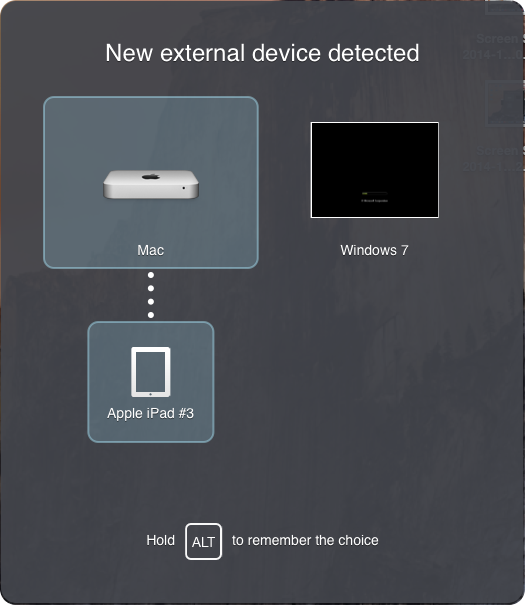
In the ensuing New external device detected dialog, select Windows virtual machine.
7. Run TestComplete on the Windows Virtual Machine
See Also
Preparing Applications, Devices, and Test Computers for iOS Testing (Legacy)
Testing iOS Applications - Overview (Legacy)

