 The information in this topic applies to web tests that locate web objects by using internal identification properties provided by TestComplete and run in local environments.
-
In TestComplete, close any project or project suite opened in TestComplete.
-
From the TestComplete main menu, select File > New > New Project. This will open the Create New Project wizard.
-
Follow the wizard instructions. Specify the project name and location. You can select any language for your project.
You can skip the step of specifying the tested application because we will do it later.
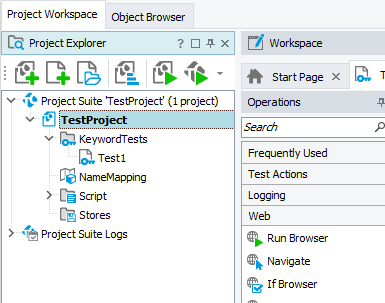
TestComplete will create a new project and open it:

-
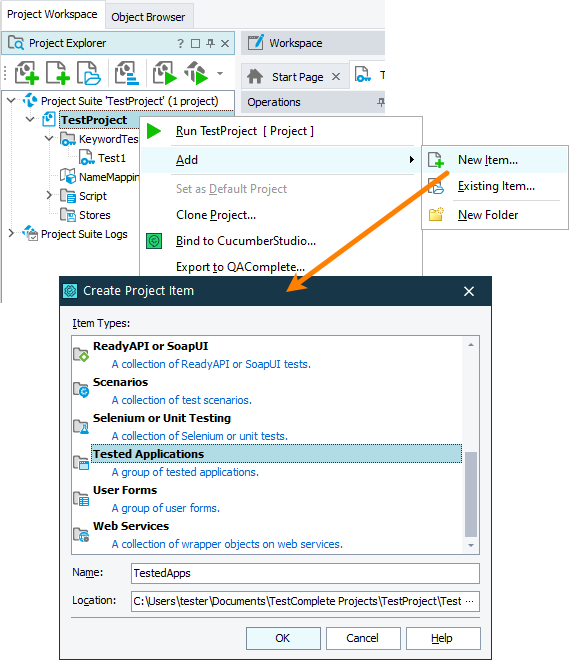
In your created project, add the Tested Applications collection:
-
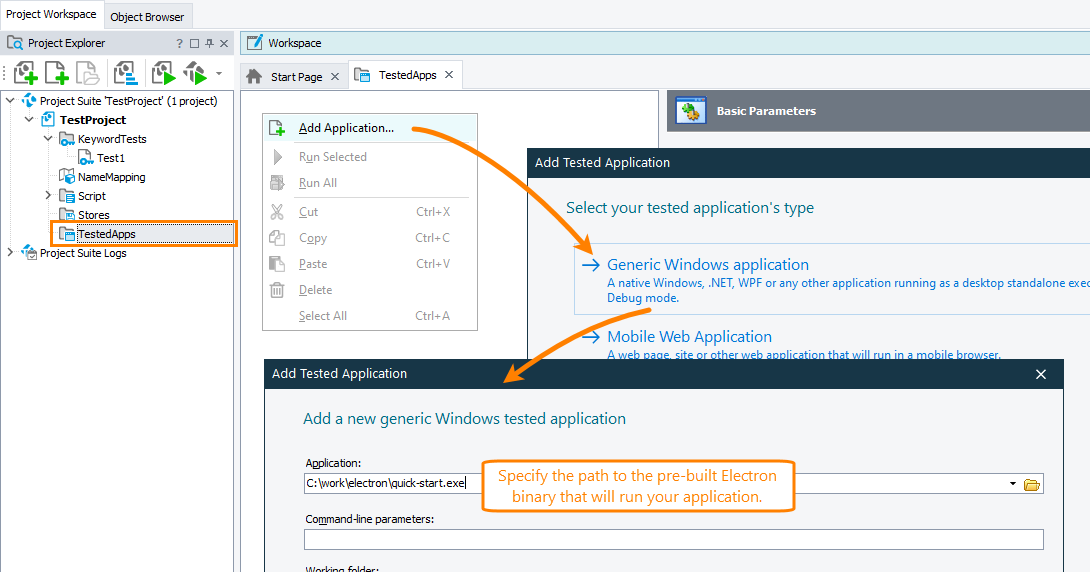
Add your tested Electron application (the electron binary we have prepared on the previous step) to the Tested Application collection. Add it as a generic Windows application:
-
In Project Explorer, double-click the TestedApps node.
-
Right-click anywhere within the Tested Apps editor and then click
 Add Application.
 -
In the resulting dialog, click Generic Windows application.
-
On the next page of the wizard, specify the path to the tested application’s executable.
-
-
Save the changes in your project.
See Also
Testing Electron Applications - Tutorial
About Testing Electron Applications


 Prev
Prev