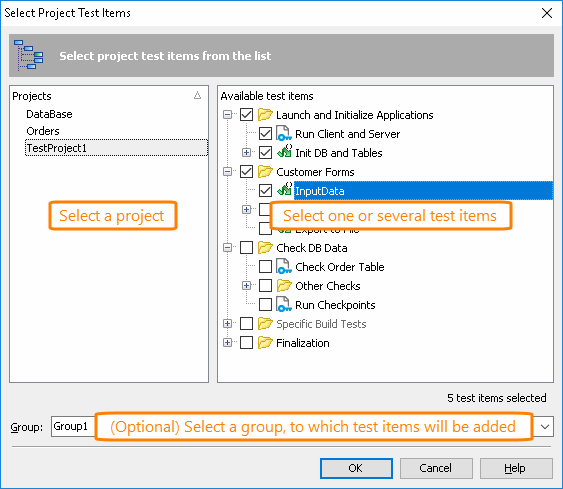
You use the Select Project Test Items dialog to select test items to run in CrossBrowserTesting environments.
To select one or several test items to run in CrossBrowserTesting environments
-
If needed, select a group, to which you want to add test items.
-
Click
 Add Test Item:
-
The dialog will show all the test items specified in all the projects of your project suite, with a check box next to each item. Select one or several test items in the Available Test Items list:

Test items that are already added to the selected group are grayed out on the Available Test Items list.
-
If needed, select a group, to which you want to add test items, or select <root> to add test items as top-level items.
To replace a test item
-
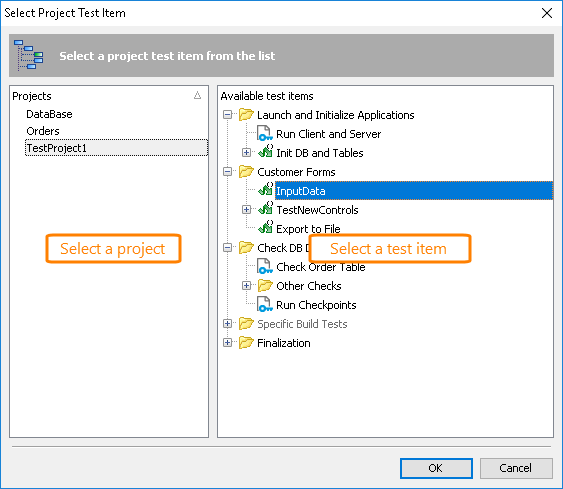
Select the test item in the CrossBrowserTesting manager and click the ellipsis button:

-
The dialog will show all the test items specified in all the projects of your project suite. Select the needed item.

Working With the Dialog
To sort test items or projects by name
Click the appropriate list header. Click once again to switch the sorting direction.
See Also
Integration With CrossBrowserTesting.com
Tests, Test Items, and Test Cases
Select Test Dialog

 To select one or several test items to run in CrossBrowserTesting environments