TestComplete samples (both built-in and additional) are located in the <Users>\Public\Public Documents\TestComplete 12 Samples folder.
Some file managers display the Public Documents folder as Documents.

This topic will help you create a project that will store the project items needed for data-driven testing. The project suite is created automatically when you create a new project.
To create a project:
-
Click the
 Add New Project button on the Project Explorer toolbar. The Create New Project wizard appears.
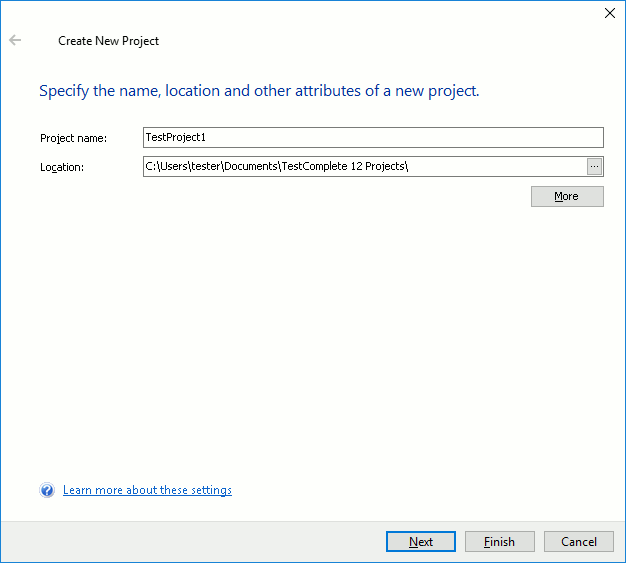
-
On the first page of the wizard, specify the project name and the path and click Next.
-
On the next page, you can specify the type of the application to be tested by the project. Select Generic Windows application and click Next.
-
On the next page, you can add the Orders application to the project. To do this, click the Add button and use the ensuing Open File dialog to select the Orders application executable file. You can find it in the following folder:
 <TestComplete Samples>\Desktop\Orders\C#\bin\Release\Orders.exe
Unselect the Autorun option and click Next.
-
On the last page, select the scripting language you like (click More languages to see the full list of supported languages, if needed) and click Finish.
TestComplete will create the project and display it in the Project Explorer panel. The Orders application will be added to the Tested Applications collection. You can view it in the TestedApps editor.
The described project suites created with the JavaScript, JScript, Python, VBScript, DelphiScript scripting languages are shipped along with TestComplete. You can find them in the following folder:
<TestComplete Samples>\Common\Data-Driven Testing\Scripts\
 Prev
Prev