The E-mail generator is used to generate e-mail addresses with TestComplete. Using this generator type you can populate the desired Excel file or TestComplete Table variable with various e-mail addresses and then use this data in your tests. For more information on preparing test data, see Preparing Data for Data-Driven Testing.
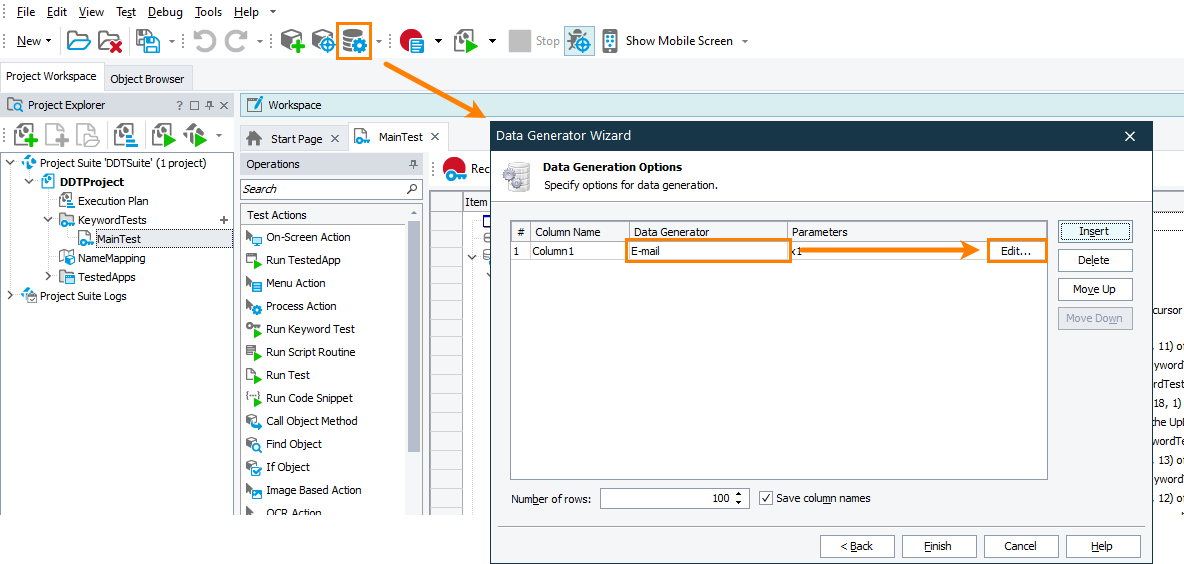
To open the generator
-
Click
 on the Tools toolbar or select Test > Generate Data from the main menu to call the Data Generator wizard.
 -
In the wizard, select the data storage.
-
On the Data Generation Options page of the wizard, for the needed value, select E-mail in the Data Generator column.
-
Click Edit in the Parameters column.
– or –
-
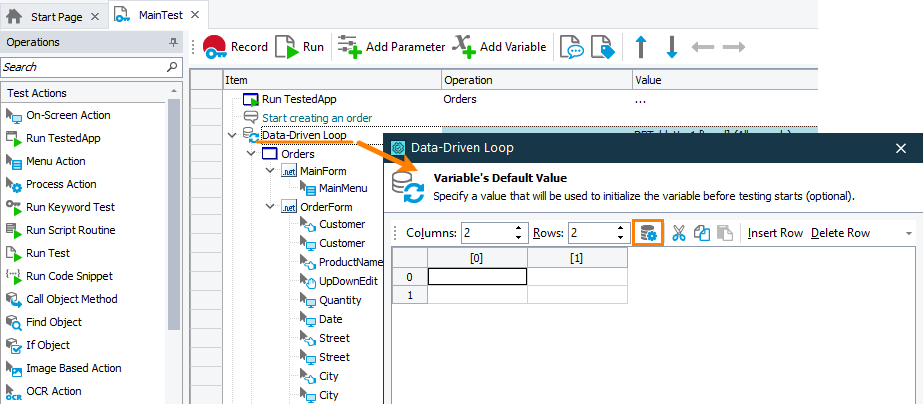
When adding a data-driven loop to a keyword test, select a table variable to store loop values.
-
On the Variable’s Default Value page of the wizard, click
 on the toolbar.
– or –
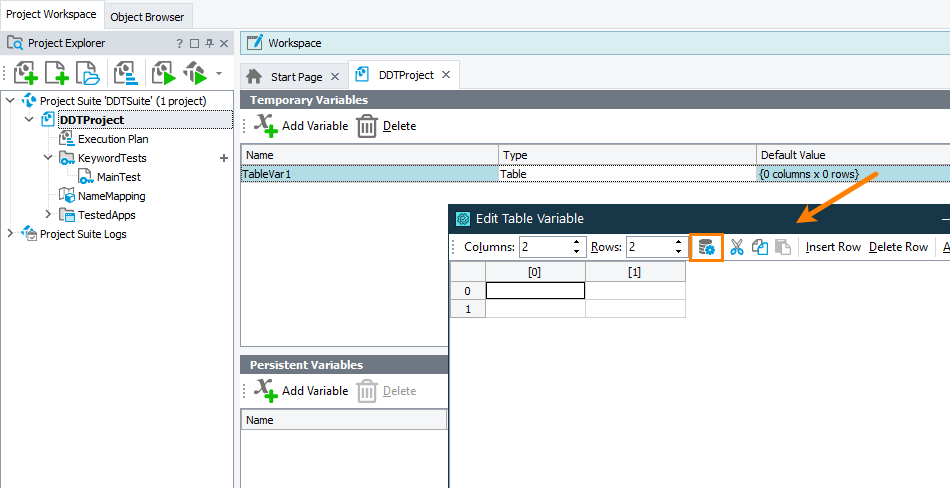
When editing a table variable, click  on the Edit Table Variable wizard toolbar.
Parameters
For the E-mail generator, you can specify the following parameters:
Duplicate each value … time(s)
After you specify the needed parameters, you can obtain the sample values that have been generated by the engine. The values are displayed in the Sample field.
Also, you can discard all the changes you made in the generator’s parameters and restore the parameters set by default. For this purpose, click Set Default Values below the Sample field.
If you are going to use the same settings in several variables or if you configure one generator in the same manner from time to time, it is much easier to save the selected generator with the specified parameter values as a user-defined generator. For this purpose, click the Save to User-Defined button below the Sample field.
If the user wants to use files with UTF-8 or UTF-16 encoding, the files must contain the BOM.
For more information on generating test data, see Data Generator Wizard.
See Also
Data Generator Wizard
Data-Driven Testing
Preparing Data for Data-Driven Testing


