
In the Select Host dialog, you can select a computer to be used in your distributed tests or in your issue-tracking templates. The dialog appears when you do any of the following:
-
Click the ellipsis button in the Address field in the Hosts editor.
-
Click Add Hosts in the Network Suite Wizard.
-
Click the ellipsis button in the Host name box of the Select Server dialog (this dialog is used for creating a URL of the Team System database with which an issue-tracking template will work).
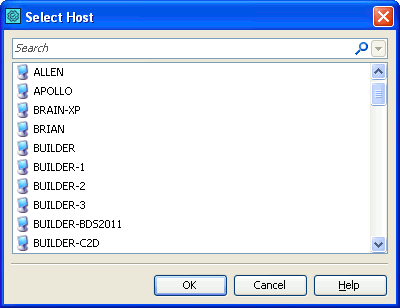
The dialog contains:
- All the computers in your network that belong to the same domain as the current computer.
- All the computers in your network that belong to other domains.
| Note: | If you do not see the needed computer in the Select Host dialog, make sure that the required computer is available in your network and that the remote desktop connections are enabled on that computer. For example, check the Firewall settings and the Allow remote connections to this computer setting on the remote computer. |
If your network includes a lot of computers, it may be inconvenient to search for a computer. To find the needed computer quickly, use the Quick Search feature that filters out the host list according to the text you are typing in the Quick Search edit box:
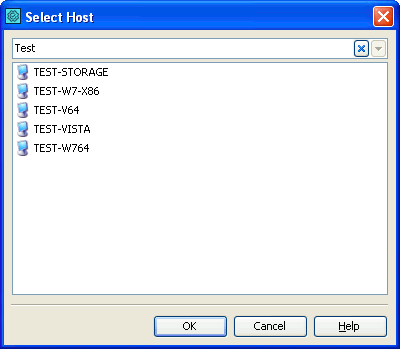
To cancel filtering, erase the text or just press the  button.
Select the needed computer and click OK to confirm your choice.
If the dialog is called from the Network Suite Wizard, you can select several hosts at once. Use CTRL-click and SHIFT-click for multiselection.
Cancel will close the dialog discarding any changes.