
This tutorial shows how to configure a virtual service to use the Excel data source.
Overview
We will create a virtual service that will return details about pets. For this purpose, we have created a table:
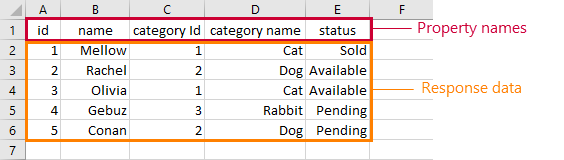
The first row of the table contains the names of data source properties, while the rest contain data for the response.
1. Import project
Before you start, download the project and the Excel file that we use as a data source:
 ReadyAPI project
Now, import the project into ReadyAPI:
-
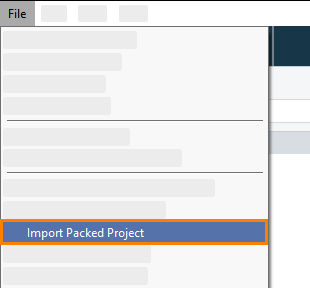
In ReadyAPI, select File > Import Packed Project and in the dialog that occurs, select the downloaded package with the project:
2. Add data source virtual service
-
Open the virtual service and switch to the Data Sources page:
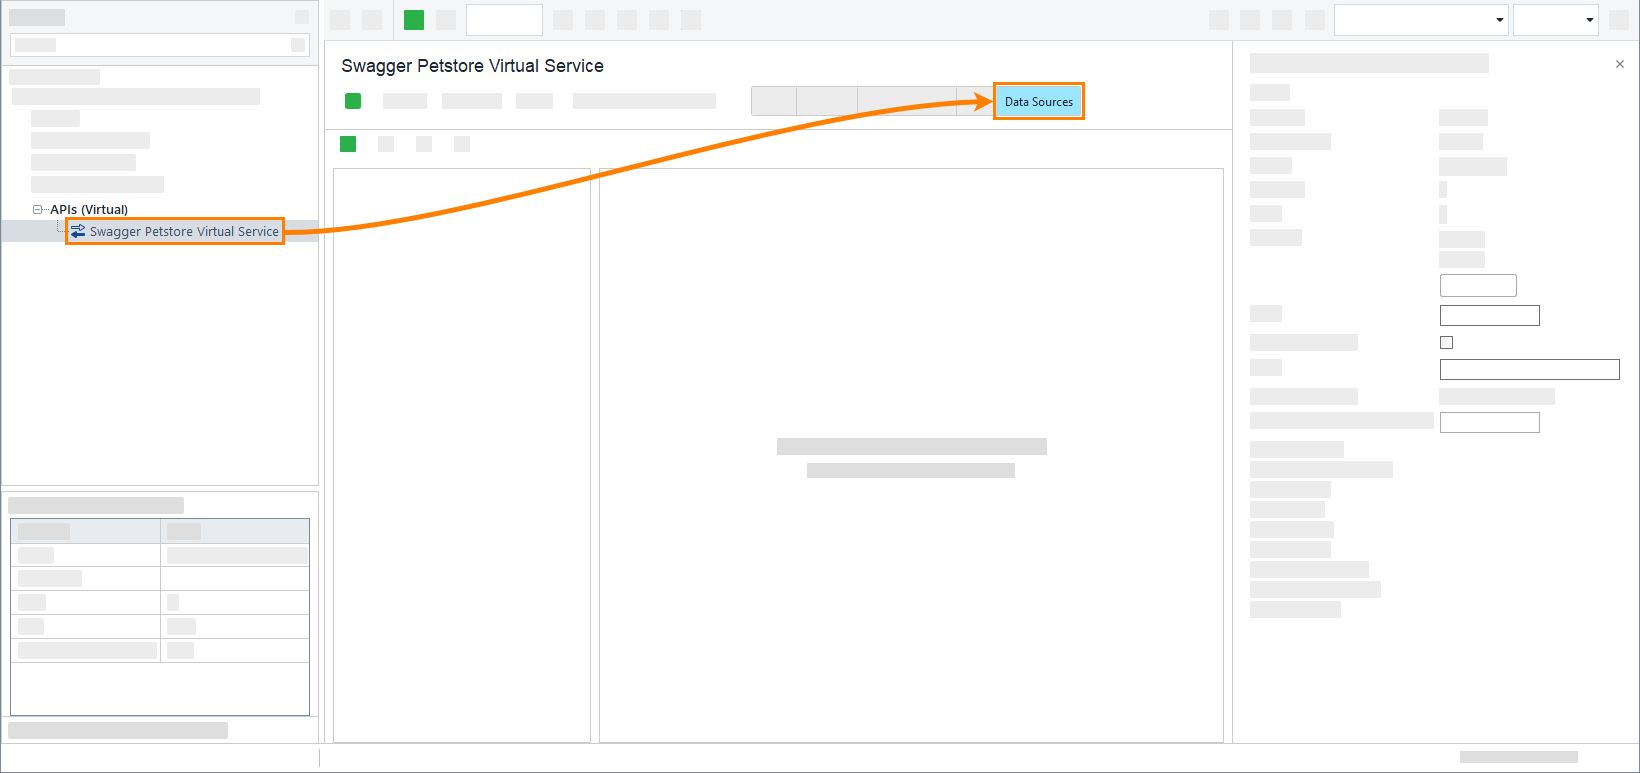
Click the image to enlarge it.
-
Click
 to add a new data source:
Click the image to enlarge it.
-
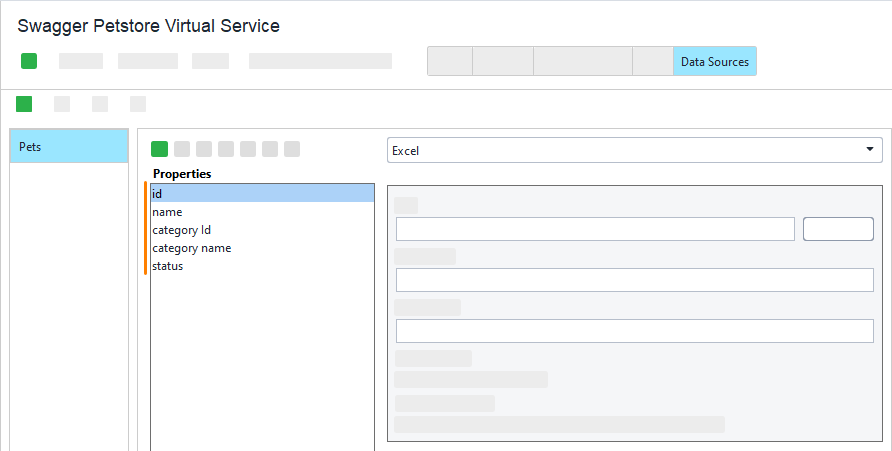
Select the Excel data source type and click Browse and look for the Excel data sheet you downloaded earlier:
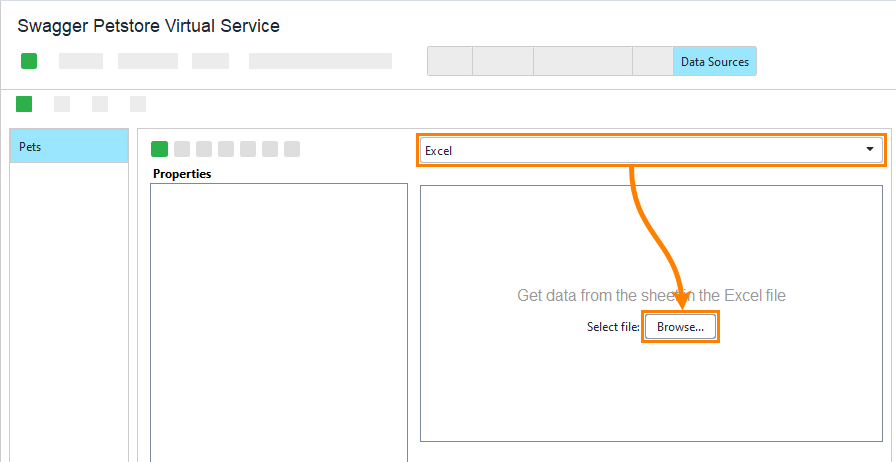
Click the image to enlarge it.
-
ReadyAPI offers you to import the properties. Click Yes, and in the resulting dialog, specify the following properties:
Worksheet: Sheet1 Start at cell: A1 Click OK. ReadyAPI creates properties using column names in the data sheet:
Click the image to enlarge it.
-
Specify the following properties for the data source:
Worksheet: Sheet1 Start at cell: A2 The Worksheet property specifies the sheet that contains the needed data.
The Start at cell property commands ReadyAPI to start gathering data from the specified cell. It helps skip rows if they do not contain data. In our example, the first column contains property names, so we set the property to A2 to ignore it:
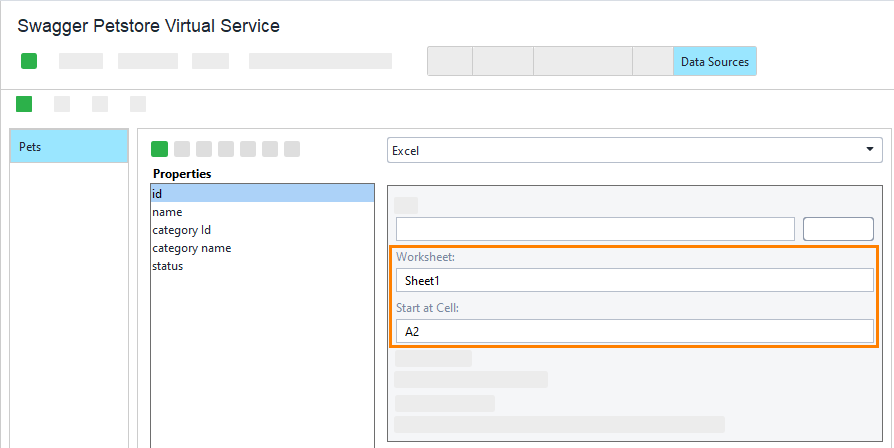
Click the image to enlarge it.
3. Insert data into response
-
Switch to the Setup page and open the response. Expand the Data Source page and select the created data source from the drop-down list:
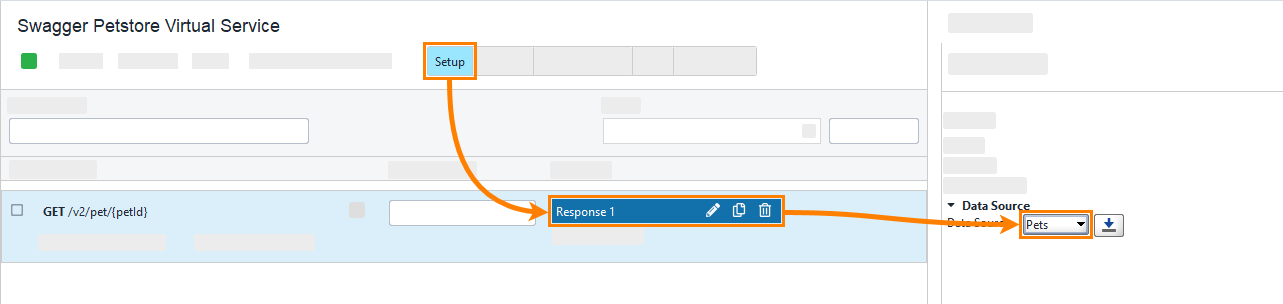
Click the image to enlarge it.
-
To insert the value from the data source, you need to insert the property expansion. The simplest way to insert it is to use the context menu. Expand the Edit panel. Right-click within the Editor panel and select the needed property:
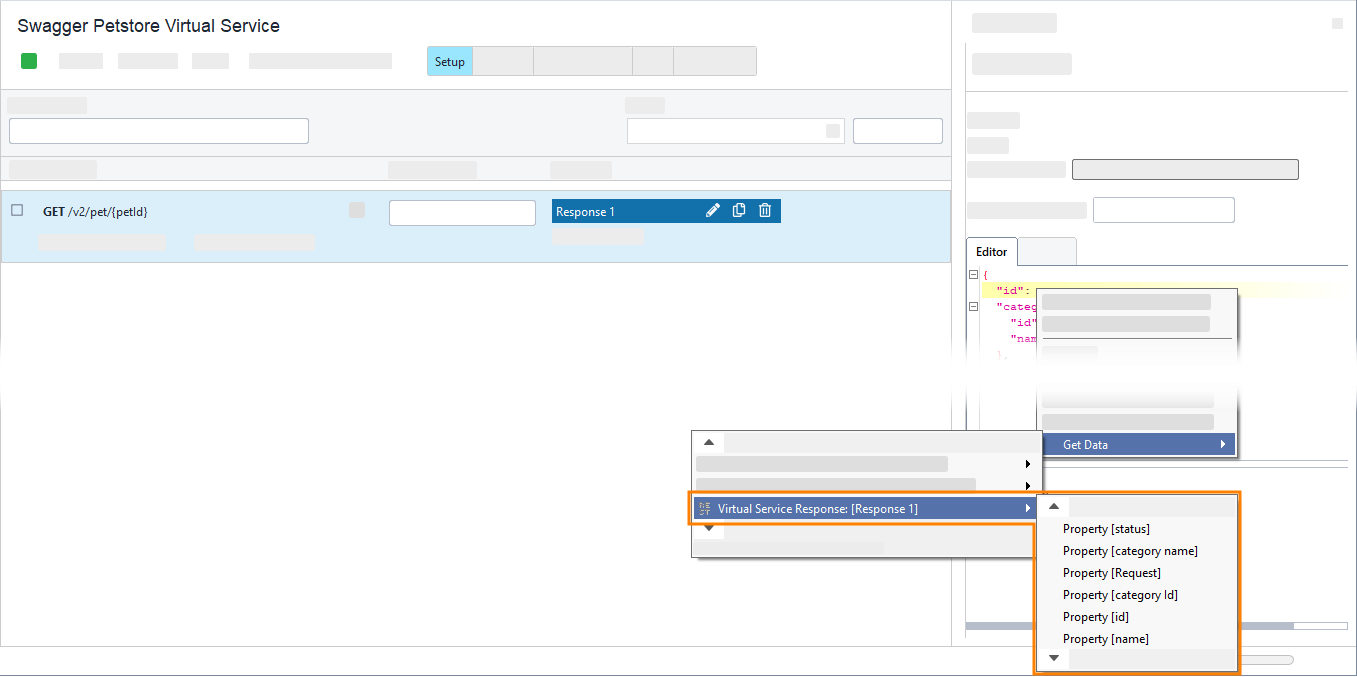
Click the image to enlarge it.
Repeat this step for all properties of the Pet object. At the end, you should get the response body like this:
JSON
{
"id": ${#MockResponse#id},
"category": {
"id": ${#MockResponse#category Id},
"name": "${#MockResponse#category name}"
},
"name": "${#MockResponse#name}",
"status": "${#MockResponse#status}"
}
4. Run test
-
Click
 to run the virtual service:
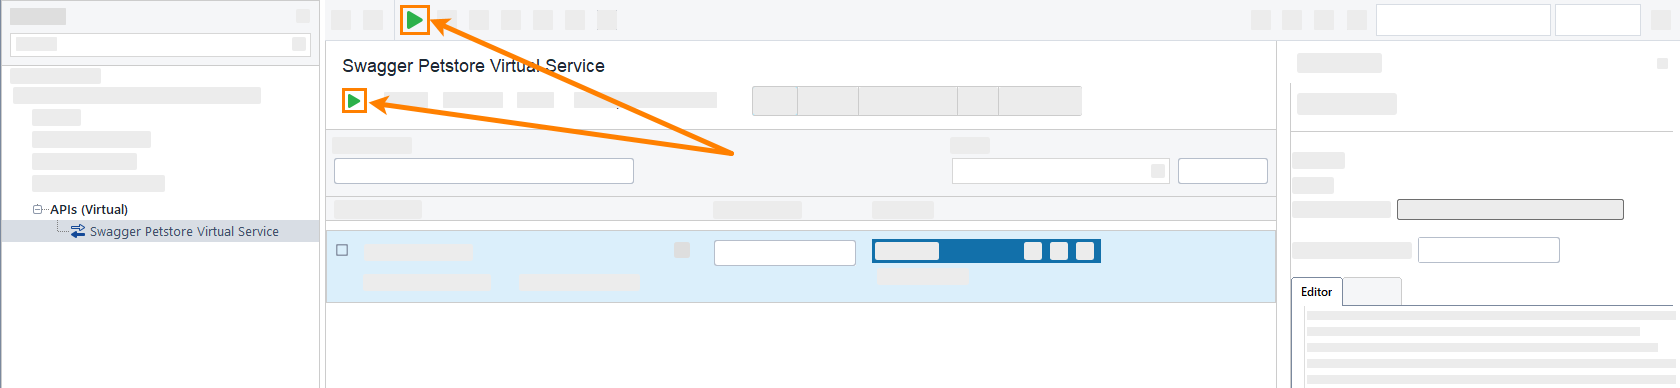
Click the image to enlarge it.

Make sure that another application does not occupy the virtual service port. If needed, change the port in the virtual service properties:
-
Open the functional test.
If you changed the virtual service port, change the request endpoint:Click
to run the test: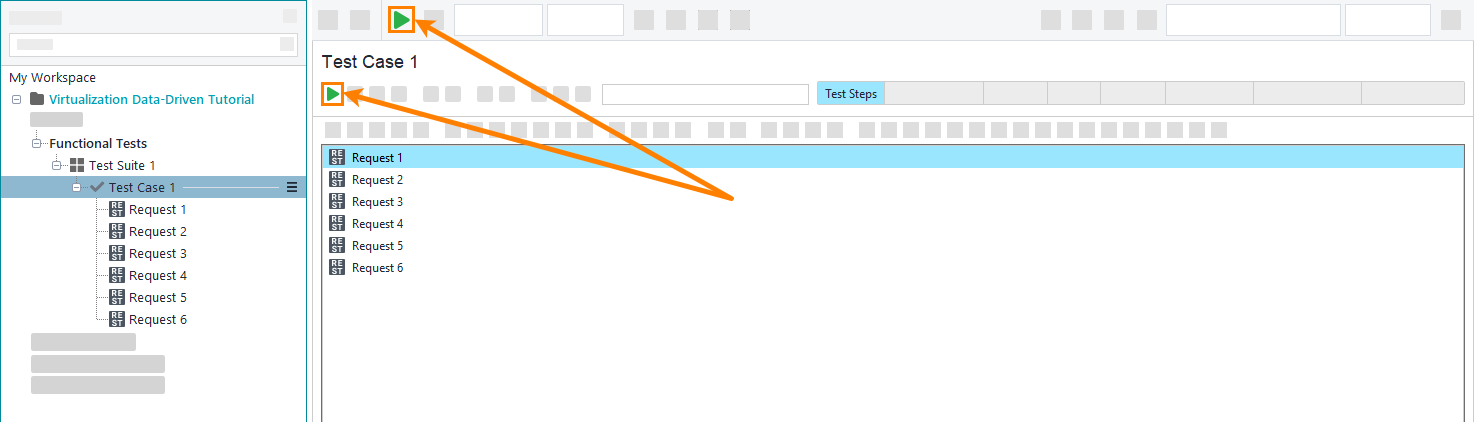
Click the image to enlarge it.
ReadyAPI sends several requests to the virtual service. For each response, the virtual service gathers data from a new data source row. To see it, switch to the Transaction Log and open any transaction:
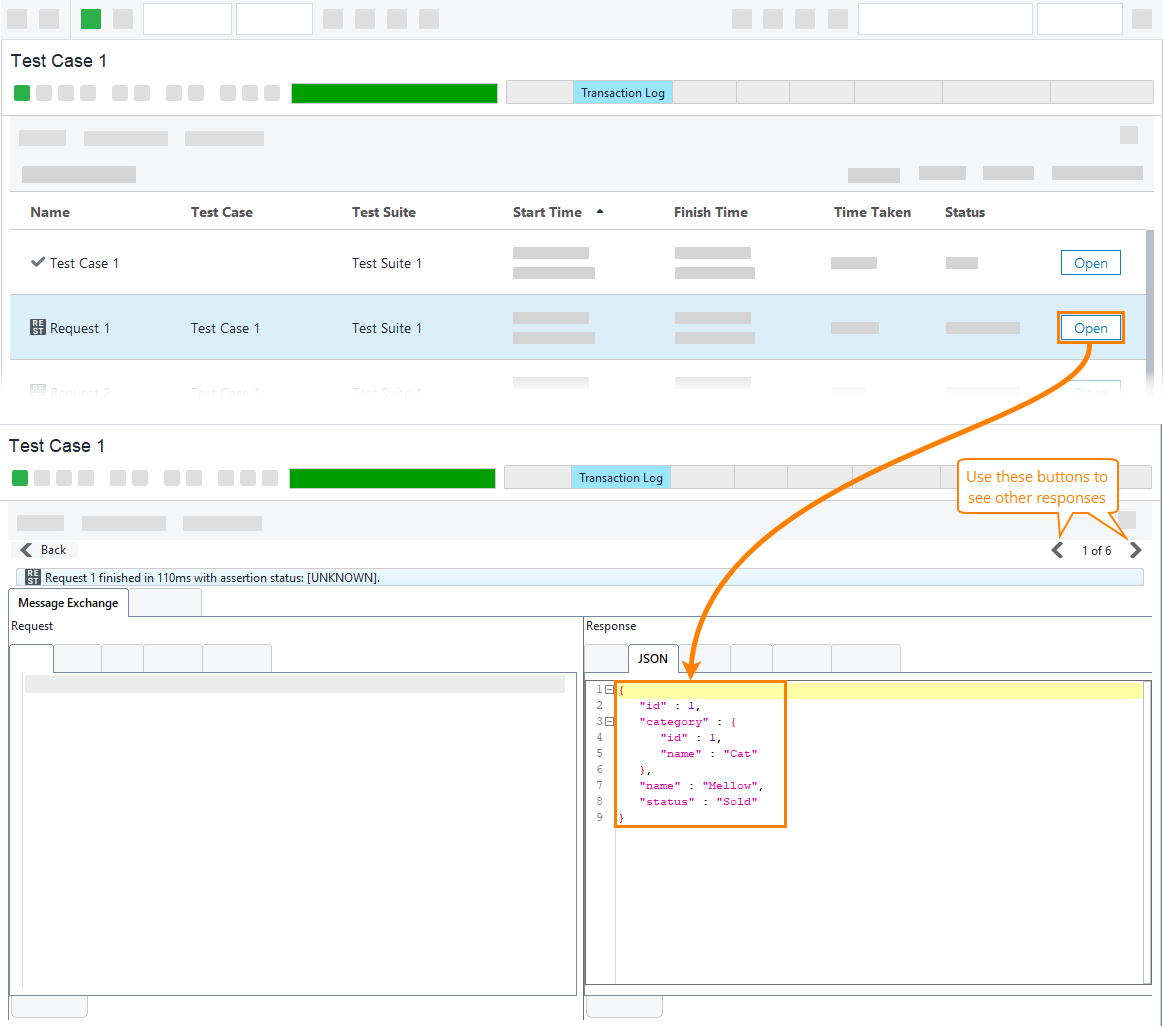
Click the image to enlarge it.
When the data source ends, ReadyAPI starts from the first row:
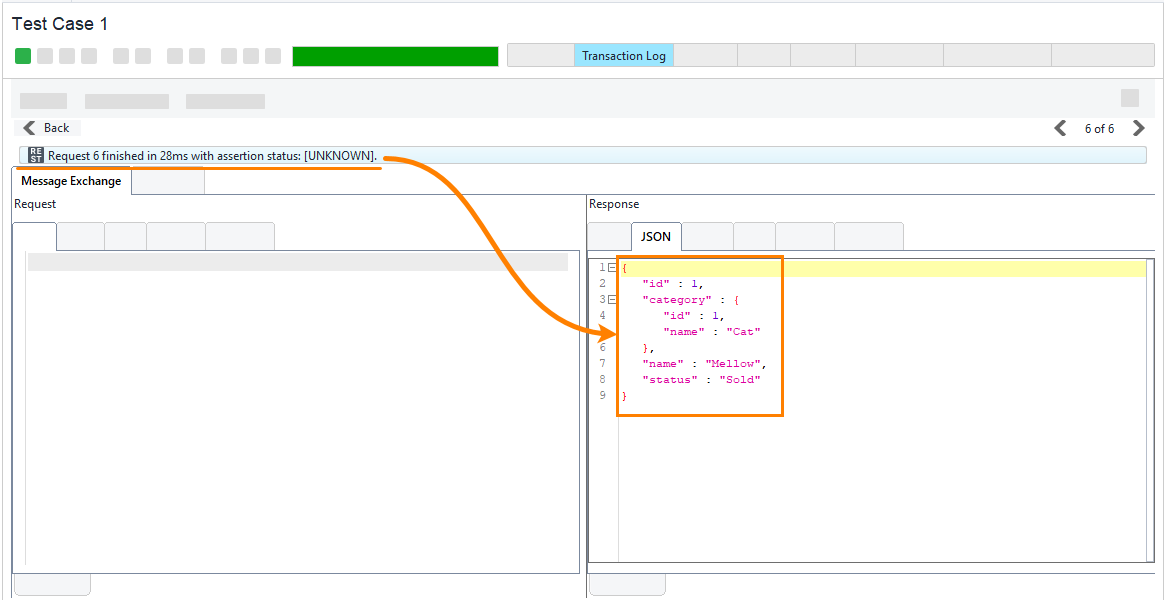
Click the image to enlarge it.
 Change the virtual API port
