If you run a load test with a shared data sink, you can use the shared data sink in a load test to add data from that data sink to load test reports, as you did it at the previous step.
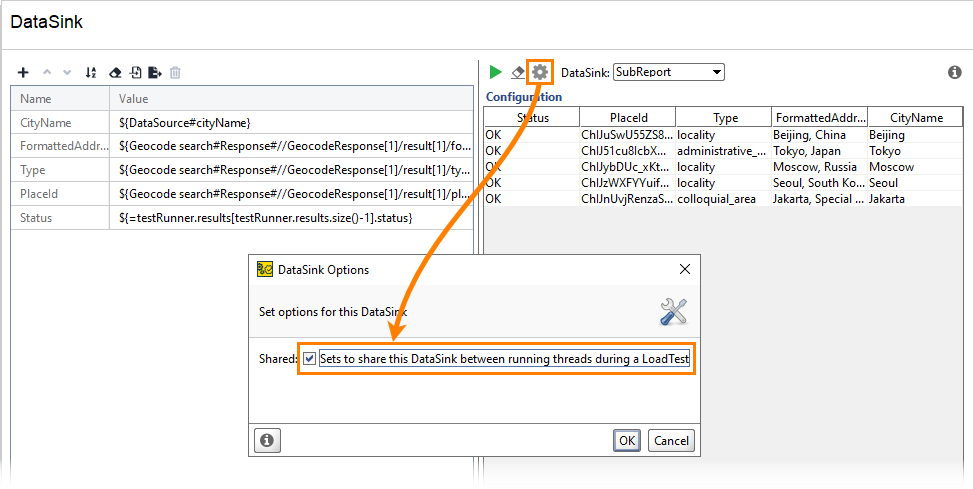
To do that, first, you need to set a data sink to be shared:
-
Double-click a data sink in the Navigator panel.
-
Click
 .
.In the Data Sink Options dialog, select the Shared check box. Click OK to apply the changes.
Your data sink is shared now.
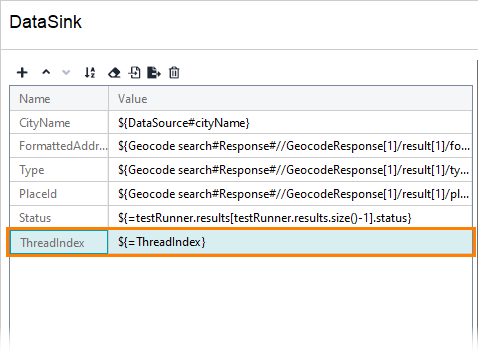
To make your future report easier to read, add the VirtualUsers property with the ThreadIndex value to the data sink.

Now you can prepare your report template:
-
Select Project > Reporting from the main menu.
-
On the Subreports tab, open the CityDataResult subreport. If you do not have it, see Creating a Printable Report to learn how to create subreport templates.
-
Add the VirtualUsers property to the CityDataResults subreport:
JRXML
<textField isStretchWithOverflow="true">
<reportElement x="465" y="1" width="70" height="20"/>
<textElement textAlignment="Left" verticalAlignment="Top"/>
<textFieldExpression class="java.lang.String">$F{ThreadIndex}</textFieldExpression>
</textField> -
Create a custom version of the Load test printable report. To do that, select the report, then click
 .
. -
Add the CityDataResult subreport template to your custom load test printable report template.
-
Click OK to apply the changes.
Now you can run a load test. On the load test page, configure your test to run only once in each thread (5 threads). This will command ReadyAPI to perform only 5 runs.
Create a report for the data sink you exported.

