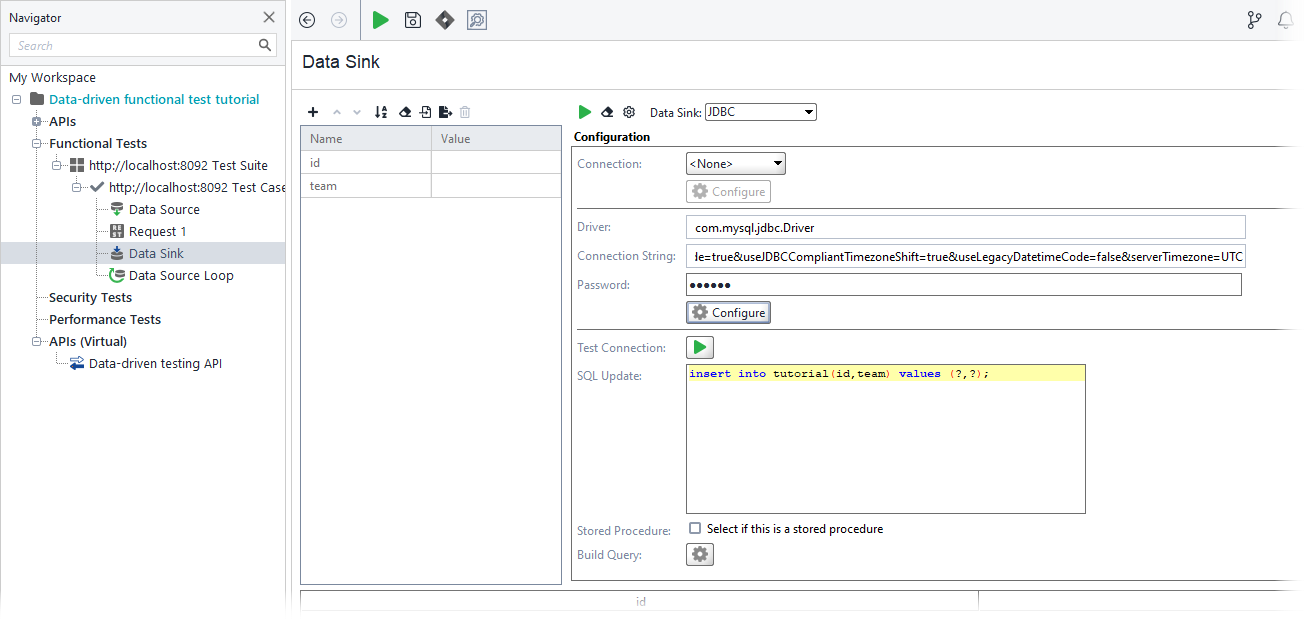
At this step, we will add a Data Sink test step and configure it to save the data to the database.
1. Get the response
To begin, you need to simulate a request and get some sample responses. ReadyAPI will use the data to automatically configure assertion properties.
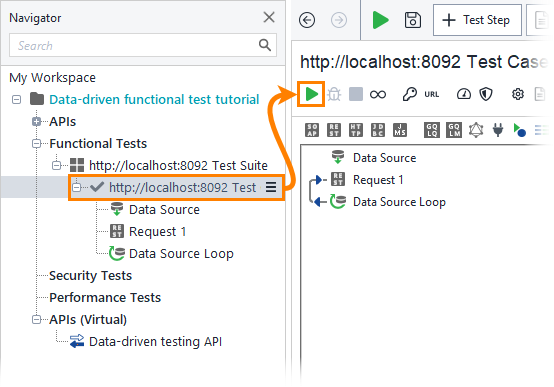
Switch to the test case editor and click ![]() on the editor toolbar:
on the editor toolbar:
2. Create a data sink
-
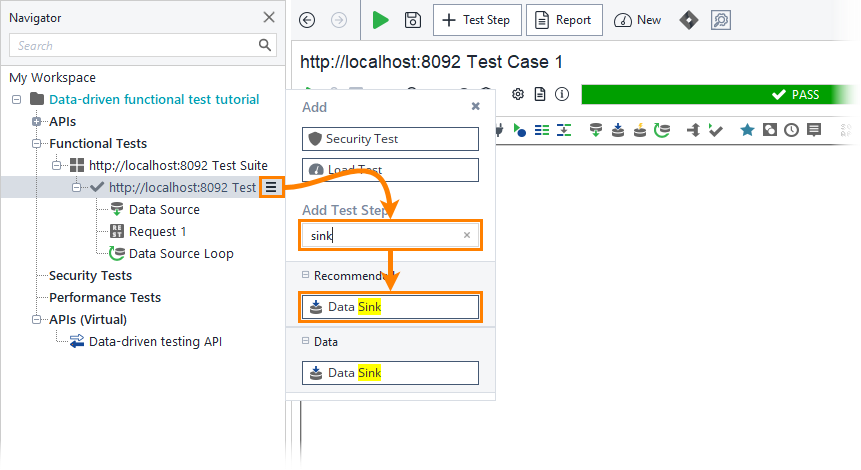
Open the test case and add the data sink test step.
-
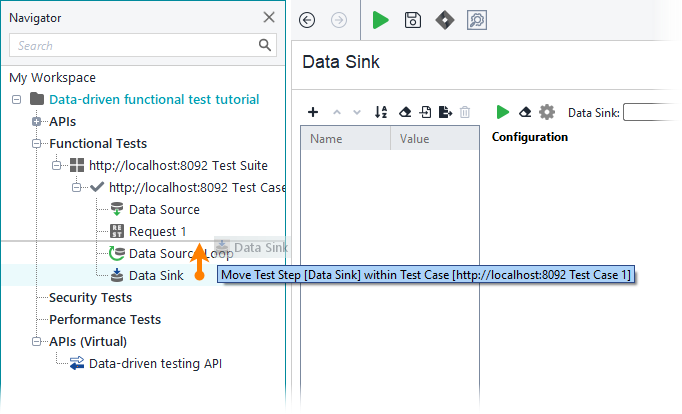
To store data in the data sink, you have to place the data sink after the request. The data source loop, in its turn, should be placed after both these steps in order for these to work properly in every iteration of the loop.
To move the test step, drag it to the needed place in the Navigator:
-
Set the data sink type to JDBC.
-
The Data Sink test step can use a project-wide JDBC connection or a specific connection for this test case.
In this tutorial, we will use a test case-specific connection. Click Configure to set up the connection:
-
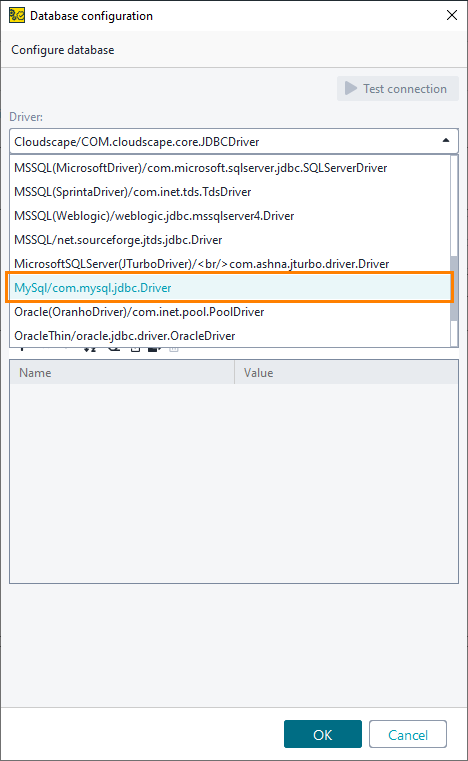
The Database configuration dialog appears.
First, you need to select the driver. Select the pre-configured MySQL driver:
-
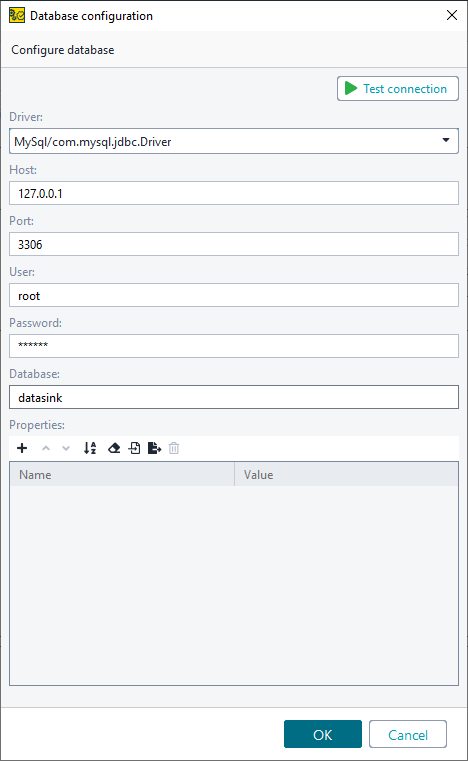
Specify the remaining settings you use to access your MySQL server. In the Database field specify the datasink database:
-
Click Test connection to verify whether the settings are correct.
-
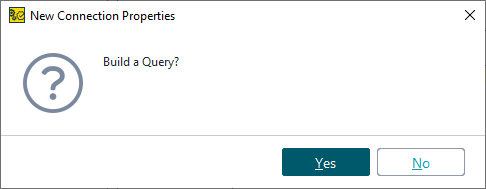
After you finish the configuration, ReadyAPI will suggest that you build the query. Click Yes:
-
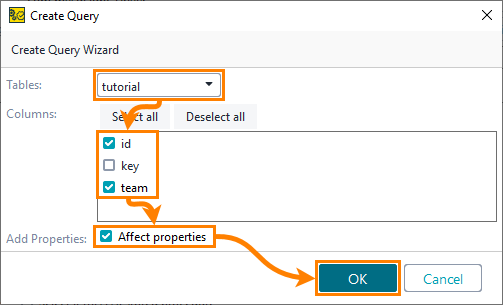
The Create Query dialog appears.
Here, specify the tutorial table and check the id and team columns.
-
Enable the Add Properties property to add the property you need automatically.
-
Click OK.
ReadyAPI creates the SQL query and the properties.
Now, you can transfer the data.

