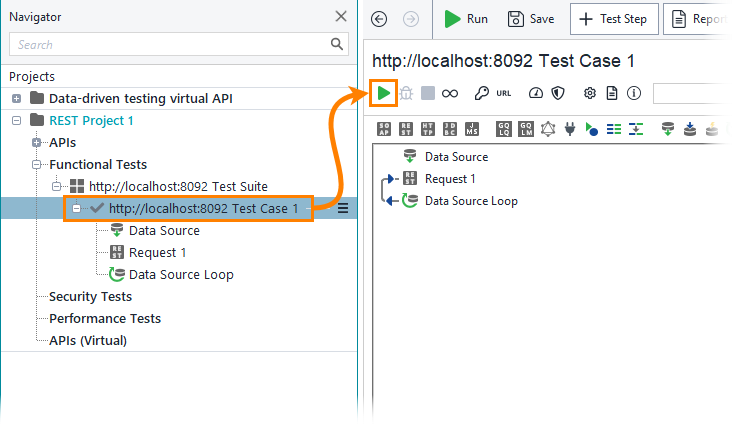
You have completed all necessary preparations, and now you can run your test.
To run the test, click ![]() on the test case toolbar.
on the test case toolbar.
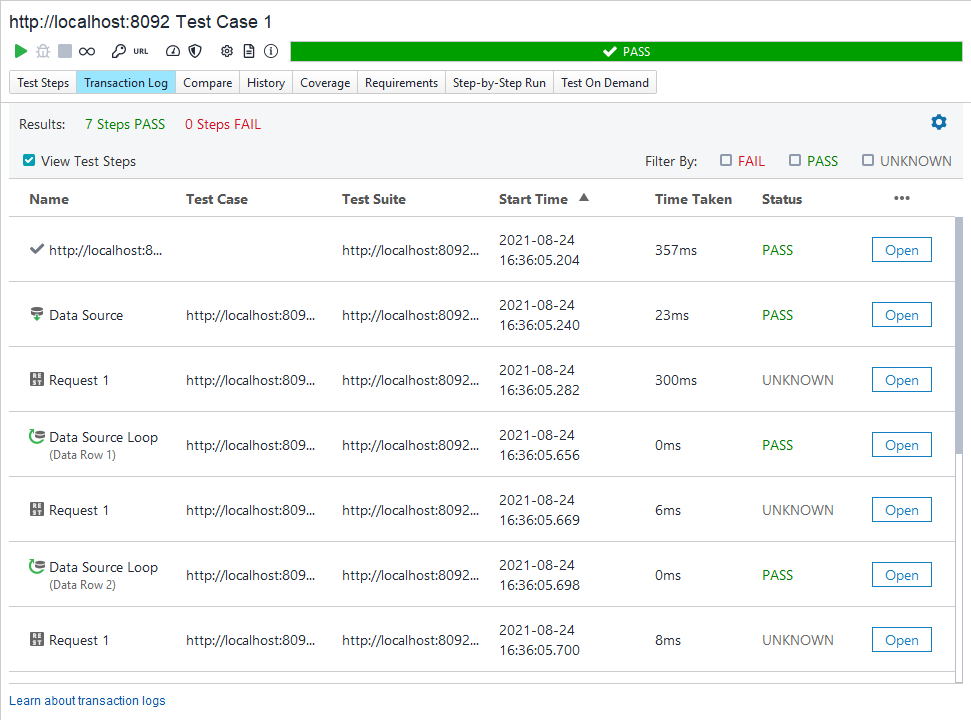
While the test case is running, you can see the details in the transaction log.
To open it, click Transaction Log on the test case toolbar.
Here, you can see the run details.
 |
You did not use any assertions to validate requests, so the assertion status for the request is UNKNOWN. You can see it in the Status column. The data source and the data source loop are always Passed, since it is impossible to assert them. |
Add assertion
-
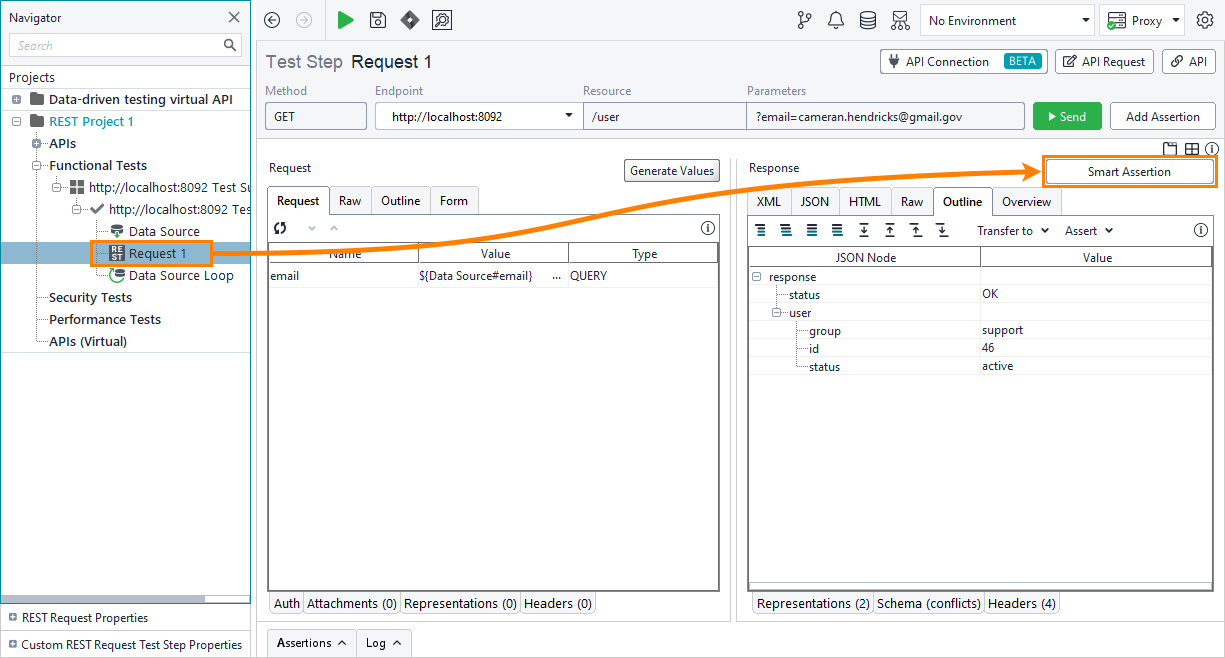
Switch to the REST Request and click Smart Assertion:
-
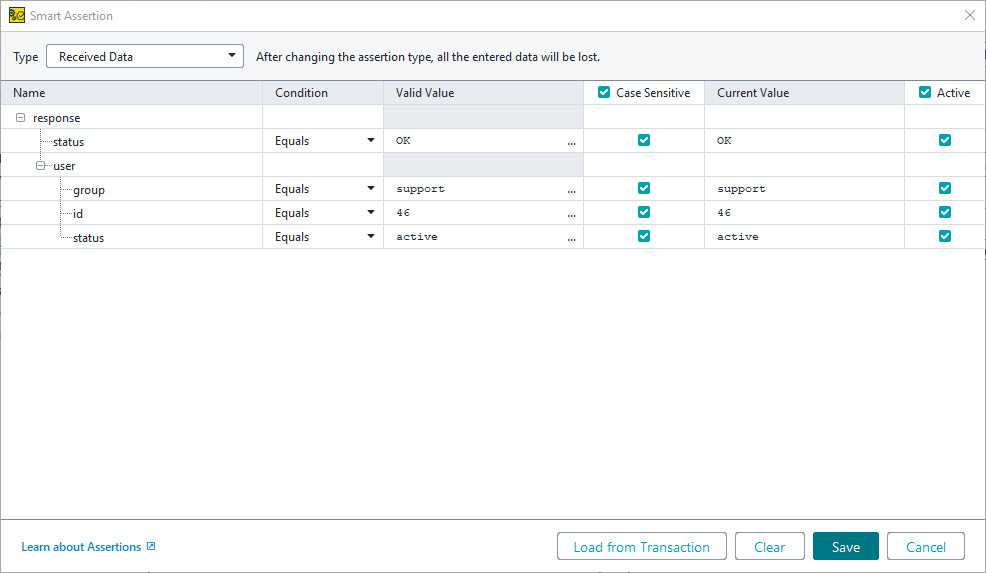
ReadyAPI will create an assertion based on the most recent response and automatically configure which values are expected for which data fields:
-
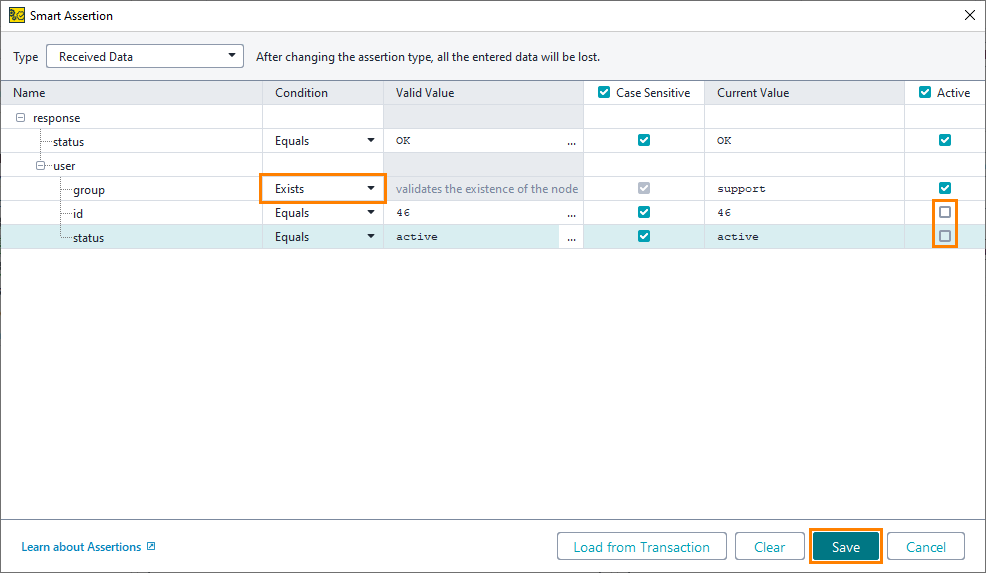
You can uncheck boxes to exclude certain fields from the assertion or configure comparison operators and expected values. When you are done, click Save:
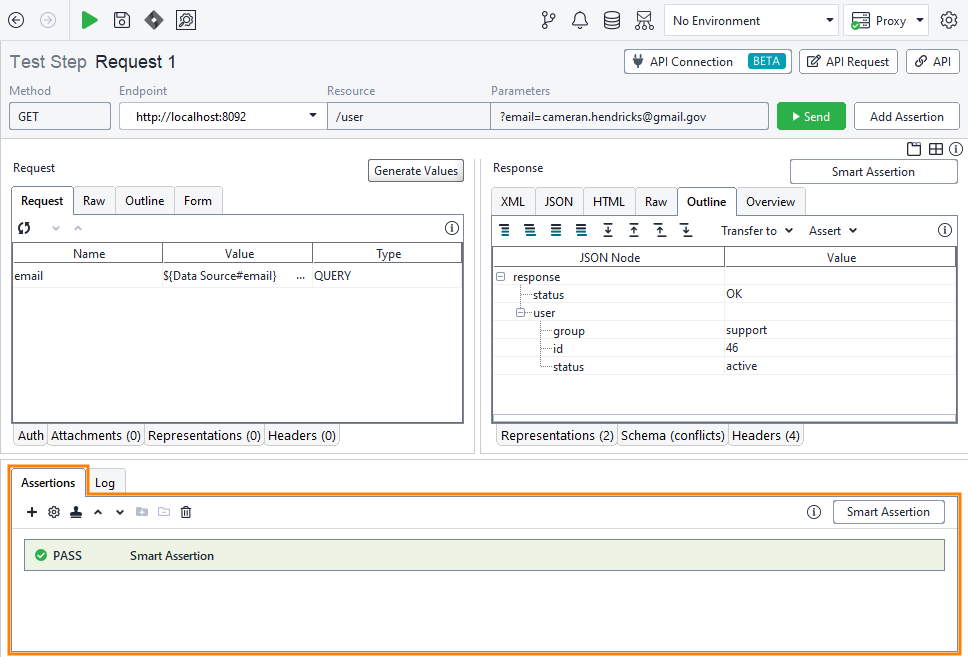
You have added the Smart Assertion to your test request. It will verify that the response data matches the expected values. You can find the added assertion in the Assertions panel:
In this tutorial, you have learned how to read data from a MySQL database. You can use the same approach for Microsoft SQL and other databases.

