Selenium tests are often written by using Java. Since Groovy has syntax similar to Java, these tests can be moved to ReadyAPI with minor adjustments.
So, to move your JUnit Selenium test to ReadyAPI, you can copy the code and paste it to the Groovy Script test step.
Some Java features are not supported by Groovy, and parts of your code may behave in a different manner after the transition, or your test may fail to start.
 |
If you use Maven dependencies to include JUnit libraries in your project, you need to manually copy them to the <ReadyAPI installation>/bin/ext directory. |
You can find the full list of differences between Groovy and Java in the Groovy documentation .
Another thing you may want to do after moving to ReadyAPI is to improve the style. Groovy is very forgiving in terms of style. For example, you do not need to end the line with semicolons.
Example
Suppose, you have the following JUnit test that uses Selenium:
Java
import org.junit.After;
import org.junit.Before;
import org.junit.Test;
import org.openqa.selenium.By;
import org.openqa.selenium.WebDriver;
import org.openqa.selenium.WebElement;
import org.openqa.selenium.firefox.FirefoxDriver;
import org.openqa.selenium.support.ui.WebDriverWait;
import static org.junit.Assert.assertEquals;
publicclass SeleniumTest {
WebDriver driver;
@Before
public void setUp() throws Exception {
// Load a driver
driver = new FirefoxDriver();
}
@After
public void tearDown() throws Exception {
// Close the driver
driver.quit();
}
@Test
publicvoid main() {
// Open a web service page
driver.get("http://localhost:8096/accountcreation");
// Find the username input element by its name
WebElement username_element = driver.findElement(By.name("username"));
// Enter a username
username_element.sendKeys("John Doe");
// Find the password input element by using XPath
WebElement pass_element = driver.findElement(By.xpath("//form/input[@type='password']"));
// Enter a password
pass_element.sendKeys("Test");
// Find the Submit button by using XPath
WebElement submit_button = driver.findElement(By.xpath("//form/input[@type='submit']"));
// Click the button
submit_button.click();
// Wait for the page to open. After 10 seconds, an error will occur.
WebDriverWait wdw = new WebDriverWait(driver, 10);
// Get page text
String greetings = driver.findElement(By.xpath("//h1")).getText();
// Verify that the text is equal to 'Welcome!'
assertEquals("Welcome!", greetings);
}
}
Notes:
-
In this example, we use JUnit 4. The steps may differ if you use another JUnit version.
-
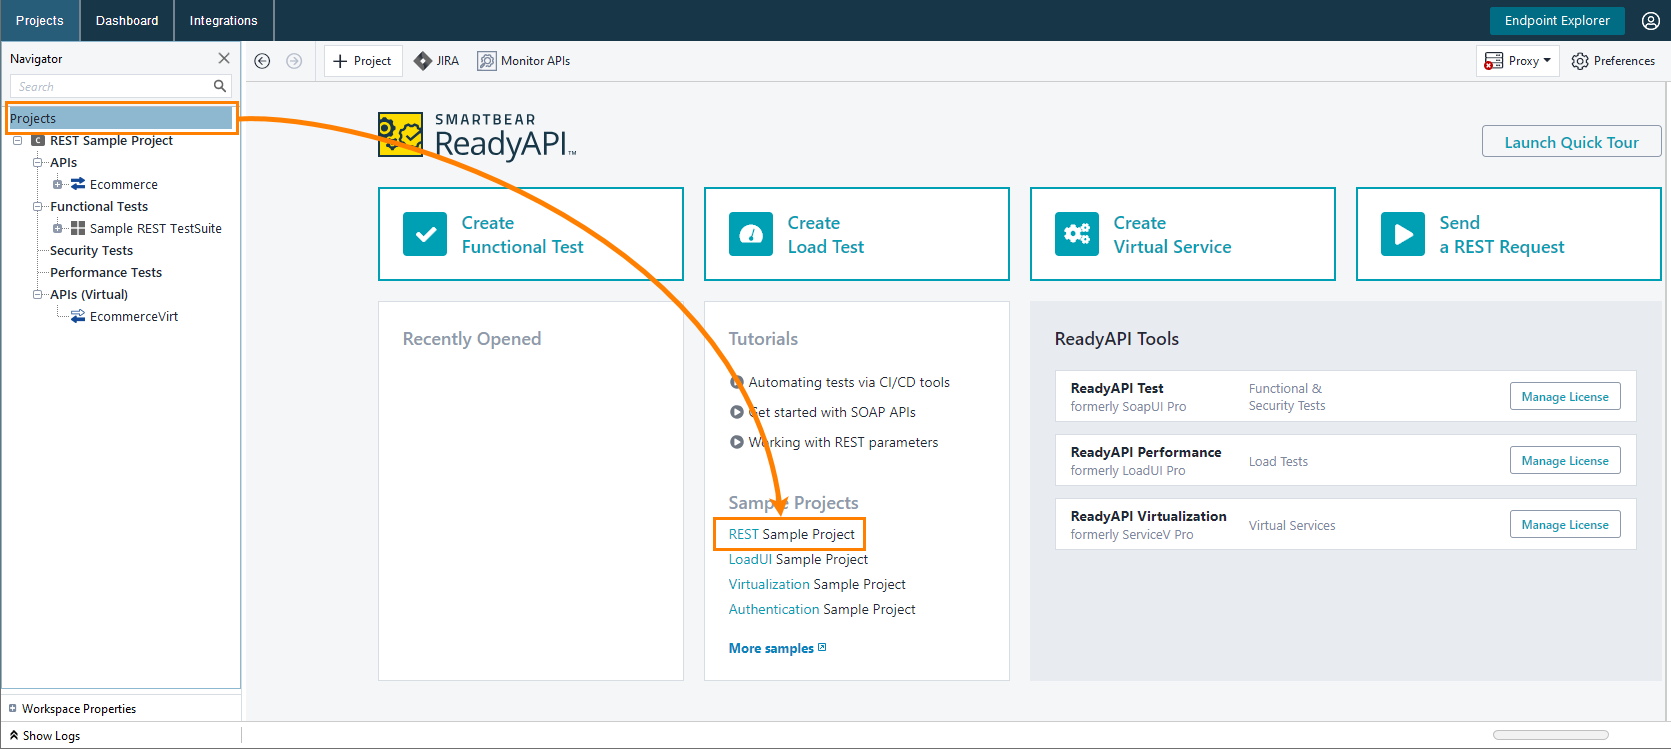
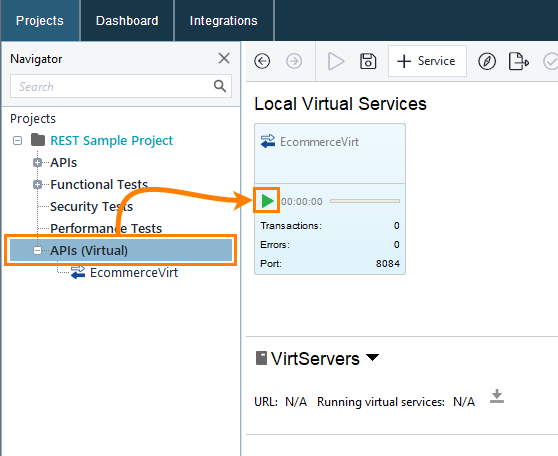
This example uses a virtual service from the REST Sample Project shipped with ReadyAPI.
1. Preparation
To use JUnit and Selenium classes in a Groovy script, you need to add their libraries to ReadyAPI.
-
Copy Selenium libraries as described in Requirements for Running Selenium Tests.
-
Download the junit.jar file from the following page:
-
Copy the downloaded file to the <ReadyAPI installation>/bin/ext directory.
2. Copy code to ReadyAPI
-
Add the Groovy test step to your test and open it.
-
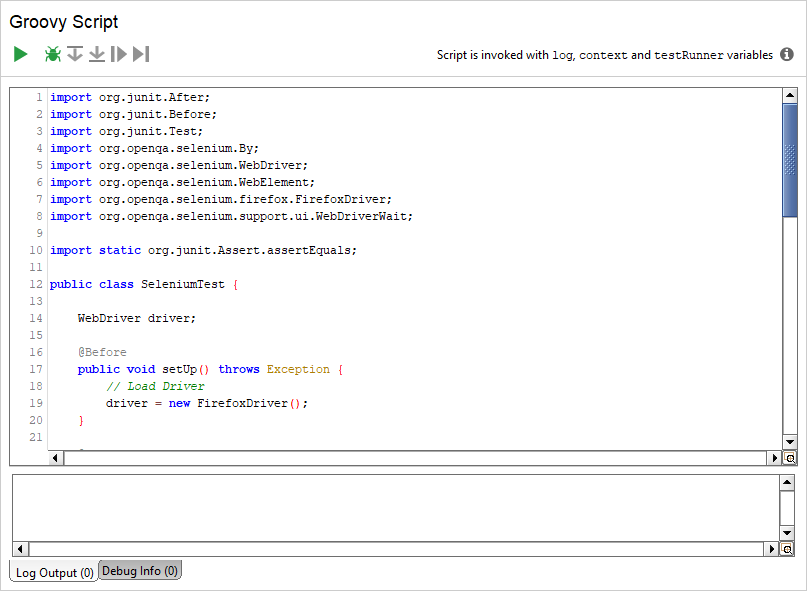
Paste your Java code to the created test step:
3. Modify your code
Most likely, your code will not work as expected, so you need to modify it.
3.1 Specify the location of the Gecko driver
Selenium searches for the Gecko driver in the webdriver.gecko.driver system property. You need to specify the driver location in one of the following ways:
- Add the
-Dwebdriver.gecko.driver=<path to gecko driver>variable to the list of JVM options. See Modifying JVM Settings to learn how to do this. -
Set the system property value in the Groovy test step:
Groovy
System.setProperty("webdriver.gecko.driver", "<path to gecko driver>");
3.2 Add JUnit test runner
To make the best use of JUnit tests in ReadyAPI, run them by using the JUnit test runner.
To run our sample test, we need to add the following code to the Groovy test step:
Groovy
import org.junit.runner.JUnitCore;
JUnitCore.runClasses(SeleniumTest.class);
3.3 Log test errors
If we run our test now, it will pass, whatever the JUnit test results are. To fix that, we need to add the assert command that marks the test step as failed and posts an error message.
Groovy
import org.junit.runner.notification.Failure;
def result = JUnitCore.runClasses(FirefoxTest.class);
for (Failure error : result.getFailures()) {
assertfalse: error.toString()
}
Full Groovy script
Below is the complete code of the Groovy Script test step:
Groovy
import org.junit.After;
import org.junit.Before;
import org.junit.Test;
import org.openqa.selenium.By;
import org.openqa.selenium.WebDriver;
import org.openqa.selenium.WebElement;
import org.openqa.selenium.firefox.FirefoxDriver;
import org.openqa.selenium.support.ui.WebDriverWait;
import static org.junit.Assert.assertEquals;
import org.junit.runner.JUnitCore;
import org.junit.runner.notification.Failure;
// Specify the path to the Gecko driver
System.setProperty("webdriver.gecko.driver", "C:/Work/Tools/geckodriver/geckodriver.exe");
// Run our JUnit test
def result = JUnitCore.runClasses(SeleniumTest.class);
// Get a collection of test errors
for (Failure error : result.getFailures()) {
//Fail the test step and post the error message
assert false: error.toString()
}
// Unchanged JUnit test class
publicclass SeleniumTest {
WebDriver driver;
@Before
publicvoid setUp() throws Exception {
// Load a driver
driver = new FirefoxDriver();
}
@After
publicvoid tearDown() throws Exception {
// Close the driver
driver.quit();
}
@Test
public void main() {
// Open a web service page
driver.get("http://localhost:8096/accountcreation");
// Find the username input element by its name
WebElement username_element = driver.findElement(By.name("username"));
// Enter a username
username_element.sendKeys("John Doe");
// Find the password input element by using XPath
WebElement pass_element = driver.findElement(By.xpath("//form/input[@type='password']"));
// Enter a password
pass_element.sendKeys("Test");
// Find the Submit button by using XPath
WebElement submit_button = driver.findElement(By.xpath("//form/input[@type='submit']"));
// Click the button
submit_button.click();
// Wait for the page to open. After 10 seconds, an error will occur.
WebDriverWait wdw = new WebDriverWait(driver, 10);
// Get page text
String greetings = driver.findElement(By.xpath("//h1")).getText();
// Verify that the text is equal to 'Welcome!'
assertEquals("Welcome!", greetings);
}
}
See Also
About Selenium Integration
Groovy Script Test Step
JVM Settings

 How to run the virtual service

