This topic provides a small example of performing two main things:
-
Creating a basic project based on a sample plugin and trying it.
-
Customizing the plugin action, adding features, and installing the updated plugin.
The Process
-
A Basic Project
- Create a plugin project –
mvn archetype:generate.- Build and package –
mvn install. - Install the plugin file, add it to your ReadyAPI.
- Try out the plugin, make sure it works.
- Remove the plugin again, we will replace it with the customized version.
- Build and package –
-
Customize the Plugin
- Open the project in your favorite java development environment.
- Change the
PluginAction.javaclass. - Edit metadata to reflect changes.
- Build and package –
mvn install. - Install the plugin file, add it to ReadyAPI.
- Try out the plugin, make sure it works.
- Change the
A Basic Project
To create a basic plugin, use the maven archetype to generate a basic plugin project.
1. Browse to the project directory (where you want to create the plugin project).
2. Open the command prompt.
3. Run the command.
| Note: | Line breaks are added for readability. The command must be written on a single line. |
mvn archetype:generate
-DarchetypeGroupId=com.smartbear.maven.archetypes
-DarchetypeArtifactId=soapui-plugin-archetype
-DarchetypeCatalog=http://smartbearsoftware.com/repository/maven2
This will download and install the maven archetype and start the generation of the plugin project. You will be prompted for a number of properties – set these as follows:
- groupId: "com.mycompany"
- artifactId : "my-plugin"
- version : "1.0.0"
- package : <empty >
- language : "java"
- type : "Action"
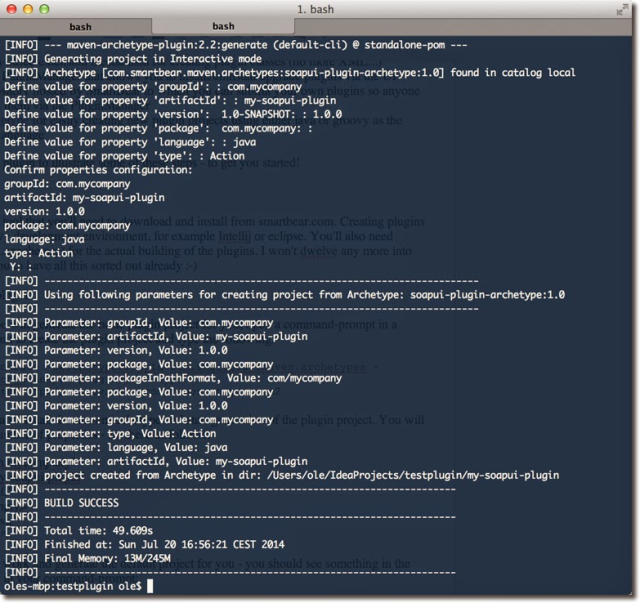
The default project is generated by maven:
4. Open the my-plugin directory.
5. Open the command prompt.
6. Run the command:
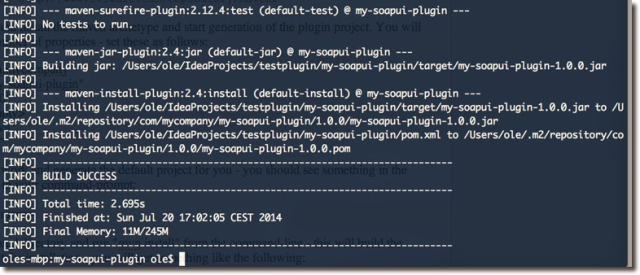
Maven builds the plugin and packages it for installation:
Installing the Plugin
Use the Plugin Manager to install the plugin file.
See Install Plugin From File for more information.
Trying the Plugin
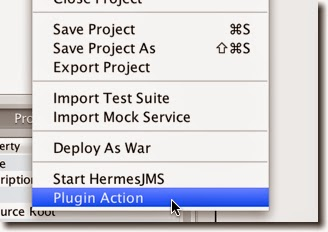
To see the installed action, right-click an open project in your ReadyAPI workspace.
The plugin action is at the bottom of the menu:
Removing the Plugin
Use the Plugin Manager to uninstall the plugin file.
See Remove plugin for more information.
Customizing the Plugin
The basic sample plugin does not do anything useful, it only displays a 'hello' message. We now want to change the plugin to perform a search in our project, and open the list with the search results in the selected project.
Opening the Project
Open the project in your java development environment.
Find the Maven generated file - PluginAction.java.
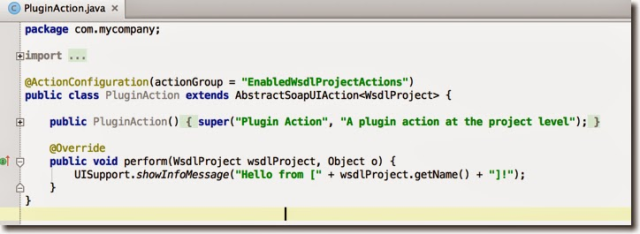
The default implementation of the perform method just shows a "Hello from..." message in a pop-up window.
Changing the Action
Let's change the perform method to
-
prompt for a regular expression search string (
UISupport.prompt); - do a recursive search through all items in the selected project (
findItems); -
match item names using the search string;
-
display the results in
ModelItemListDesktopPanel(UISupport.showDesktopPanel).
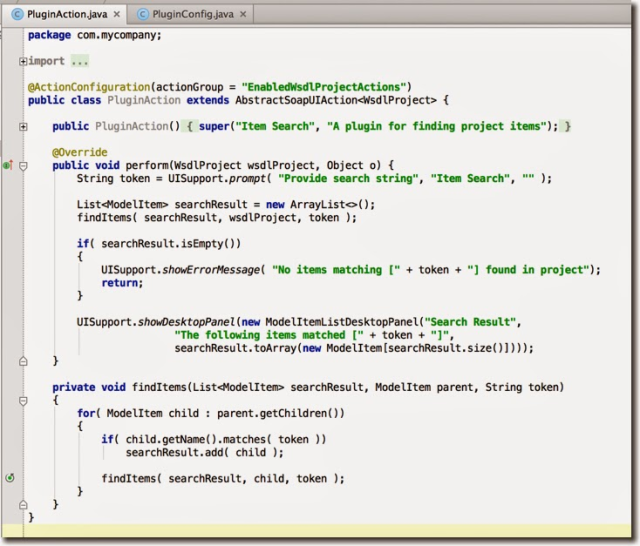
We have changed some of the metadata in the constructor.
The generated PluginConfig.java file has been updated accordingly:

And, we have also changed the metadata in the pom.
<name>ReadyAPI Search Plugin</name>
<artifactId >readyapi-search-plugin</artifactId>
<groupId >com.smartbear.soapui.plugins</groupId>
Building the Plugin
We need to build a plugin file to be installed:
-
Open the
my-soapui-plugindirectory. -
Open the command prompt.
-
Run the command:
mvn install
Maven builds the plugin and packages it for installation.
Installing the Plugin
Trying Out the Plugin
With the plugin installed, you now have a new option on the context menu:
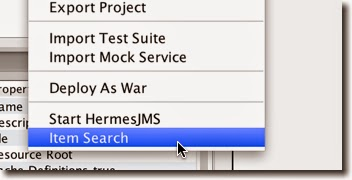
It prompts as follows when selected:
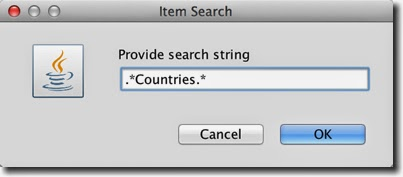
It uses the specified regular expression to find items in the selected project and to display them:
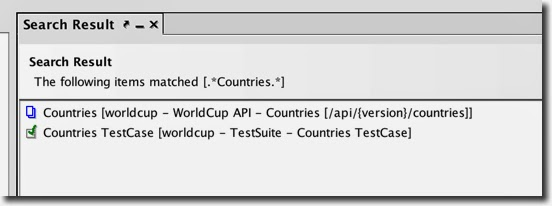
Double-clicking an item in this window opens the corresponding desktop panel for editing.
