Install Integration
To install an integration or plugin:
-
Open the Integrations tab and find the integration or plugin you want to install in the left part of the tab.
Tip: Use the Search edit box to filter the list. -
Click Install next to the integration.
Install From File
To begin the installation, you need to download the plugin file and unpack it. The unpacked file must have the .jar extension.
To install the plugin:
-
Open the Integrations tab.
-
Click Install from file:
-
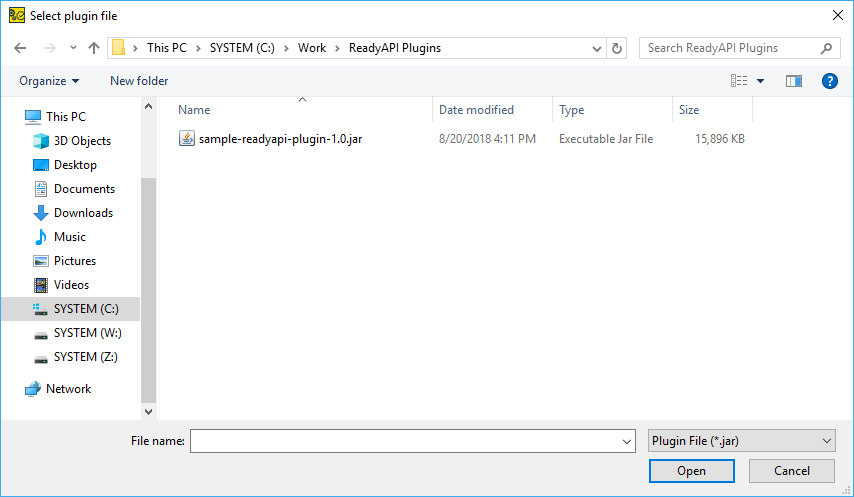
Browse for the plugin file and select it:
Click Open.
-
Wait until the installation finishes and a notification window appears.

Click OK.
-
Restart ReadyAPI, if needed.
Update Integration
If there is a new version of the installed integration or plugin, ReadyAPI will show the Update button next to its name in the right part of the Integrations tab:
-
Click Update to update the integration.
-
ReadyAPI will ask you to confirm the action. Click Yes and wait until the new version of the integration or plugin is installed.
Remove Integration
To remove an installed integration or plugin:
-
Find the integration or plugin you want to remove in the right part of the Integrations tab and click
 .
. -
ReadyAPI will ask you to confirm the action. Click Yes.
-
Restart ReadyAPI to complete the removal.


