To remove completed jobs from the TestEngine database, use the following operations:
Remove a single job
Using API
Authentication
| Note: | If you authenticate as a non-admin user, you will be able to remove only test jobs that you have started. If you authenticate as an administrator, you will be able to remove any test job in TestEngine. |
Example
Use the following command line:
In this example:
-u user:password
-X DELETE
"http://localhost:8080/api/v1/testjobs/{testjobId}/delete"
-
Create a project by using the TestEngine API definition. See Creating Project From OpenAPI/Swagger Definition to learn how to do it.
Tip: You can also create the needed request from scratch. -
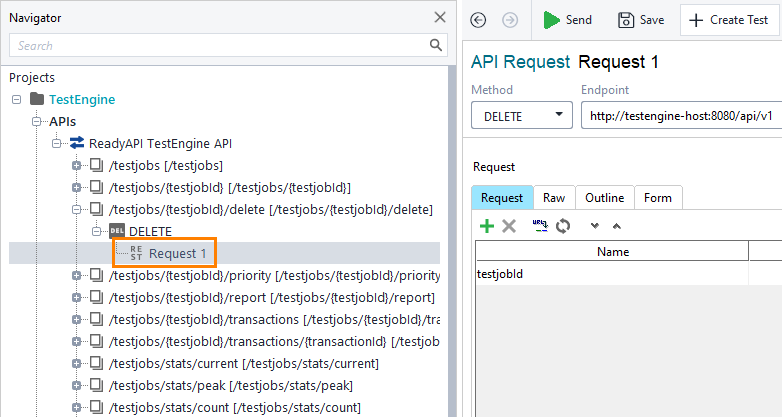
Select the DELETE request to the /api/v1/testjobs/{testjobId}/delete resource:
-
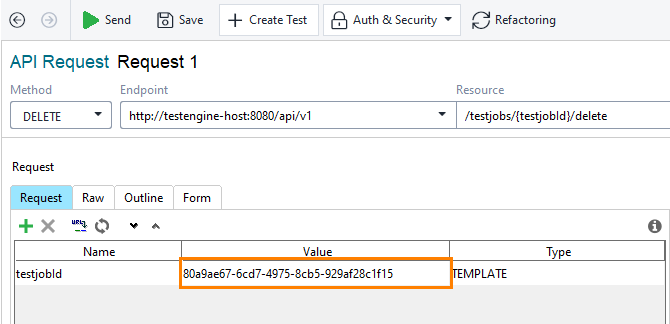
Enter the test job's id in the Value field of the testjobId parameter:
-
Open the Auth panel.
-
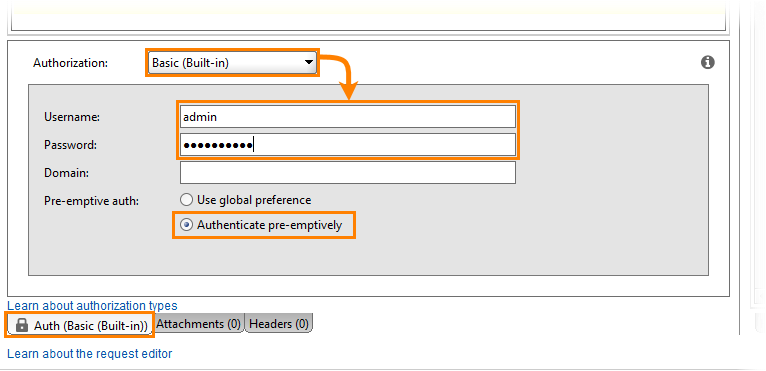
Select the Basic (Built-in) authorization type.
Tip: If you use the same credentials in several requests, use authorization profiles. -
Specify the admin credentials and select the Authenticate pre-emptively option:
-
Send the request:
Using Web UI
-
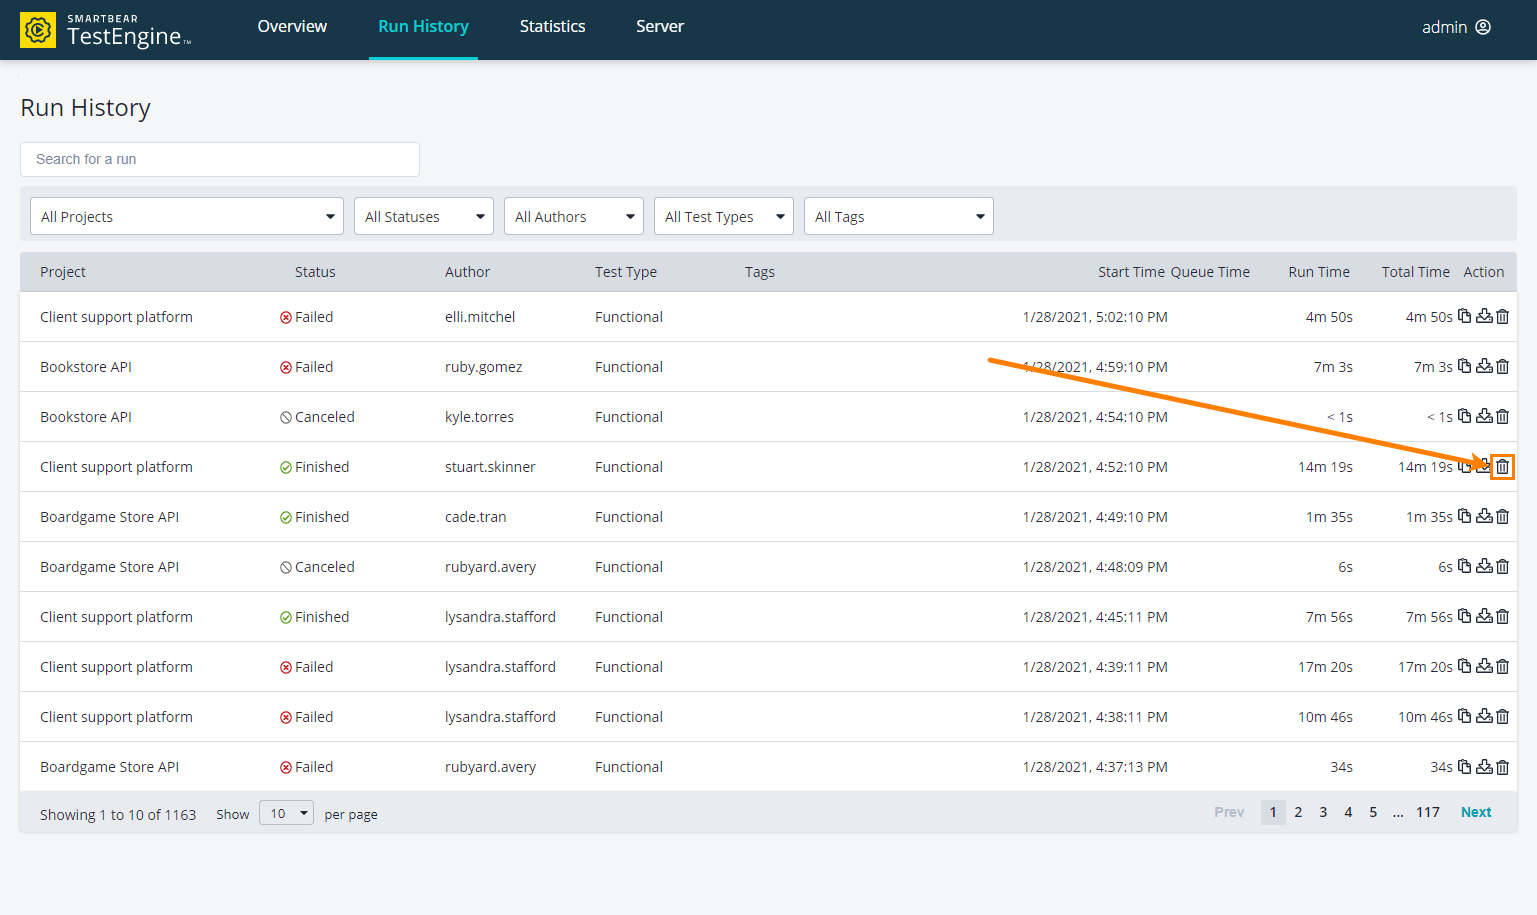
Go to the Run History page of the TestEngine:
http://<testengine-host>:<port>/run-historyFor example, if TestEngine is installed on your local machine and you run it on the default port, use the following link:
-
Click
 next to the needed finished or canceled job:
Remove several jobs
before
The date and time in the YYYY-MM-DDThh:mm:ssZ format. Test jobs that were completed before this time will be deleted.
Z in the notation denotes the UTC time. If you need to indicate a different time zone, replace it with +hh:mm or -hh:mm.
Examples:
2019-08-30T17:30:00+08:00
2019-07-10T12:00:00-05:00
This parameter is optional. If it is omitted, TestEngine will delete test jobs according to the Maximum days to keep and Maximum jobs to keep options (see Configure TestEngine).
Authentication
Examples
Delete test jobs completed before June 1, 2019, 17:00
Use the following command line:
In this example:
-u user:password
-X DELETE
"http://localhost:8080/api/v1/testjobs"
before=2019-06-01T17:00:00Z
 |
Make sure to take your timezone into account. |
-
Create a project by using the TestEngine API definition. See Creating Project From OpenAPI/Swagger Definition to learn how to do it.
Tip: You can also create the needed request from scratch. -
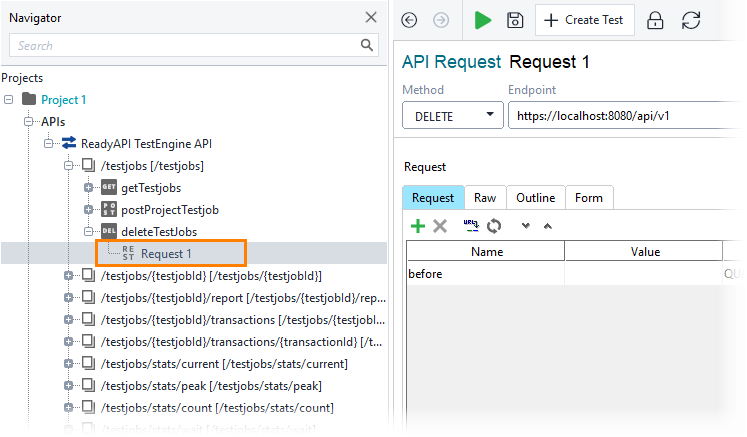
Select the DELETE request to the /testjobs resource:
-
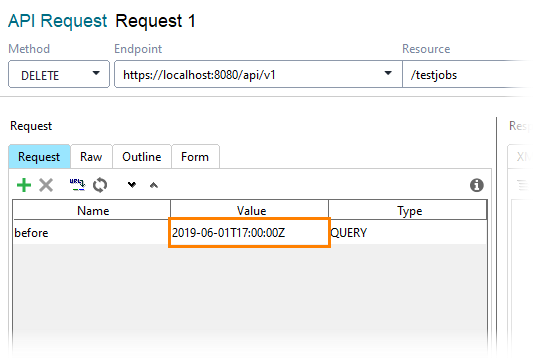
Enter the date and time in the Value field of the before parameter:

Make sure to take your timezone into account. -
Open the Auth panel.
-
Select the Basic (Built-in) authorization type.
Tip: If you use the same credentials in several requests, use authorization profiles. -
Specify the admin credentials and select the Authenticate pre-emptively option:
-
Send the request:
-
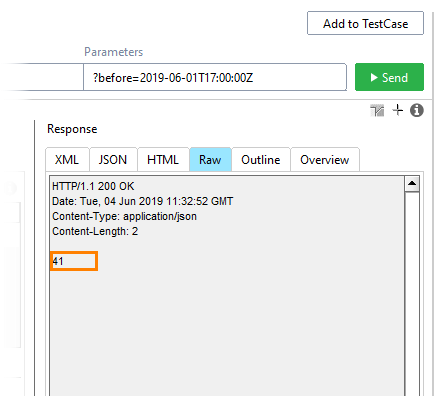
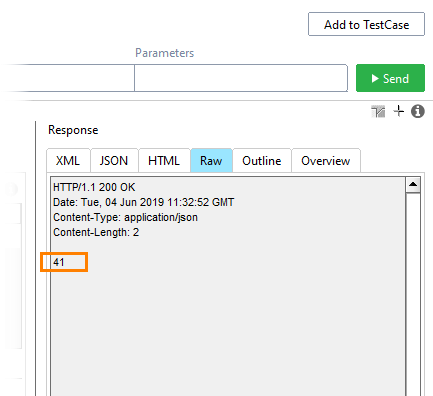
The response will include the count of deleted jobs:
Delete test jobs exceeding specified limits
Before you perform this action, you might want to set the the Maximum days to keep and Maximum jobs to keep options. To learn how to do this, see Configure TestEngine.
Use the following command line:
In this example:
-u user:password
-X DELETE
"http://localhost:8080/api/v1/testjobs"
-
Create a project by using the TestEngine API definition. See Creating Project From OpenAPI/Swagger Definition to learn how to do it.
Tip: You can also create the needed request from scratch. -
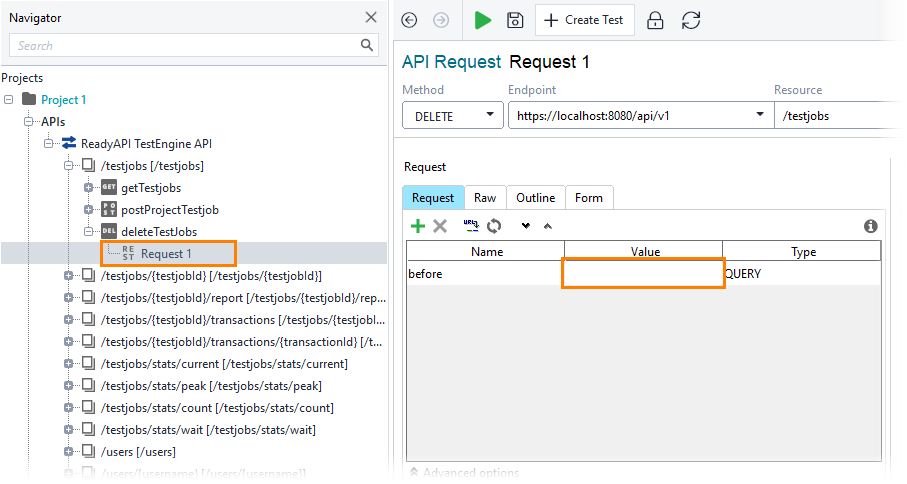
Select the DELETE request to the /testjobs resource. Leave the before parameter blank:
-
Open the Auth panel.
-
Select the Basic (Built-in) authorization type.
Tip: If you use the same credentials in several requests, use authorization profiles. -
Specify the admin credentials and select the Authenticate pre-emptively option:
-
Send the request:
-
The response will include the count of deleted jobs:
The address and port of your TestEngine installation.
The id of the job. The id is included in the response that you receive when starting the job. Alternatively, you can click ![]() in the Web UI, or get an overview of test jobs and find the id of the needed job there.
in the Web UI, or get an overview of test jobs and find the id of the needed job there.
The address and port of your TestEngine installation.


