NUnit is a standard unit test framework for .NET applications.
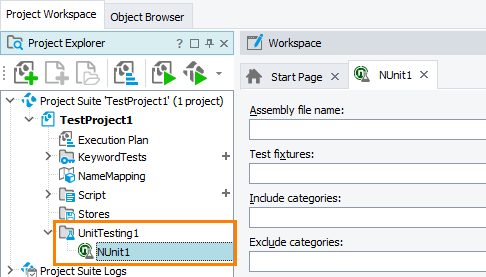
In TestComplete, you can run NUnit-based unit tests and Selenium tests as part of your TestComplete project. In the NUnit Test editor, you configure the tests to be run.
To learn about TestComplete support for third-party unit testing frameworks, see —
 Integration With Unit Testing Frameworks
To learn about TestComplete support for Selenium WebDriver tests, see —
Requirements
-
You must have NUnit installed on your computer.
-
The full path to the NUnit console executable (nunit-console.exe) must be specified in the Unit Testing Options dialog.
To call the dialog directly from the NUnit Test editor, right-click somewhere in the editor and then click Options.
-
To use NUnit test items to run Selenium tests, make sure that your computer and TestComplete project meet the requirements describes in Integration With Selenium - Prerequisites.
 |
NUnit test items in TestComplete can only run assembly files (.exe or .dll) that contain tests to run. They cannot run NUnit test projects (.nunit). |
1. Prepare Your Test Machine, TestComplete and Tests
-
Make sure that the computer where you will run tests, TestComplete and your tests are prepared for testing.
To learn how to prepare Selenium tests for testing, see –
-
Copy your NUnit test files to your TestComplete computer.
2. Configure Your TestComplete Project
-
Open your TestComplete test project or create a new one.
-
Add a Selenium or Unit Testing collection to your test project. See Adding and Removing Project Items and Their Child Elements.
-
Add an NUnit item to the created collection.

3. Configure the NUnit Item to Run Needed Tests
-
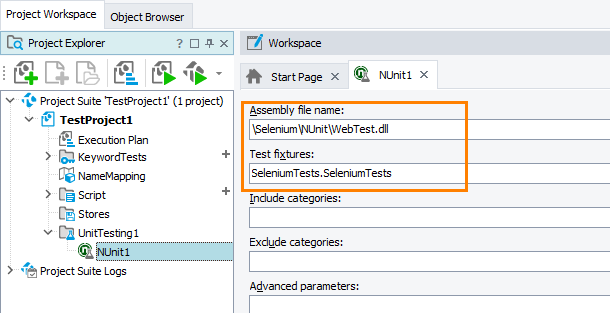
In Assembly file name, enter the path to the assembly (.exe or .dll) that runs your tests. You can click the ellipsis button and browse for the assembly in the subsequent dialog.
-
To run a specific test fixture (an attribute that marks the class that contains test methods), enter its full name in the Test fixture text box or click the ellipsis button and select the needed test fixture in the Select Test Fixtures dialog.
For instance, NUnit.Tests.AssertionTests.
The assemble or the project specified by the Assembly file name property must define the test fixture. To set several test fixtures, separate their names with semicolons.

-
If needed, in the Include categories text box, specify the categories whose tests you want to include in the test run. For instance, BaseLine. To separate multiple include categories, use commas.
If you specify include categories, you cannot specify exclude categories.
-
If needed, in the Exclude categories text box, specify the categories whose tests you want to exclude from the test run. For instance, Database. To separate multiple exclude categories, use commas.
If you specify exclude categories, you cannot specify include categories.
-
If needed, in the Advanced parameters text box, specify additional command-line options that will be applied to your test execution.
Note: If you use the --test or --testlist option to specify the tests to be run, the Test fixtures parameter will be ignored. An appropriate warning message will be posted to the test log. -
To save results to an XML file, select the Save results to XML file check box. In the XML file name, enter the path to the XML file that will store the test results.
4. Run the NUnit Test Item
Run the NUnit test item in TestComplete. For information on how to run unit test items, see Running Unit Tests.
TestComplete will command NUnit to run the specified test cases.
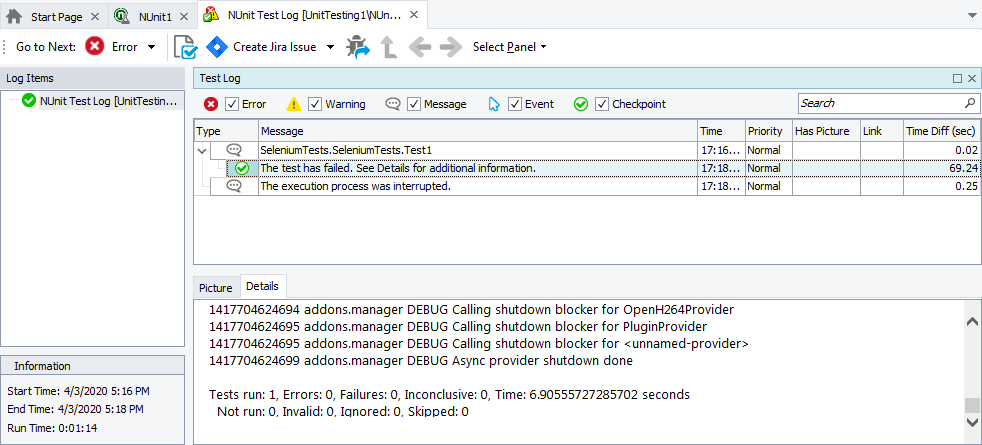
After the test run is over, view the test results.

See Also
Integration With Unit Testing Frameworks
Running Unit Tests
Integration With Selenium
Unit Testing Options Dialog
