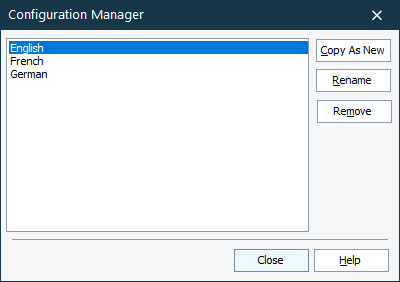
You can create, rename and delete name mapping configurations using the Configuration Manager dialog. The dialog displays all the configurations defined in your project’s Name Mapping repository:

To open the Configuration Manager
-
Double-click the NameMapping item in the Project Explorer panel. The Name Mapping repository opens.
-
In the Configurations drop-down list on the repository toolbar, select Configuration Manager.
To create a name mapping configuration
-
Open the Configuration Manager dialog.
-
Select the source configuration whose values will be copied to the new configuration, and click Copy as New.
-
Enter the configuration name in the resulting dialog box and click OK.
Once you have created a new configuration, you can activate it and specify the identification property values for the mapped objects that will be used in this configuration.
 Only the values of identification properties vary. The set of identification properties is shared among all the configurations.
To rename a name mapping configuration
-
Open the Configuration Manager dialog.
-
Select the configuration in the list and click Rename.
-
Enter the new name for the configuration in the resulting dialog box and click OK.
To delete a name mapping configuration
-
Open the Configuration Manager dialog.
-
Select the configuration that you want to delete and click Remove.
To switch configurations
Select the needed configuration in the Configuration Manager dialog and click Close.
Notes
-
If there is only one name mapping configuration, you cannot delete it.
-
After deleting a configuration you cannot undo or redo changes in Name Mapping that you made before.
