PHPUnit is a standard unit test framework for PHP.
In TestComplete, you can run PHP unit tests and Selenium tests created by using PHPUnit framework as part of your TestComplete project. In the PHPUnit Test editor, you configure the tests to be run.
To learn about TestComplete support for third-party unit testing frameworks, see —
 Integration With Unit Testing Frameworks
To learn about TestComplete support for Selenium WebDriver tests, see —
Requirements
To run the PHPUnit tests in TestComplete:
-
Specify the path to the PHPUnit module (phpunit) in the Unit Testing Options dialog.
To open the dialog, select Tools | Options from the TestComplete main menu and then select Engines | Unit Testing in the resulting Options dialog.
-
To run Selenium tests, make sure that your computer and TestComplete project meet the requirements describes in Integration With Selenium - Prerequisites.
Make sure that the Selenium Server is running before you start the testing or configure TestComplete to run Selenium Server automatically.
1. Prepare Your Test Machine, TestComplete and Tests
-
Make sure that the computer where you will run tests, TestComplete and your tests are prepared for testing.
To learn how to prepare Selenium tests for testing, see –
-
Copy your PHPUnit test files to your TestComplete computer.
2. Configure Your TestComplete Project
-
Open your TestComplete test project or create a new one.
-
To run Selenium tests created by using PHPUnit, you must have Selenium Server running when the test starts. You can configure TestComplete to run Selenium Server automatically:
-
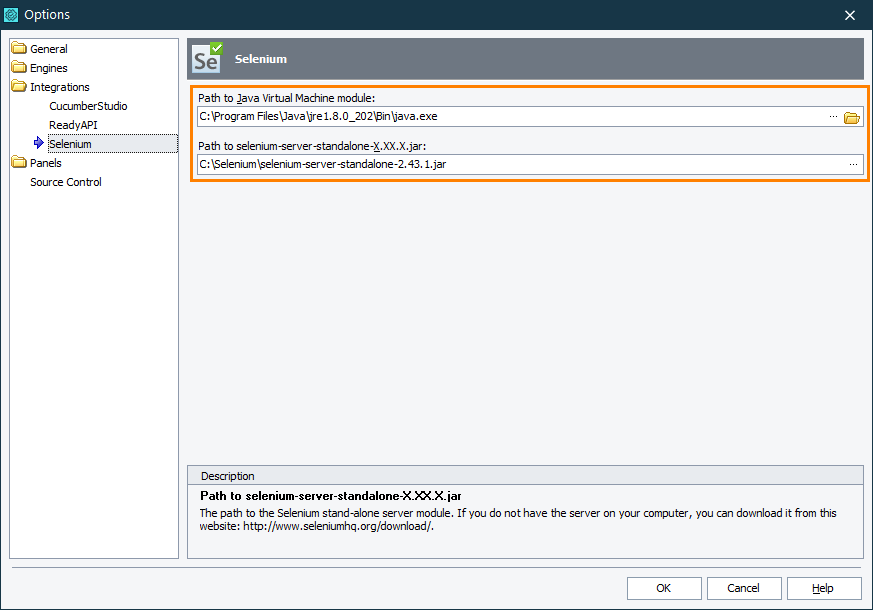
In the Selenium Options dialog, set the path to your Selenium Server and the path to the Java Virtual Machine that will run the server.
-
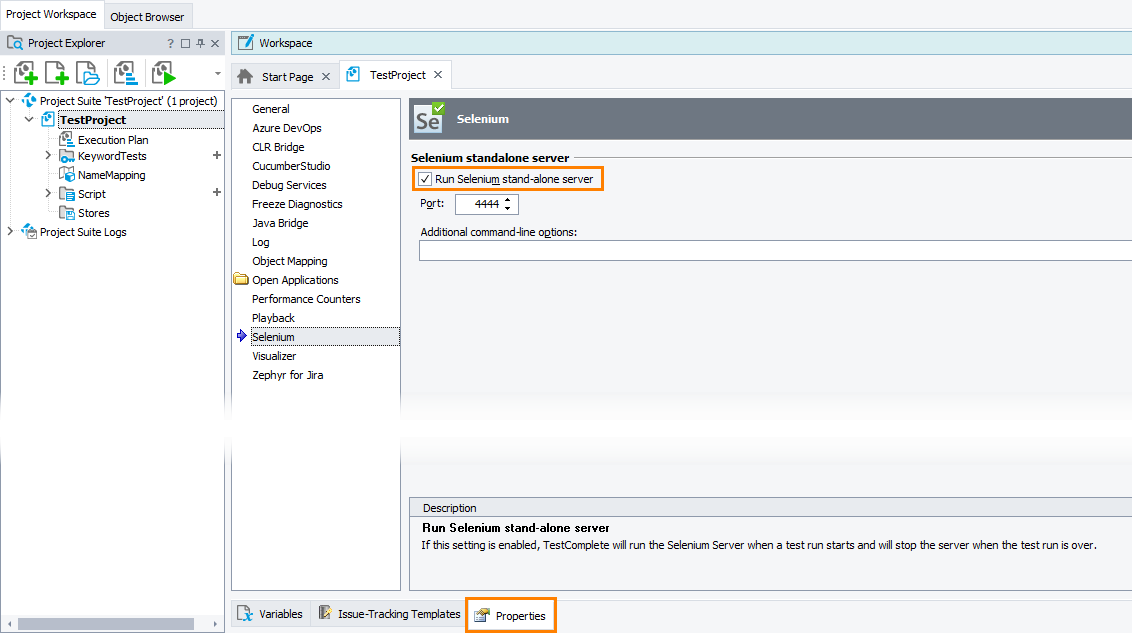
On the Properties | Selenium page of your project, select the Run Selenium stand-alone server check box.
-
-
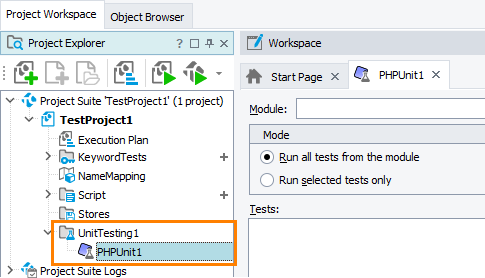
Add a Selenium or Unit Testing collection to your test project. See Adding and Removing Project Items and Their Child Elements.
-
Add a PHPUnit item to the created collection.
3. Configure the PHPUnit Item to Run Needed Tests
-
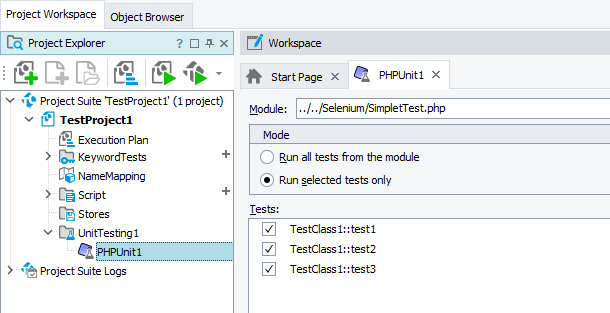
In Module, enter the path to your PHP module (.php). You can click the ellipsis button and browse for the PHP module in the subsequent dialog.
-
Select the mode you want to use to run tests:
-
To run all the tests defined in your PHP module, select Run all tests from the module in the Modes section.
-
To run only specific tests, select Run specified tests in the Modes section.
On the Tests list, specify the tests you want to run.
To add a test, click Add and enter the test name. You can enter the test method name, for example,
test1, or the test method name with the test case class name separated by::, for example,TestCaseClass1::test1.To remove a selected test from the list, click Remove. To temporary exclude a test from a test run, clear the check box next to the test name in the list.
-
4. Run the PHPUnit Test Item
Run the PHPUnit test item in TestComplete. For information on how to run unit test items, see Running Unit Tests.
TestComplete will command PHPUnit to run the specified test cases.
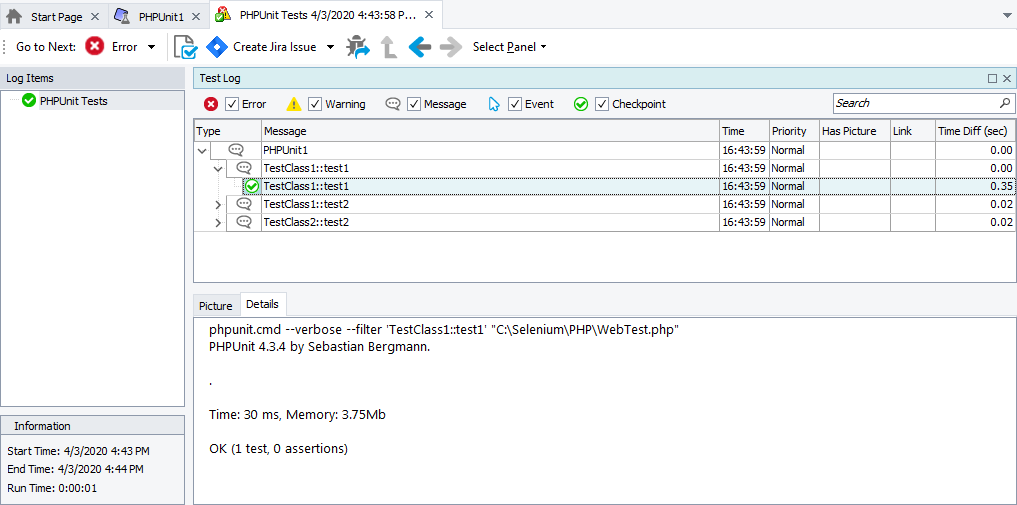
After the test run is over, view the test results.
See Also
Integration With Unit Testing Frameworks
Running Unit Tests
Integration With Selenium
Unit Testing Options Dialog

