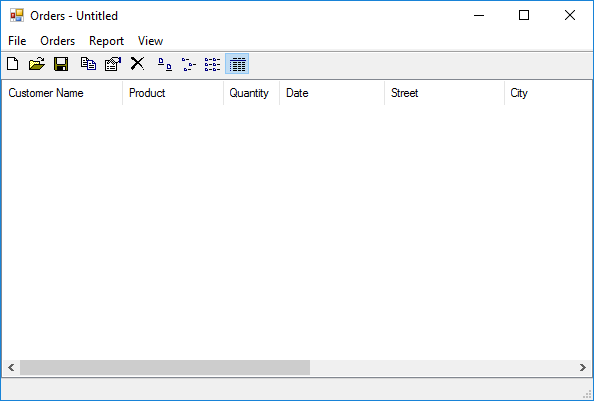
In this step, we will record a keyword test for inputting one set of test data. The test will launch the tested application, add a new order, check the order information generated by the application and close the application. During the recording, we will add comments to separate parts of the test performing different tasks.
Here are the detailed steps to record a keyword test:
-
Select Test > Record > Record Keyword Test from the TestComplete main menu.
-
After you start recording, TestComplete will automatically start the Orders application.
If the application window has not appeared on screen, click the down arrow of the Run App item on the Recording toolbar and choose Tested Application > Orders from the drop-down list:

This will launch the Orders application.

-
Insert a comment into the recorded test to mark the test commands:
- Click
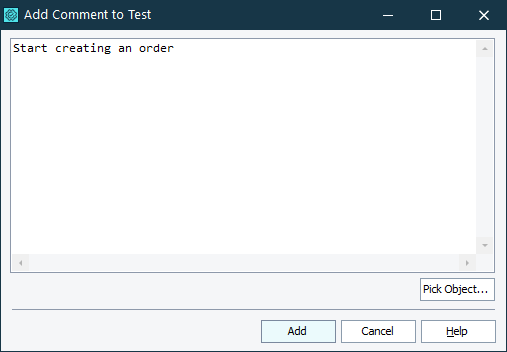
 on the Recording toolbar. The Add Comment to Test dialog will appear.

- In the dialog, enter Start creating an order and click Add.
- Click
-
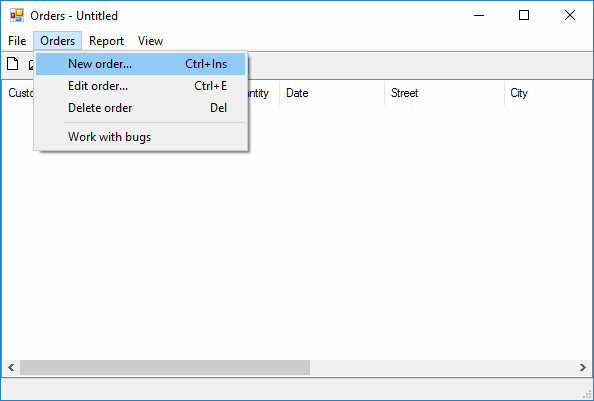
Switch to the Orders application and select Orders > New order from the main menu:

The Order form will appear.
-
Enter the following values into the controls of the Order form:
Field Value Product Select FamilyAlbum. Quantity 20 Date 05/06/2005 Customer Name John Smith Jr Street 12, Orange Blvd City Grovetown, CA State US Zip 111155 Card Select MasterCard. Card No 555777555888 Expiration Date 05/06/2005 -
Add a checkpoint to the test and verify the value of the Price per unit box:
-
Click
 on the Recording toolbar and make sure the Enable Quick Checkpoints check box is selected.
 -
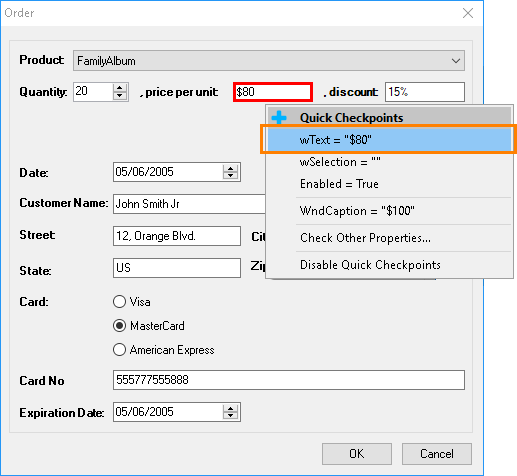
Move the mouse pointer to the Price per unit text box. TestComplete will highlight it with a red frame.
-
Stop moving the mouse pointer until the
 icon becomes opaque and move the pointer to the icon. TestComplete will show the Quick Checkpoints menu.
In the menu, click
wText = "$80":
TestComplete will add a property checkpoint to your recorded test and will display a notification about it. The checkpoint will verify that the
wTextproperty of the Price per unit text box equals the specified text.
-
-
You can also create checkpoints for the
wTextproperty of the Discount and Total edit boxes in the same way. -
After you added the checkpoints, click OK in the Order form to close.
-
Add the Finish creating an order comment to the test.
-
Close the Orders application by clicking the Close button in its title. The application will display a message box asking you to save the changes.
-
Click No in the Confirmation dialog box. Wait until the application window is hidden.
-
Click
 Stop on the Recording toolbar.
On the next step we will modify this test so that it can work with several sets of data.

 Prev
Prev