Before you can run your TestComplete tests as part of your build or release pipeline or of a test plan managed by Azure DevOps or Team Foundation Server, prepare your TestComplete project:
1. Specify tests you want to run
-
Open your project suite in TestComplete.
-
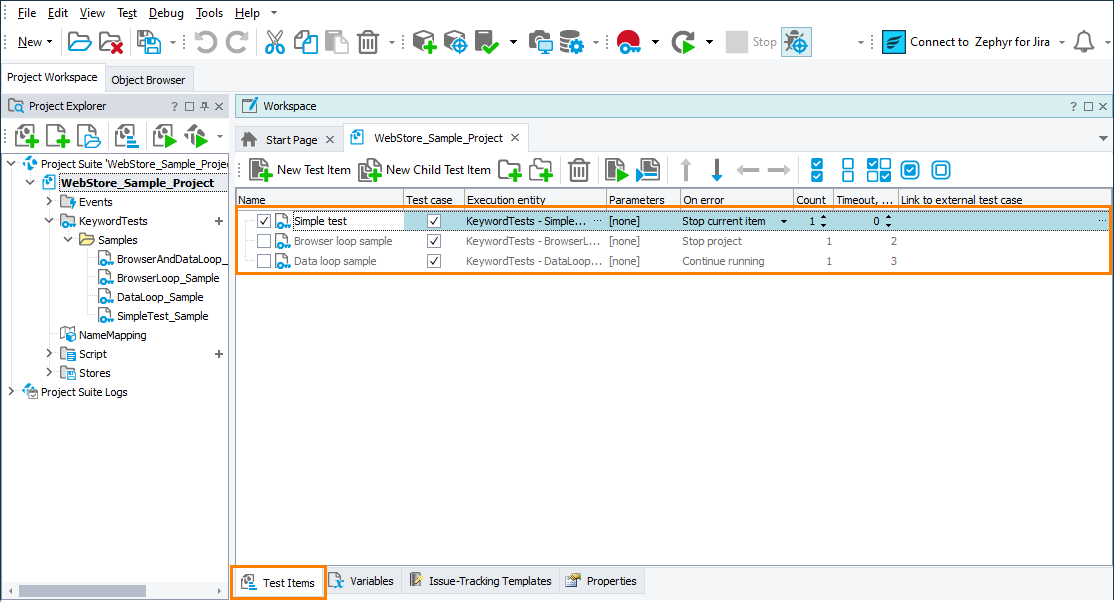
In each project you want to run, on the Test Items page, create test cases.
Important:
-
Nested test cases (that is, test cases that are child items of other test cases) cannot be run as part of your build or release pipeline or test plan. The TestComplete test adapter will skip such test cases.
-
Make sure that the created test cases can run independently of each other. When you run them as part of a pipeline or test plan they may be distributed among multiple agents and executed in an arbitrary order.
For detailed instructions on how to create and manage test cases, see the Test Items page description.
-
-
Make sure that the created test items run correctly. For example, by running them on your local computer.
-
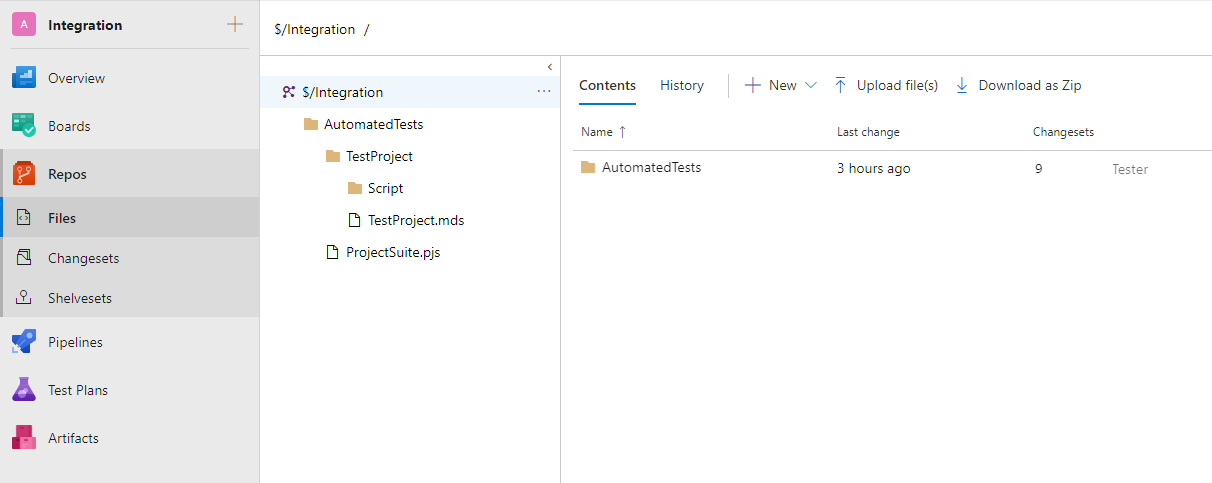
Add your TestComplete project suite to the repository of your team project.
We recommend that you do it directly from TestComplete IDE. This way, only the necessary files will be added. How to add the project suite depends on the type of the repository you use to store team files. To learn how to add TestComplete projects to various source control systems, see the Integration With Source Control Systems section.
-
If you are going to use TestComplete tests to automate Azure DevOps or Team Foundation Server test cases, link TestComplete cases to your team project’s test cases. To learn how to do it, see:
 Link TestComplete Test Cases to Azure DevOps Test Cases
Otherwise, skip this step.
2. Make sure that your tests can access your tested application and all files and resources required for testing
-
If your projects use the Tested Applications collection to run your applications under test, make sure that the application launch parameters that the collection items specify will remain valid after your project is placed to Azure DevOps test agents.
-
If your tests launch your tested applications by using hard-coded launch parameters, make sure that those parameters will remain valid after your project is placed to Azure DevOps test agents.
-
If your tests use external files, for example, files that store input test data, make sure that they will be able to access them when running on your Azure DevOps test agents.
You may want to configure your pipeline to place all the needed files to your Azure DevOps test agents before you run your TestComplete tests. If the files are stored in your source control repository, configure your pipeline to place them to the needed target location on the test agent. You can also use various pipeline tasks to do this.
See Also
Integration With Azure DevOps and Team Foundation Server via TestComplete Test Adapter
Integration With Azure DevOps and Team Foundation Server - Requirements
Prepare Test Agents to Run TestComplete Tests
Tests, Test Items, and Test Cases
Integration With Source Control Systems


