This topic explains how to purchase and activate upgrades of existing TestComplete licenses.
Purchasing an Upgrade of an Existing License
To purchase new TestComplete licenses or upgrades, please contact SmartBear Sales Team.
You can also order new licenses or upgrades from one of our partners.
Activating an Upgrade
To activate an upgraded license of TestComplete 14:
-
Log in to your SmartBear Account:
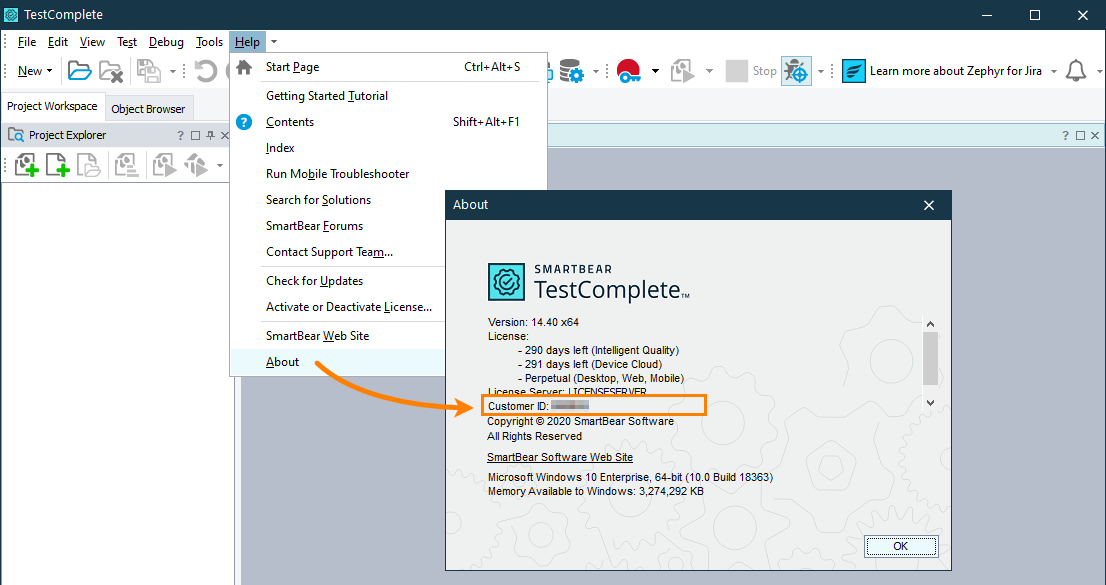
To log in, you will need the user name, email and customer id of the license holder. You can find these details in the email message we sent you after you had purchased the license. You can also find your customer ID in the About dialog. To call the dialog, select Help > About:
-
After you log in, your SmartBear Account page will display the list of products you own. From the products list, go to the TestComplete product page.
-
Find the license for which you purchased the upgrade. Click Upgrade your license.
(This link becomes available after you purchase an upgrade for the license. If there are no available upgrades for the license, the link is not shown).
-
A click on the link opens the Upgrade Your License wizard that will guide your through the upgrade process.
Follow the instructions that you will see on screen.
Below is a brief description of the upgrade steps:
-
The wizard will first to ask you to verify the upgraded license.
-
Then it will ask you how you will apply the upgrade (see Two Ways to Upgrade Licenses):
- You can either apply the upgrade on your current License Manager PC, or
- You can move the license and apply the upgrade on another PC.
-
If you choose to apply the upgrade:
-
The wizard will generate a special file that contains the updated license data. Download this file to your License Manager PC.
-
On the License Manager PC, open the following URL in a web browser:
http://localhost:1947This will open the Sentinel Admin Control Center page.
-
Click Update/Attach in the Options menu on the left.
-
On the subsequent page, choose the license data file that you've downloaded and click Apply File to upgrade the license on the License Manager PC.
-
-
If you choose to move the license to another computer:
-
Deactivate your license on your current License Manager PC.
The deactivation procedure includes several steps. Follow the instructions that you will see on screen.
-
After the license is deactivated, the wizard will generate a new license key. You can find it on the TestComplete product page of the My SmartBear section of our web site. Log in to this section of the web site, copy the license key and use it to activate your license on a new computer. This computer will become the License Manager PC for the upgraded license.
-
-
See Also
Upgrading Licenses
Upgrading Existing TestComplete 14 Licenses

 Purchasing an Upgrade of an Existing License