
 |
This approach to monitoring testing progress is deprecated. We do not recommend using it. If you are using Azure DevOps or Team Foundation Server 2015–2018, you can use built-in charts and widgets to monitor your project's state and progress. To learn more, see docs.microsoft.com/en-us/azure/devops/report/dashboards/overview. |
Reports you create can include data retrieved from one of the following data sources:
-
Work item queries
-
Online analytical database
-
Relational warehouse database
Depending on your choice of the report data source, you can use one of the following tools to create reports:
-
Microsoft Excel
-
Report Builder
-
Report Designer
Test results generated by TestComplete do not differ from results generated by other Visual Studio test items. Therefore, you can create a report for these results in the same manner as you would create other reports in Visual Studio.
This topic demonstrates how to use Report Designer to create reports that include test results retrieved from relational warehouse database (TFS_Warehouse). For information on how to create reports that retrieve data from other data sources or by using other tools, see docs.microsoft.com/en-us/azure/devops/report/sql-reports/.
 1. Creating a Report
 |
To create reports, you must have SQL Server Data Tools (Business Intelligence Development Studio) installed on your computer. In addition, your server reporting component must be configured. |
1. Creating a Report
First, create a project that will contain the report:
-
Launch Visual Studio and select File > New > Project from the main menu. This will call the New Project dialog.
-
In the Templates list, select Business Intelligence. Then select Report Server Project.

Click the image to enlarge it.
-
Enter the project name and location.
-
Click OK.
Visual Studio will create a new report project and open it in the Solution Explorer.
To add a new report to the project, right-click the <Report project>\Reports collection in the Solution Explorer and then click Add New Report.
Visual Studio will open the Report Wizard in which you can specify report properties.
2. Specifying Report Properties
2.1 Specifying Connection Parameters
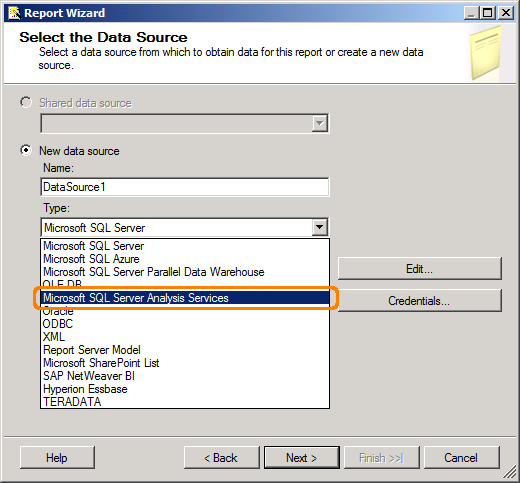
On the first page of the wizard, enter the connection parameters:
-
In the Type list, select Microsoft SQL Server Analysis Services.
-
Click Edit. This will call the Connection Properties dialog:
-
In the dialog, enter the name of the computer and the database where the needed data resides.
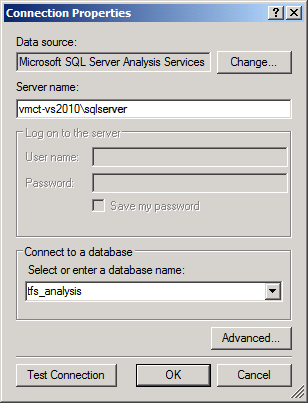
If needed, click Test Connection to verify the connection parameters.
-
Click OK to close the dialog.
-
-
Click Next to go to the next page of the Report wizard.
2.2 Specifying Report Data
Team Foundation’s work item database is an SQL Server database. To create a query that will retrieve the needed data, you can use the Query Designer.
The steps below demonstrate how to use the Query Designer to create a report containing information on test run results. For complete information on using the designer, see Visual Studio documentation.
-
On the Design the Query page of the wizard, click Query Builder. This will open the Query Designer:

Click the image to enlarge it.
-
In the Query Designer, click
 Select Cube. This will call the Cube Selection dialog:
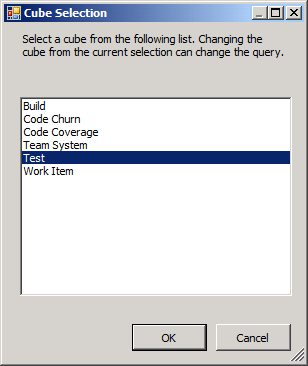
-
To work with test results, select the Test data cube in the dialog and click OK.
-
-
The Query Designer will update the Metadata section. Drag the needed cubes and queries from the Metadata section to the Data pane. The designer will run the queries and show the retrieved data. To filter the data, drag the needed items to the Filter pane.
-
Drag the Team Project item from the Metadata section to the Filter pane.
Select your team project in the Filter Expression column.
-
Drag the Build Name item from the Metadata section to the Filter pane.
Select your build in the Filter Expression column.
-
Drag the Measures > Test > Result Count item to the Data pane.
-
Drag the Test Results > Outcome and Test Run > Test Run Title items to the Data pane.

Click the image to enlarge it.
-
-
Click OK to save the changes.
The report wizard will show the query code. Click Next to continue.
2.3 Specifying the Report Layout and Color Scheme
On the next wizard pages, you specify the report layout (table or matrix), grouping criteria and color settings.
The last page of the wizard shows summary information on the created report.
Enter the report name and click Finish.
Visual Studio will create the new report and add it to the Reports collection of your project. It will also open the report editor where you can modify the report’s query and layout.
3. Deploying the Report
-
Right-click your report project in the Solution Explorer and then click Properties.
-
In the Project Properties dialog:

Click the image to enlarge it.
-
In TargetReportPathFolder, enter the path to the report folder of your team project.
-
In TargetServerURL, enter the name of your report server.
-
Click OK to save the changes.
-
-
Right-click the report project in the Solution Explorer and click Deploy.
-
Visual Studio will add the report to your team project.
-
You can view the report on the Reports page in Team Explorer.
See Also
(Obsolete) Integration With Azure DevOps and Team Foundation Server via TCTest Item