 |
This approach to running TestComplete tests as part of a build pipeline is obsolete. We do not recommend using it. Starting from version 14.20, to run TestComplete tests as part of a build, you can use the TestComplete test adapter. To learn more, see Integration With Azure DevOps and Team Foundation Server. |
After you have configured a test project and a build definition, you can run your build. Your TestComplete tests will be executed during the build run.
Requirements
The computer where the tests will run must have the following software installed:
-
Azure DevOps Server.
– or –
Team Foundation Server with the Team Foundation Build Service component.
– or –
Team Foundation Build Service.
– or –
Build and Release Agent for Windows.
– or –
Test Agent for Microsoft Visual Studio.
 The build agent or test agent must be running as an interactive process so that TestComplete can interact with the desktop and with the tested application UI.
An interactive user session must be opened on the computer where the agent is running. You can open the session manually, or, if you use Team Foundation Server 2018 or later, you can configure the agent to run with the auto-logon enabled so that it opens a user session automatically when it starts.
-
One of the Microsoft Visual Studio versions supported by TestComplete (optional, if you use Team Foundation Build 2010 or 2012).
-
TestComplete 14 (or TestExecute 14).
-
TestComplete 14 Visual Studio Integration Package.
The Integration Package installer is shipped along with TestComplete. You can find it in the TestComplete folder after installing the product:
<TestComplete 14>\VS Integration\VSIntegration.exe
Run this installer after installing TestComplete on your build or test computer. In the installation wizard, select the Visual Studio Integration feature and the Build and Test Integration or Test Agent Integration feature appropriate for the software you have installed on your build or test computer.
Run Builds
-
If you use Azure DevOps Services (formerly known as Visual Studio Team Services), Azure DevOps Server 2019 or Team Foundation Server 2015–2018, open the web portal of your team project. You can navigate to your web portal directly in your web browser or open it from Team Explorer in Visual Studio.
You can learn more about the web portal at docs.microsoft.com/en-us/azure/devops/project/navigation/.
-
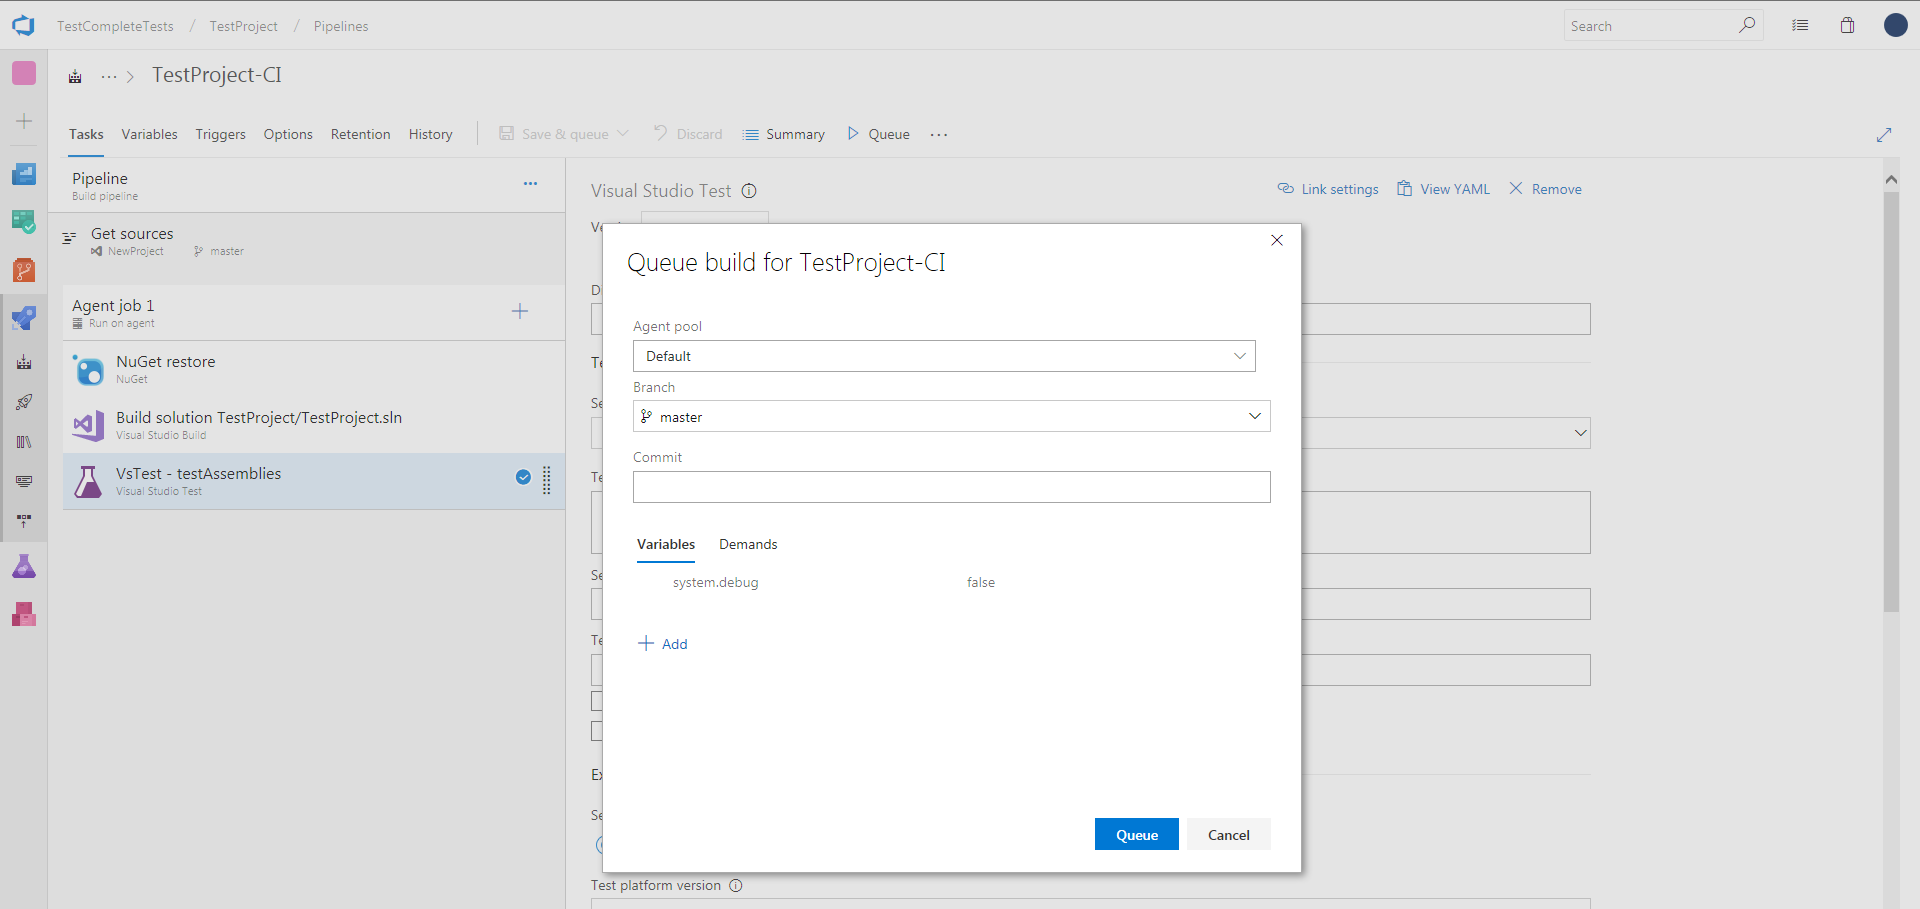
In Team Explorer or in the team project’s web portal, locate your build and queue it:
-
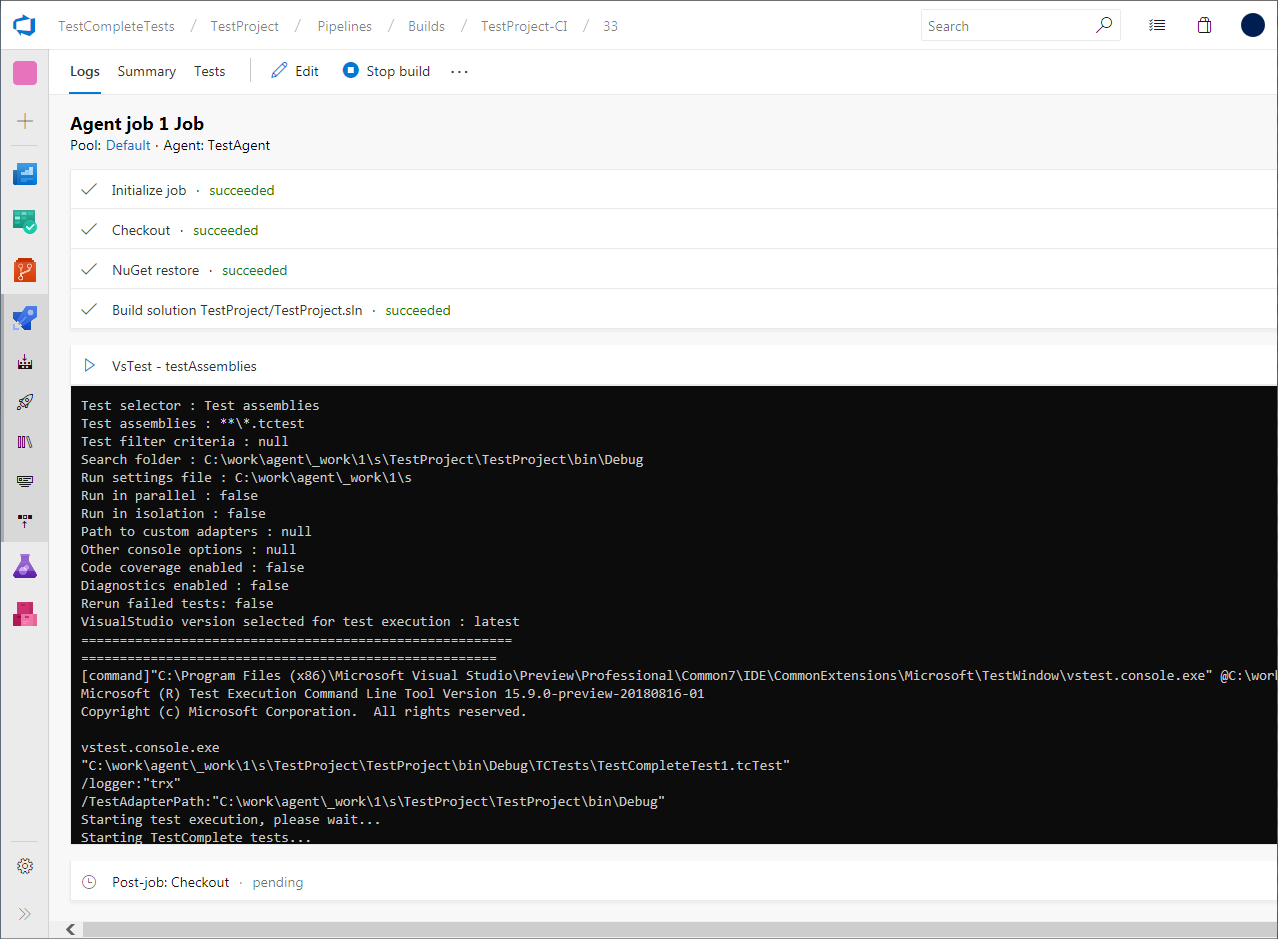
The build will be added to the build queue and the Build Explorer will inform you about the build progress:
View Test Results
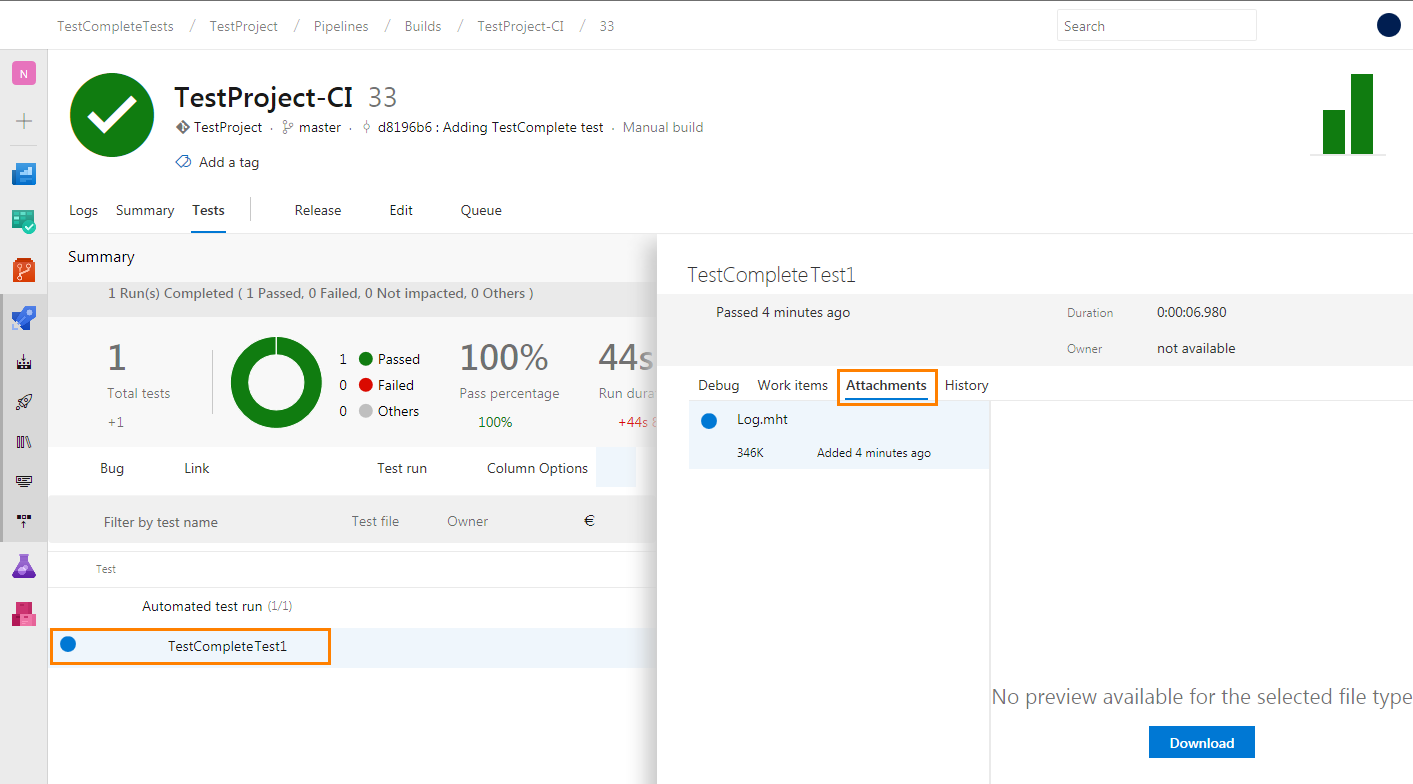
After the build is over, view the test results.
-
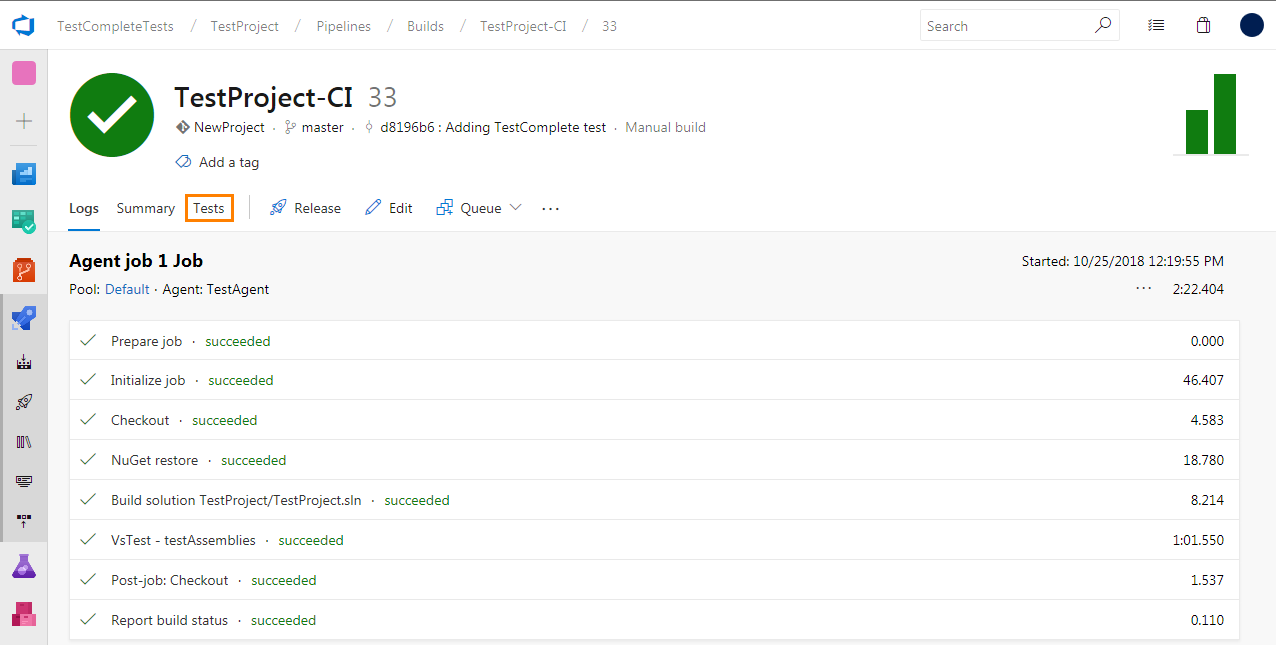
Double-click the needed build on the Builds page. This will open the build report.
-
Switch to the Tests (or Test Results) section:
-
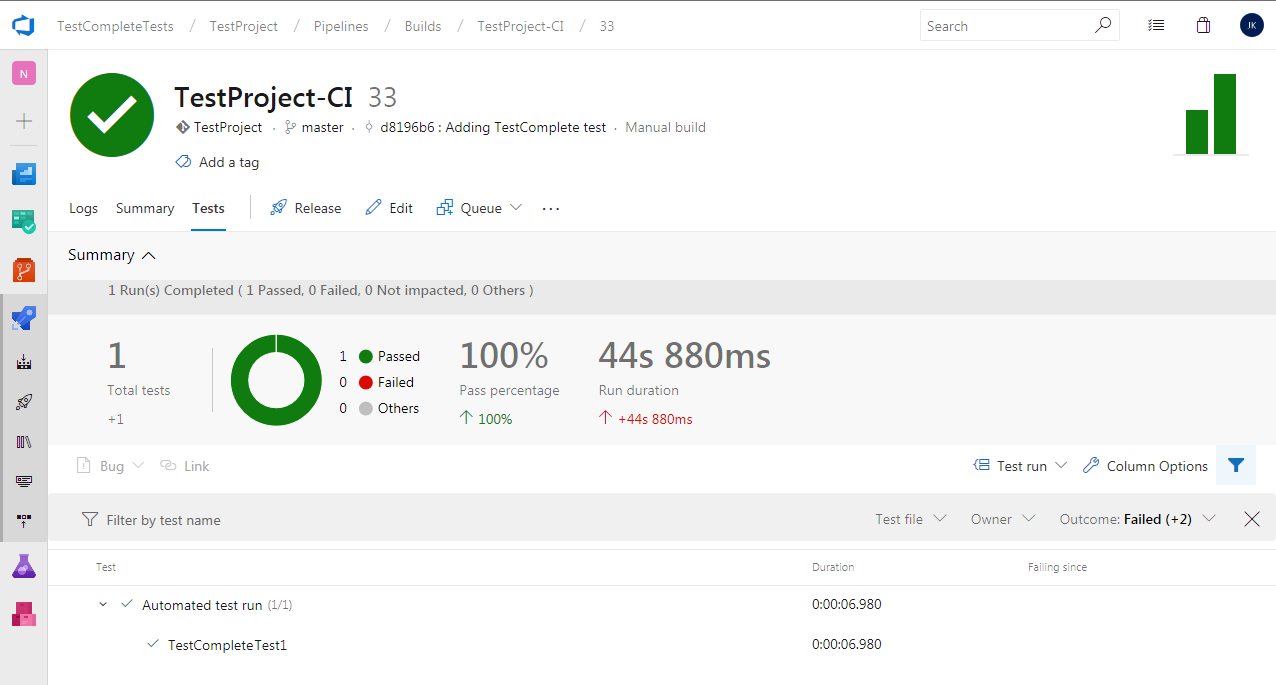
Click the needed test result. This will open the details of your test.
If you use Team Foundation Server 2017 or earlier, click Detailed report.
Note: If you run TestComplete tests by using Visual Studio Test task version 1, you may need to publish TestComplete test results to view them on the Tests page. -
In the Attachment section, click the link to open or save the attached TestComplete test log.
 |
If a test run fails, check whether your TestComplete project files that your team build uses reside in a folder, where your team build can access them, and that TestComplete (or TestExecute) is installed on the computer, where your tests run. |
See Also
Run TestComplete Tests as Part of Build Pipeline (Team Builds)
Defining a Build Process

 Requirements
 Prev
Prev