
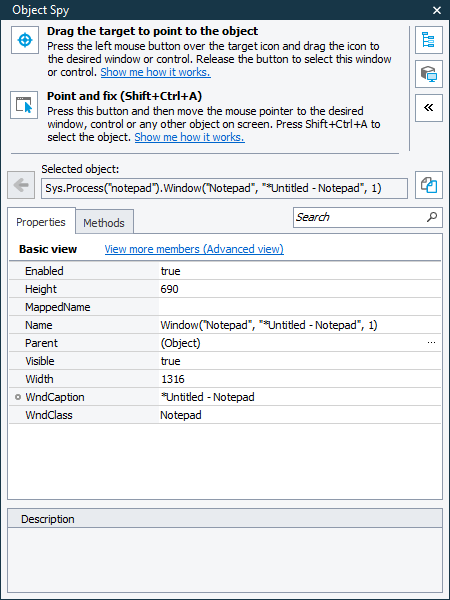
The Object Spy lets you select an object from screen to view its properties and methods. It is a standalone popup version of the Object Browser without the object tree. Using the Object Spy, you can also add objects to the Name Mapping project item and check if an object is in the Name Mapping project item.
To open the Object Spy, click the  Display Object Spy button on the Tools toolbar.
Information on the Object Spy
| To learn more about … | See these topics … |
|---|---|
| Selecting onscreen objects and exploring object properties and methods | Working With Object Spy Window |
| Object Spy window’s context menu | Object Spy Context Menu |
Using the Object Spy
 Searching for Properties, Methods, Fields and Events
Selecting Onscreen Objects
To select an onscreen object whose properties and methods you want to explore, do any of the following:
-
Drag the
 target glyph to the desired object. If you want to select an object in a mobile application, drag the target glyph to the needed object in the Mobile Screen window (see Selecting an Object on the Mobile Screen).
 -
Wait until a red frame appears around the object and release the mouse button.
-- or --
-
Click
 and move the mouse pointer to the desired object. If you want to select an object in a mobile application, move the mouse pointer to the needed object in the Mobile Screen window (see Selecting an Object on the Mobile Screen).
 -
Wait until a red frame appears around the object.
-
Press the Select object shortcut (SHIFT+CTRL+A by default).
| Note: | TestComplete can recognize objects in a mobile application only if the application is prepared for testing. For more information, see topics about preparing TestComplete and test computers for testing. |
Searching for Properties, Methods, Fields and Events
To easily find some property, method, field or event displayed in the Object Spy:
- Switch to the corresponding Object Spy page.
- Type a part of the sought-for member name in the Quick Search edit box.
- The Object Browser will filter out members of the currently opened Object Spy page according to the text you type.
To remove the filter, erase the typed text or press the  button.
| Note: | The Object Spy may not display all members of the selected object, and you may fail to find a property or method even if it exists. The number of displayed members depends on the view mode of the Object Spy. There are two available modes: Basic (only basic members are shown) and Advanced (all members are shown). By default, the Basic mode is set. To change the mode, click the link on the Object Spy page. For more information on view modes, see Basic and Advanced View Modes. |
Mapping Object Names
To add a name mapping record about the object currently selected in the Object Spy:
-
Select Map Object from the Object Spy context menu.
- In the ensuing Object Name Mapping dialog, specify the name mapping info for the given object.
Locating Selected Objects in the Object Hierarchy
To easily locate the selected object’s position in the hierarchical structure of processes and windows displayed in the Object Browser, do any of the following:
- Select
 Highlight in Object Tree from the Object Spy context menu.
 - Click the Highlight in Object Tree button in the Object Spy window.
Note: This is not supported in cross-platform web tests.
Viewing Selected Objects on Screen
To view the selected object on screen marked with a flashing red frame, do any of the following:
- Select
 Highlight on Screen from the Object Spy context menu.
 - Click the button in the Object Spy window.
| Note: | If you are going to highlight a web page element, set the page’s zoom ratio to 100%. Else, the test engine may fail to determine the element’s coordinates properly. See Preparing Web Browsers. |
Select an Object on the Mobile Screen (for Android Applications)
Select an Object on the Mobile Screen (for iOS Applications)
Select an Object on the Mobile Screen (for Android Applications)
Select an Object on the Mobile Screen (for iOS Applications)
Select an Object on the Mobile Screen (for Android Applications)
Select an Object on the Mobile Screen (for iOS Applications)
Select an Object on the Mobile Screen (for Android Applications)
Select an Object on the Mobile Screen (for iOS Applications)
See Also
About Object Browser
Exploring Applications
About Mobile Screen Window
Selecting an Object on the Mobile Screen (Android Testing)
Select an Object on the Mobile Screen (iOS Testing)