If you use a Floating User license, you activate your license on one computer - a License Manager PC. It will control TestComplete instances running on workstations in your network.
This topic describes how to activate a license on the License Manager PC and how to connect your TestComplete workstation to it:
 1. Select a License Manager PC
 2. Install License Manager on the License Manager PC
 3. Activate the License on the License Manager PC
Before You Start
After you activate your license on your License Manager PC, it will become bound to that computer. To move your license to another computer, you will have to go through the license deactivation procedure. At that, you may need to contact SmartBear Sales Team.
To save time in the future, we recommend that you select your License Manager PC and plan the license activation carefully to avoid unnecessary moves of the license.
1. Select a License Manager PC
-
Your License Manager PC must be a physical computer. Do not activate licenses on virtual or cloud computers.
-
It must always be available to workstations where TestComplete instances will run. That is why we recommend that you activate Floating User licenses on a server computer.
-
It must have a working network connection. TestComplete instances running in your network must be able to connect to the License Manager PC.
-
The License Manager PC must allow traffic via TCP and UDP protocols and port 1947. It will use the protocols and the port to exchange data with TestComplete instances. Make sure that firewalls and proxies running in your network do not block these protocols and ports.
-
We recommend that your computer has an Internet connection. It will use the connection for license activation. After activating the license, it will no longer need the connection.
In addition, it must have access to the SmartBear web server (URLs
https://ls1.smartbear.comandhttp://ls2.smartbear.com, port 443). Make sure the proxies and firewalls working in your network allow the activation requests.If your License Manager PC does not have an Internet connection, you will need an intermediate computer that has an Internet connection and that you will use to exchange data with the SmartBear web server. The intermediate computer must have access to the SmartBear web server (URLs
https://ls1.smartbear.comandhttp://ls2.smartbear.com, port 443).
2. Install License Manager on the License Manager PC
After selecting a License Manager PC that matches all the needed requirements, install the stand-alone License Manager utility on it. You can get the utility installation modules from the SmartBear web site:
 http://downloads.smartbear.com/SmartBearLicenseManager.exe
The utility does not have any special requirements for RAM and hard-disk space. The utility is small and lightweight, and you can install and run it on any (even “weak”) computer.
3. Activate the License on the License Manager PC
If you have an Internet connection on the computer where you activate your license, it will exchange the activation data with the SmartBear web server automatically. Otherwise, you will need an intermediate computer with a working Internet connection that you will use to exchange data between your computer and the SmartBear web server manually:
If you already have an active TestComplete Floating User license on your License Manager PC and activate another license key on this PC, the licenses will be merged. If you already have an active Node-Locked license, you will not be able to activate another license key on this PC until you deactivate the existing one. For more information on this, see Activating Multiple Licenses on One License Manager PC.
Automatic Activation
-
Launch the License Management wizard:
-
Click the operating system’s Start button (or Windows button).
-
Select All Programs | SmartBear | License Manager | Activate or Deactivate License from the ensuing menu.
-
-
On the first page of the wizard, select Activate a new license on this computer.
If your computer has an Internet connection and has access to the SmartBear licensing web sites (https://ls1.smartbear.com or https://ls2.smartbear.com, port 443), the wizard will choose automatic activation.
-
On the next page of the wizard, specify the information needed for activation: the user name, company name, email and license key.
You can find the license key on the TestComplete product page of the My SmartBear section of our web site (https://my.smartbear.com) or in the email message that we sent you after you had requested the license.

TestComplete Platform, Modules and add-ons are licensed separately, that is, you need to repeat the activation procedure for each license key you have. As for other activation data, you can either enter your user name, company name and email, or enter those of the license holder. We recommend that you enter your data.
After you have specified the activation data, click Next to continue.
-
If your computer connects to the Internet through a proxy server, on the next page of the wizard, specify proxy authentication settings. Ask your system administrator for assistance, if needed.
-
Click Activate. The wizard will activate your license.
-
If the activation succeeds, you will see the final page of the wizard informing you that the activation is over. You can then close the License Management wizard.
If the activation fails, the wizard will display an error message explaining the problem.
Manual Activation
Manual activation involves data exchange between the License Manager PC and the SmartBear licensing web sites. For detailed information on activation steps, see —
After Activation
After the activation is over, you can check whether the license has been activated successfully:
-
On your License Manager PC, navigate to the following URL:
-
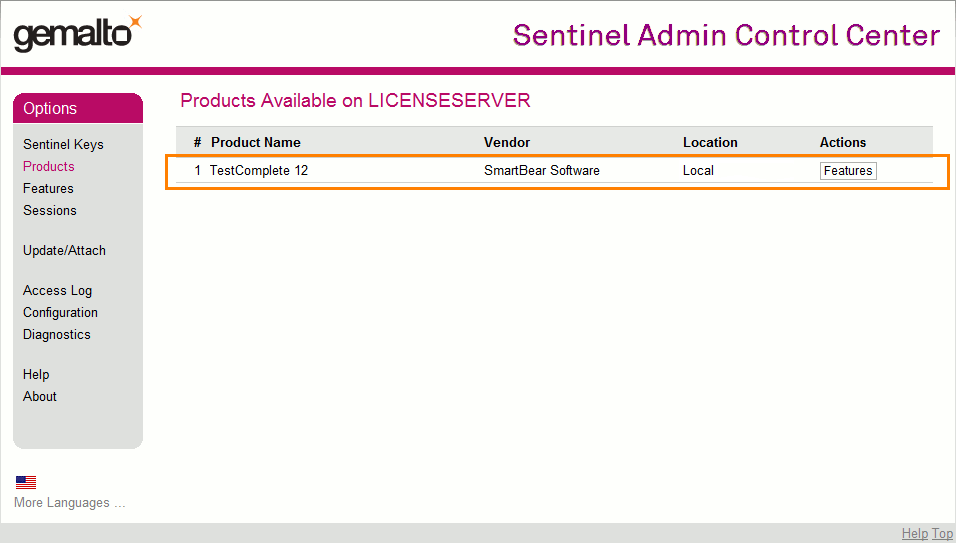
The activated license will be on the list:
4. Connect TestComplete Instances to the License Manager PC
After you activate the license, it will become available for TestComplete workstations in your network:
-
If TestComplete is still not installed on your workstation, install it. See Installing TestComplete.
-
Launch TestComplete on the workstation. TestComplete will search for an activated license first locally and then in the network.
-
When it will find a suitable activated license, it will start.
If your license has been merged with another license, enable the features provided by the merged licenses manually on your TestComplete workstations.
To do this, in TestComplete, open the File > Install Extensions dialog and enable the needed features.
If TestComplete fails to find a suitable license, it will show an error message. To check whether the needed license is activated and available on your TestComplete workstations:
-
On your TestComplete workstation, navigate to the following URL —
-
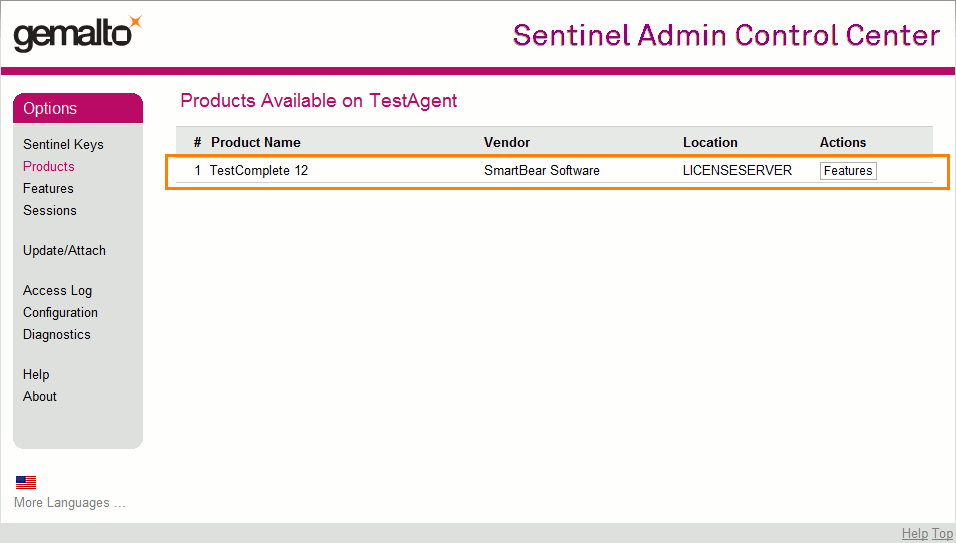
Find your Floating User license on the list:
If the license is not on the list, probably, your TestComplete workstations cannot access the License Manager PC. To learn how to fix this, see Fixing Typical Issues With Floating User Licenses.
Troubleshooting
If you have encountered any issues during the license activation, you can try to fix them manually using instructions from the following topic —
 Fixing Typical Issues With Floating User Licenses
You can also try resolving the problem by using the Licensing Troubleshooter on our web site:
See Also
Activating Licenses
Manual Activation Procedure
Activating Multiple Licenses on One License Manager PC


