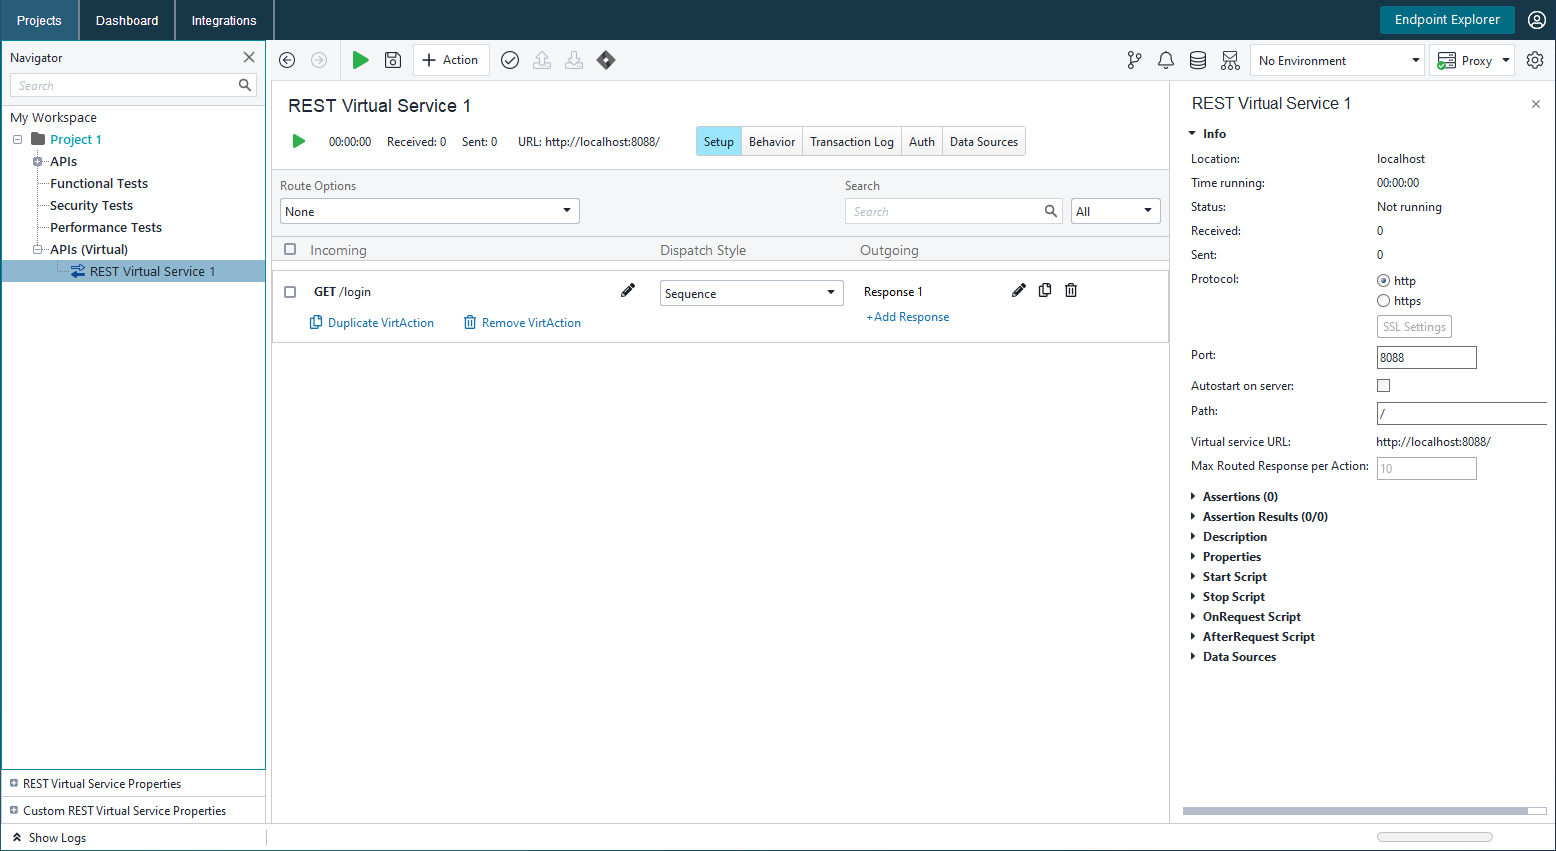
In the virtual service editor, you can configure various aspects of the service mocking. On the Setup page that is active by default, you can create and delete operations and configure responses. For each operation, you can define one or multiple responses. The virtual service will return one of these responses. To specify which response it will return, you use the Dispatch settings. We will work with them on the next step. Now, let’s create responses for the GET /login operation.
What we are going to do
Let’s create two responses. One of them will return successful results, and another will return an error.
On the next step, we will define which of the responses will be used in this or that situation.
Configuring a response
ReadyAPI created one response when we created an operation in the New Virtual API dialog. By default, the response is empty. Let’s configure it:
-
Click the response in the editor. You will see the response properties on the right:
-
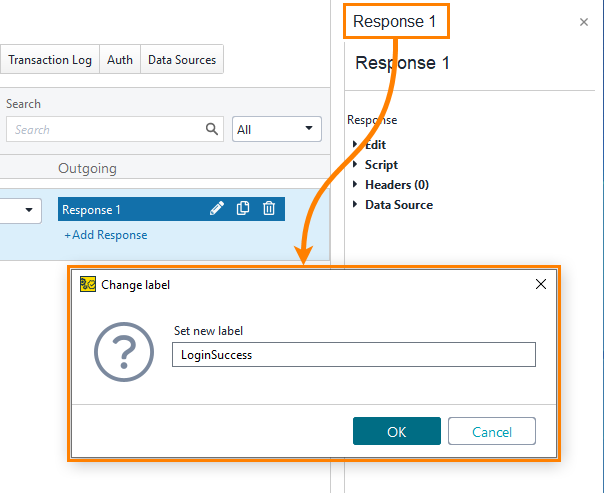
Click the response name. In the subsequent dialog box, enter LoginSuccess and click OK:
-
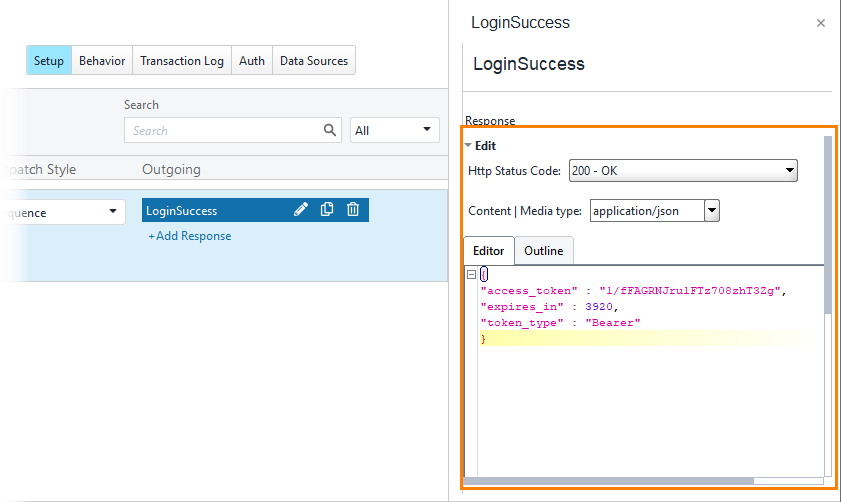
In the Edit section, set the following property values:
Property Value Http status code 200 – OK Content | Media type application/json Editor Enter the following text. This is the contents of the response body: {
"access_token" : "1/fFAGRNJru1FTz708zhT3Zg",
"expires_in" : 3920,
"token_type" : "Bearer"
}Leave default values in other properties.
Creating another response
-
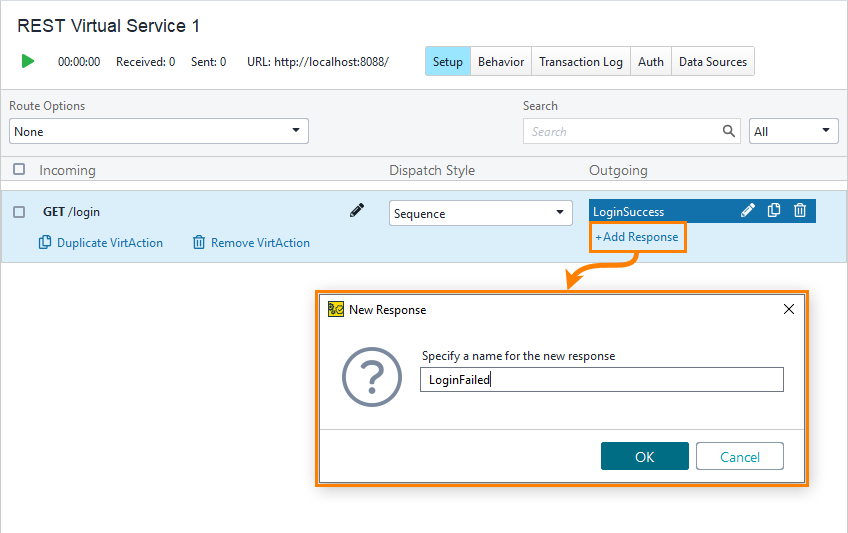
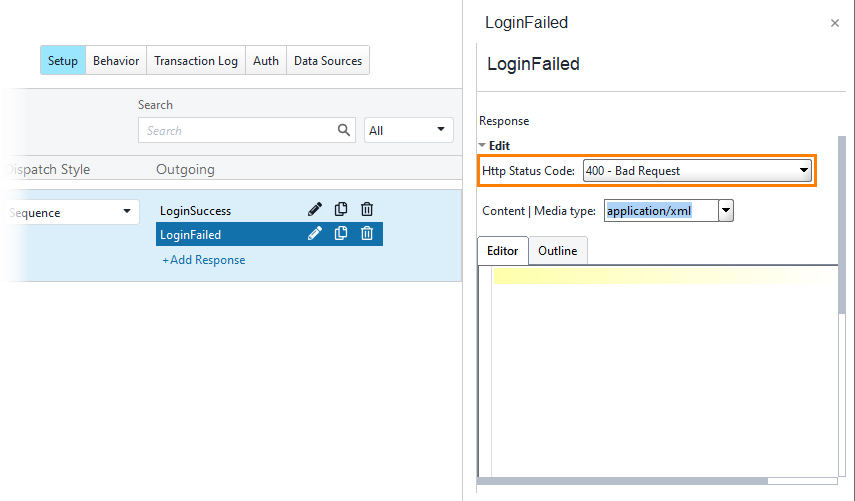
Click Add Response to create another response for the operation. Name the response as LoginFailed:
-
Set the Http status code: to 400 – Bad Request. Leave default values in other fields:
We have configured service responses. Now, we need to define conditions when this or that response will be sent. To do this, we need to define the Dispatch setting. See the next step for information on this.
See Also
Creating Your First Virtual Service
About Service Virtualization

