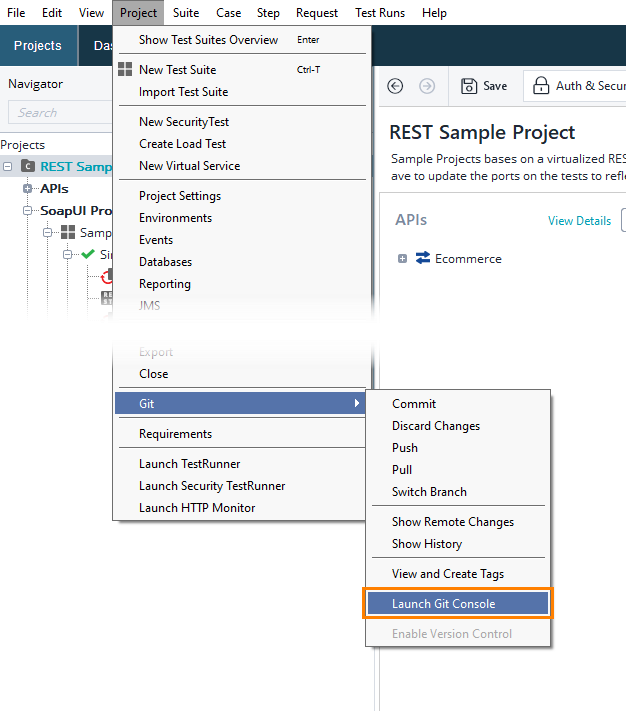
The Git console provides a way to run Git commands from the command line. You can launch the console directly from ReadyAPI.
About
The ReadyAPI UI provides access to some of the most widely used Git commands, as described in the previous topics of the section. However, there are commands that cannot be performed via the UI. This is where the console proves to be useful: it allows you to run all Git commands.
ReadyAPI uses the Git Bash console. It is a Linux-based command line that has implementations for Windows and Mac OS. All the commands in Git Bash are identical on all the platforms.
| Tip: | For a reference on Git Bash commands, visit the https://git-scm.com/docs page, or run the git help command in the console. |
Set up console
To set up the Git console:
-
Make sure your project is a composite project.
-
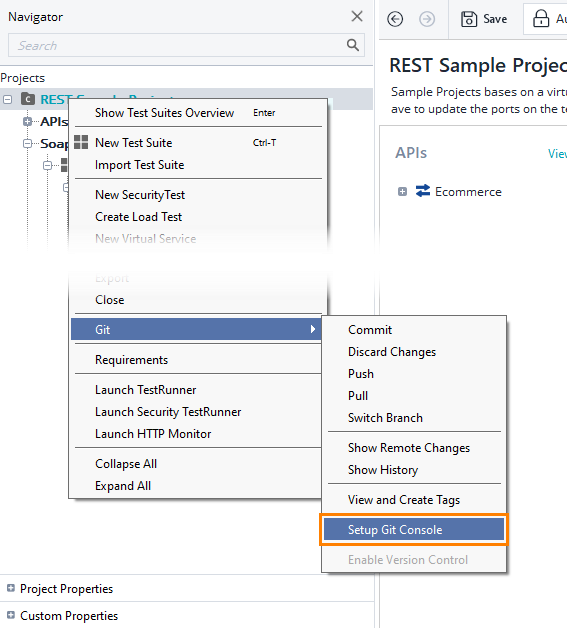
Right-click a project node in the Navigator and select Git > Setup Git Console from the context menu:
— or —
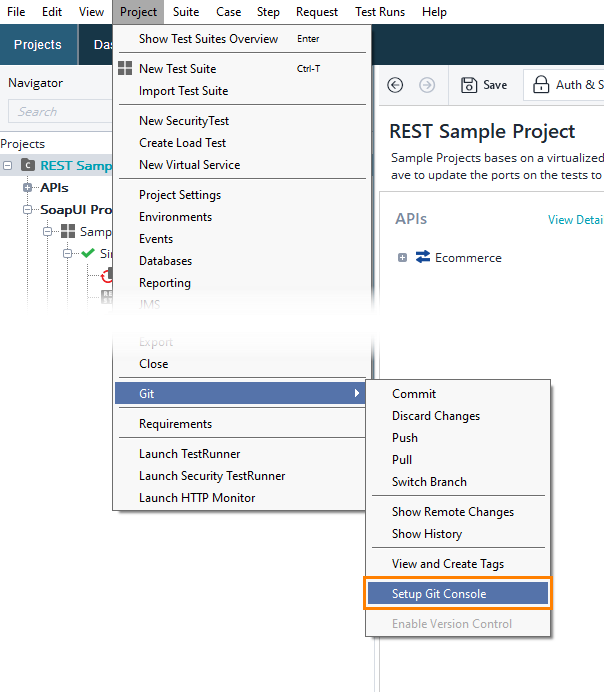
Select Project > Git > Setup Git Console from the main menu:
-
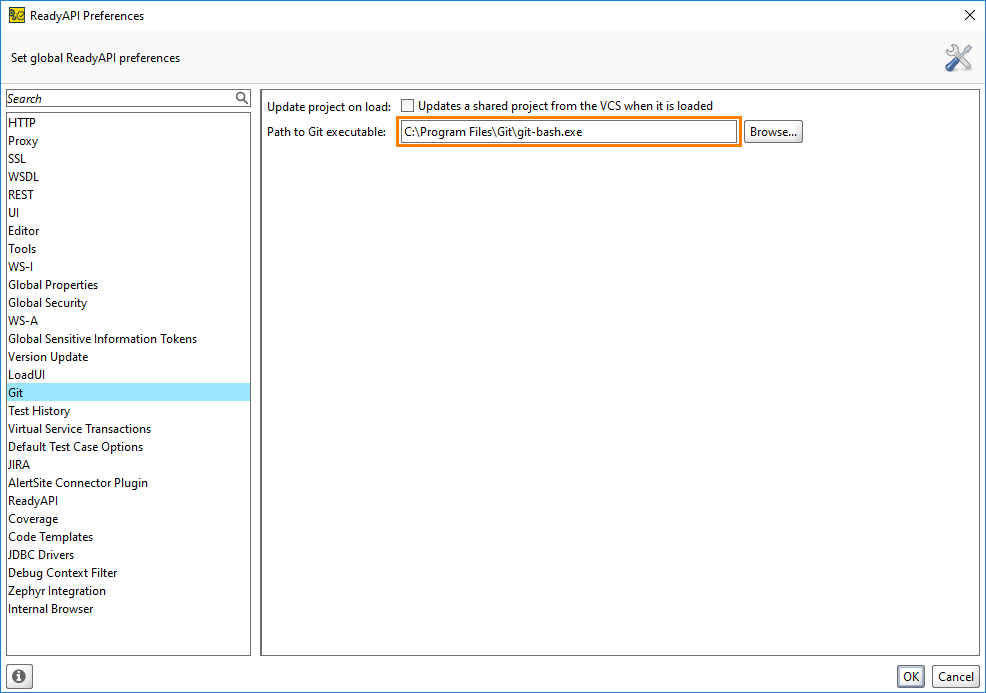
On the Git tab that opens, enter the path to the installed Git Bash console in the Path to Git executable field. You can click the Browse button and browse for the file.
-
Click OK.
Launch console
To launch the Git console after setting it up:
-
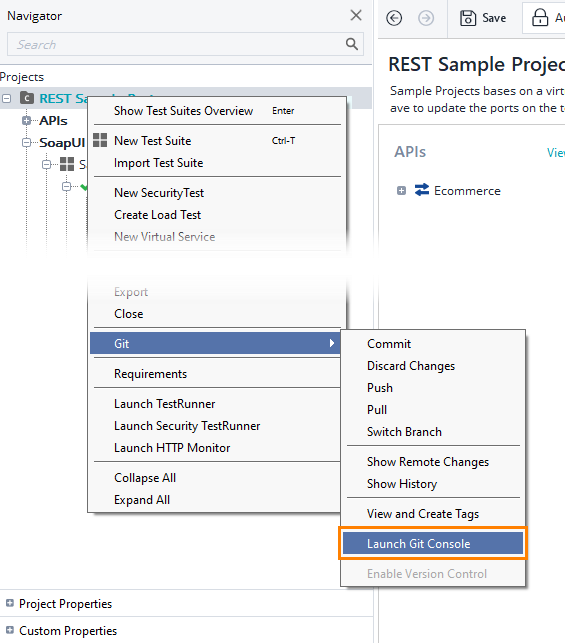
Right-click a project node in the Navigator and select Git > Launch Git Console from the context menu:
— or —
-
Select Project > Git > Launch Git Console from the main menu:
The console will launch:
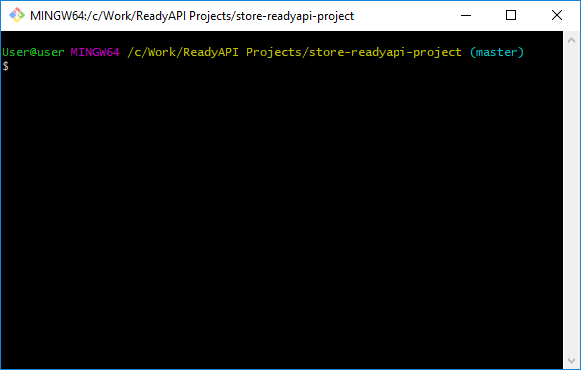
| Note: | When you launch the Git console, the current working directory is set to the folder of the project from which you launched the console. |
Working with console
Below, you will find some examples of typical tasks that you can perform with the Git console.
 Do the initial push to an empty repository
 Commit and push to the remote repository
 Update from the remote repository

