For the purposes of this tutorial, you will use a simple installation of MS SQL Express (the free limited version of MS SQL Express).
Some particular things to note for this tutorial:
-
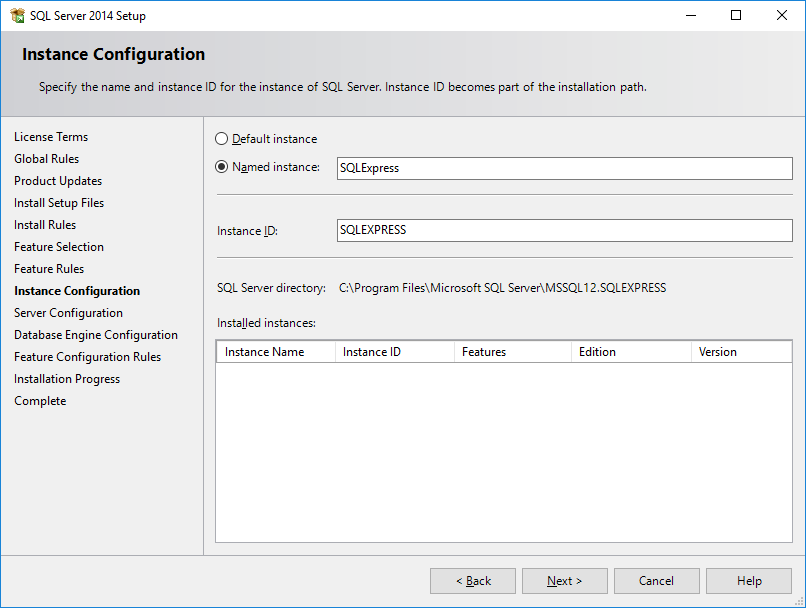
Named Instance – The default setting for MS SQL Express is to be installed as a named instance. You will need this when working with this tutorial. For more information, see https://technet.microsoft.com/en-us/library/ms165614.
-
Fixed Port – By default, SQL Server Express does not always use the same port and just grabs whatever port is available. You should confirm the port is fixed in the SQL Server. In this tutorial, you will use port
1433. For more information, see https://msdn.microsoft.com/en-us/library/ms177440.aspx. -
Authentication Mode – SQL Server will usually use NTLM if connecting locally, or Kerberos if connecting remotely. For more information about NTLM, see the Microsoft Knowledge Base.
If you need more information about the installation procedure, the installation guide is available at https://technet.microsoft.com/en-us/library/ms143722.
Installation
To install the MS SQL Express server:
-
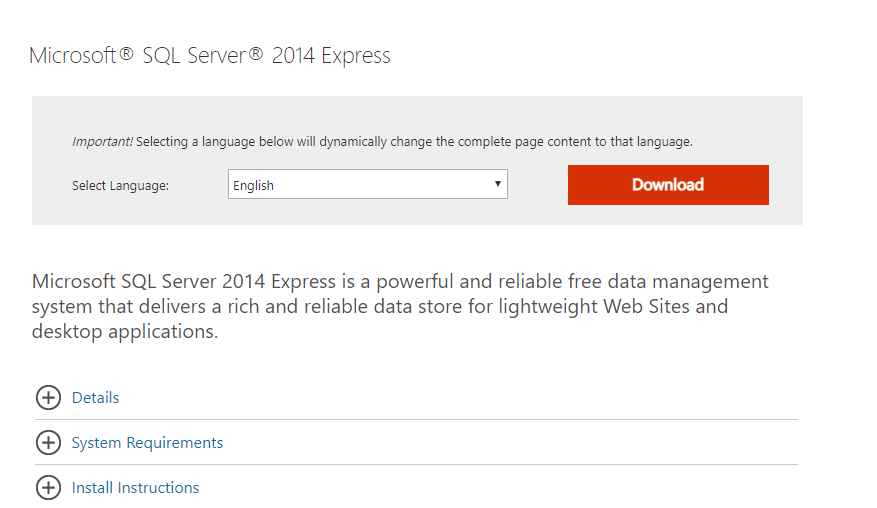
Download the MS SQL Express Installer from the MS SQL Express web site: https://www.microsoft.com/en-US/download/details.aspx?id=42299.
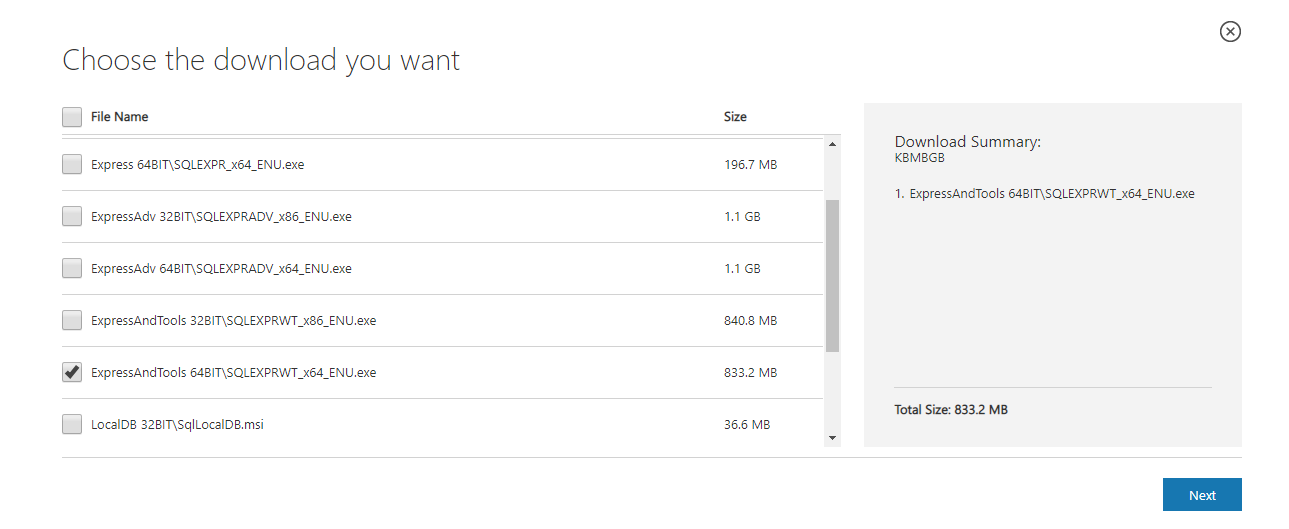
Once you click the Download button, you will be prompted to select the files you need. Select either the ExpressAndTools or the ExpressAdv version of the required bitness (32-bit or 64-bit), since these versions include SQL Server Management Studio you will use in this tutorial.
Click Next to start downloading.
-
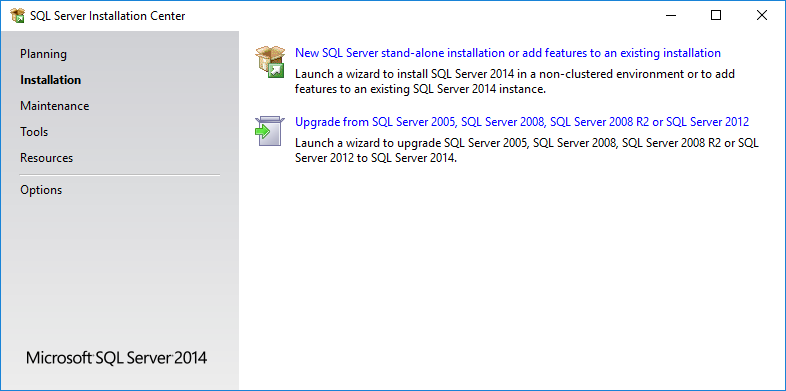
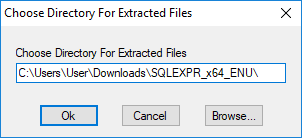
Once the download is complete, run the installer.

-
Select New SQL Server Stand-Alone Installation.
-
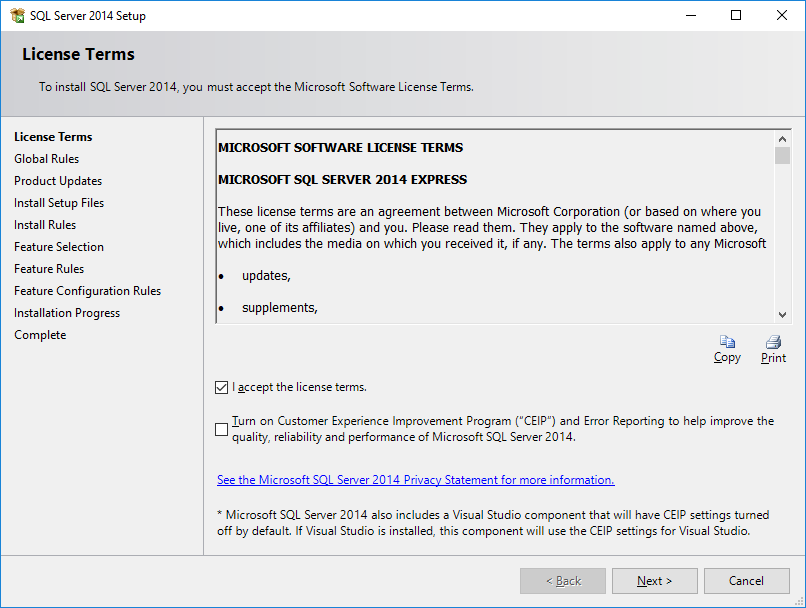
Check I accept the license terms if you do. Click Next.
-
On the Feature selection step, make sure to uncheck the
LocalDBoption. You will not need that during the tutorial.You will use a named instance, so the exact name is not important. Remember it just in case.
Note: For more information about Named Instances, see https://technet.microsoft.com/en-us/library/ms165614.
Click Next.
-
On the Feature Rules step, just click Next.
-
On the Instance Configuration step, just click Next
-
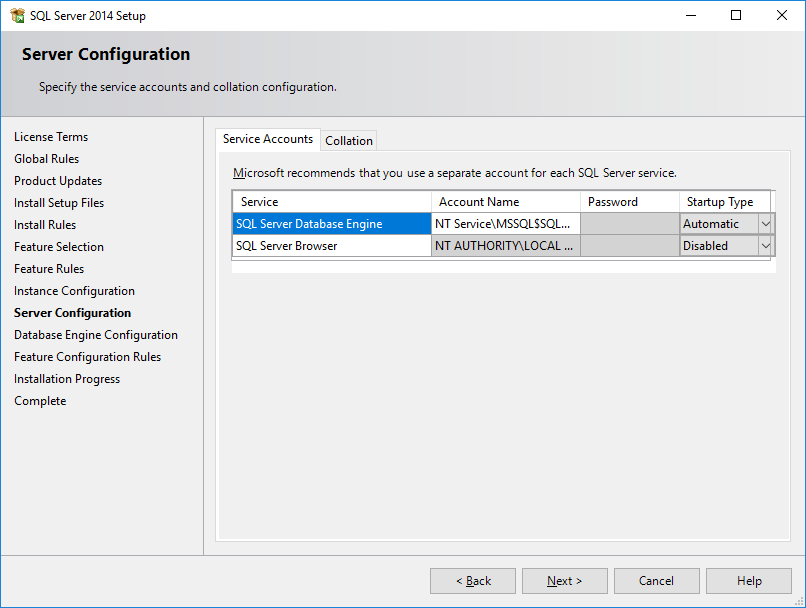
You do not need to make any changes on the Server Configuration step, since the default account configuration works fine for the purposes of this tutorial.
Click Next.
-
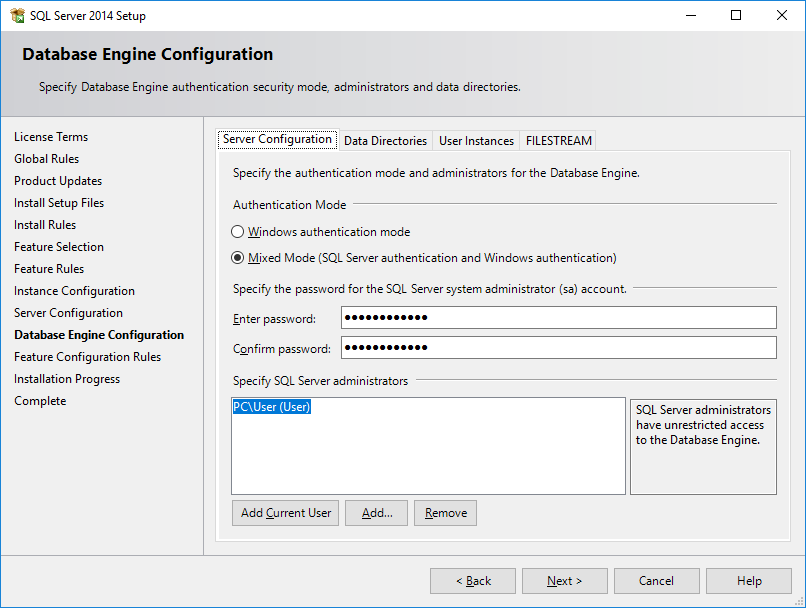
You do need to change the Data Directories, User Instance, or FILESTREAM settings. Still, when working with this tutorial, you will use the Mixed Mode authentication for maximum flexibility, so choose that Authentication Mode and enter and confirm a server administrator (sa) password.
Note: Make sure to remember the password you have entered.
Click Next.
-
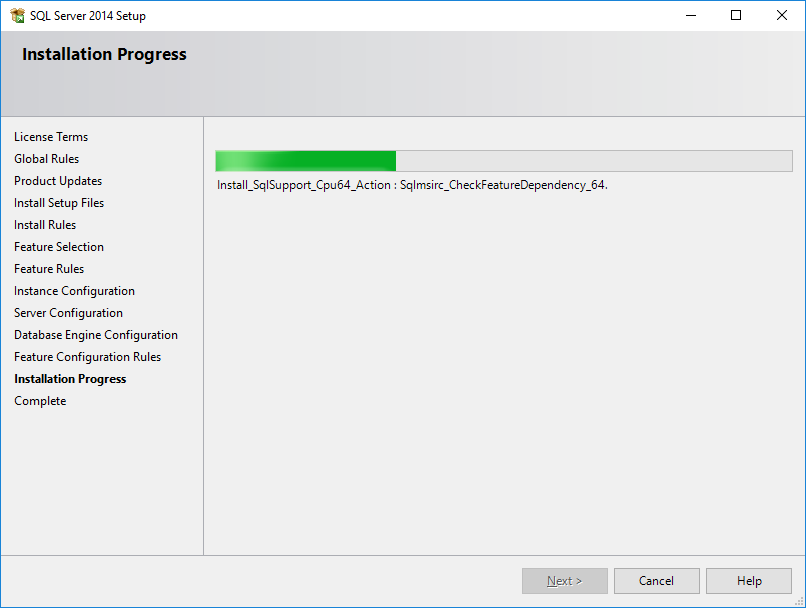
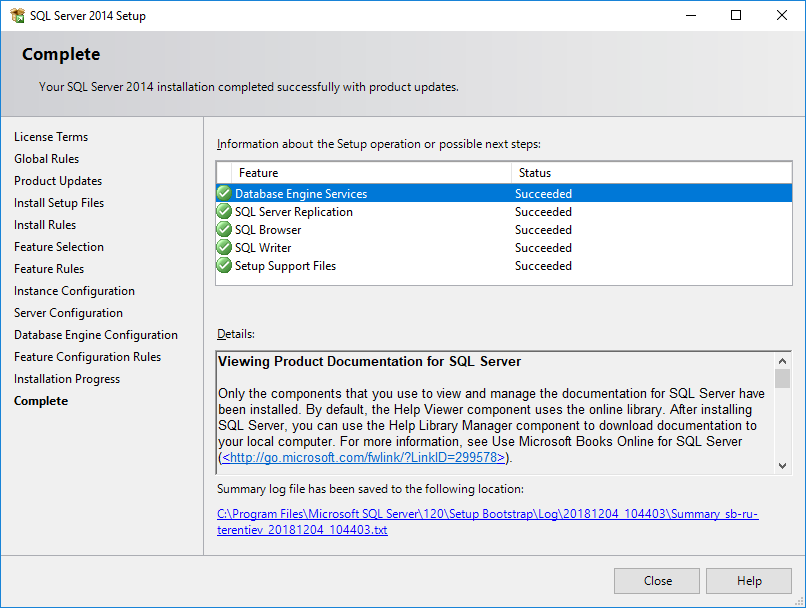
The server will be installed.
-
When the installation is complete, click Close.
Now, you can configure the port.

