
To create a new virtual service (virtual service or virtual API):
-
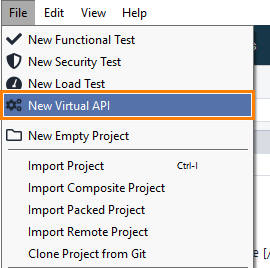
Select File > New Virtual API from the main menu:
– or –
In the Dashboard New Test tile, select All Tests and click Virtual API:
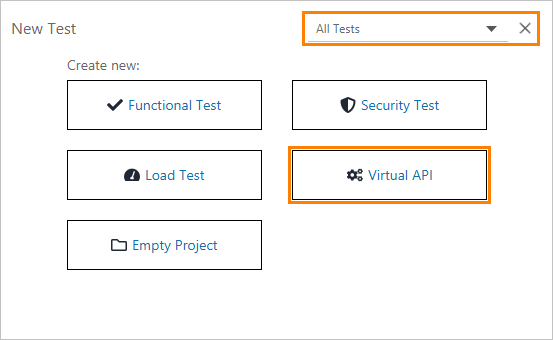
Note: The New Test tile you see on your screen may differ from the one described above, because the tile content depends on the ReadyAPI license you have. For details, see the tile description. -
In the subsequent New Virtual API dialog box, you select the way in which you will create operations in your virtual service. Click Start under REST Resources. This means we will create the operations manually:

Click the image to enlarge it.
If you have an OpenAPI, Swagger, WADL or WSDL specification of your API, you may click API Definition. In this case, ReadyAPI will create operations based on the information it loads from the specification. You may also select Record Traffic and send requests to your live API in the subsequent window. ReadyAPI will record the traffic and create operations in the virtual service based on the recorded requests and responses. See Recording Virtual Services (Discovering) for more information.
-
In the following dialog, you can specify the operations to virtualize. Leave the GET operation type that is selected in the drop-down list by default, and enter /login in the edit box. Make sure you start the operation name with a slash (
/):
Click the image to enlarge it.
Do not enter query parameters (they follow the question mark (
?) in the URL path). The operation paths should not contain these parameters.You can add more operations any time later in the virtual service editor (see Creating Requests (Operations)). Click Next to continue.
-
At this stage, you can select the project to which the new virtual service will be added. Leave the <New Project> item selected in the drop-down list by default and click Finish:

Click the image to enlarge it.
-
ReadyAPI will create a new project and add the virtual service to it. Then, it will ask you about further actions:
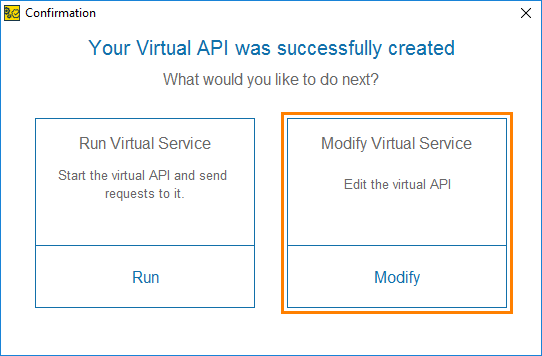
Let’s edit the service before running it, because the operation we created does not return any response. Click Modify.
ReadyAPI will open the virtual service editor:

Click the image to enlarge it.
On the next step of this tutorial, we will configure the virtual service functionality and define response contents.