
To create a security test in ReadyAPI:
-
Select File > New Security Test.

– or –
In the Dashboard New Test tile, select All Tests and click Security Test:
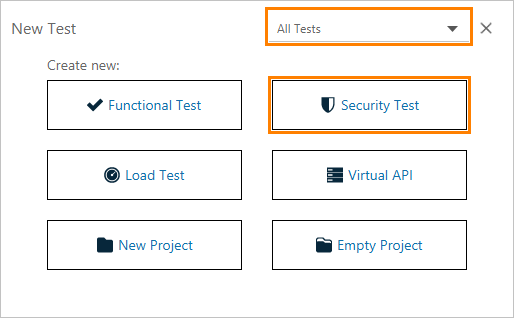
Note: The New Test tile you see on your screen may differ from the one described above, because the tile content depends on the ReadyAPI license you have. For details, see the tile description. -
Select the URL option.

Click the image to enlarge it.
-
Enter the following URL and click Next:
https://petstore.swagger.io/v2/pet
Click the image to enlarge it.
Tip: To add another URL, click Add URL. -
Select the scans you need and click Finish.

Click the image to enlarge it.
-
You have created a security test. ReadyAPI will offer you to run the security test immediately or edit it before running. We do not need to configure anything, so select the Run Security Test option.
If you selected to edit the test before running it, click
 to start the test run later.
Click the image to enlarge it.
-
ReadyAPI will start sending modified requests and checking responses. After the test run is over, ReadyAPI will display the results of the test run. Click View Full Report to open a more detailed report. To open the test report later, click
 .
. -
Close the report for now.
In the next step of the tutorial, we will examine the results of the security test.