
This topic describes how to work with item notes in QAComplete. You can use notes to comment on an item, provide your co-workers with additional information about the item, and so on.
To start working with notes:
-
Go to the item list screen.
-
Open the Edit form for the item you need.
-
Switch to the Notes tab.
On the Notes tab, you can view the existing notes for the item or create new ones.
Create a note
To create a new note:
New UI
-
Click Add New. A new note template will appear in the list.
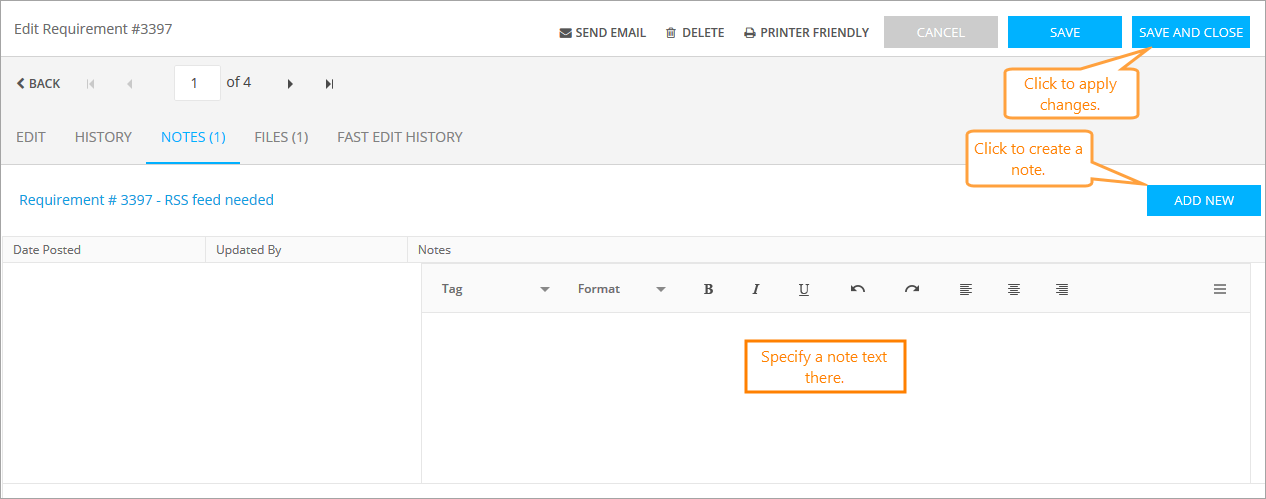
Click the image to enlarge it.
-
Specify the note text in the Notes column.
-
Once done, click Save and Close to apply the changes and return to the item list screen.
| Tip: |
You can also click Back and confirm the changes in the dialog. |
Old UI
-
Click Add New. This opens the Add Notes form.
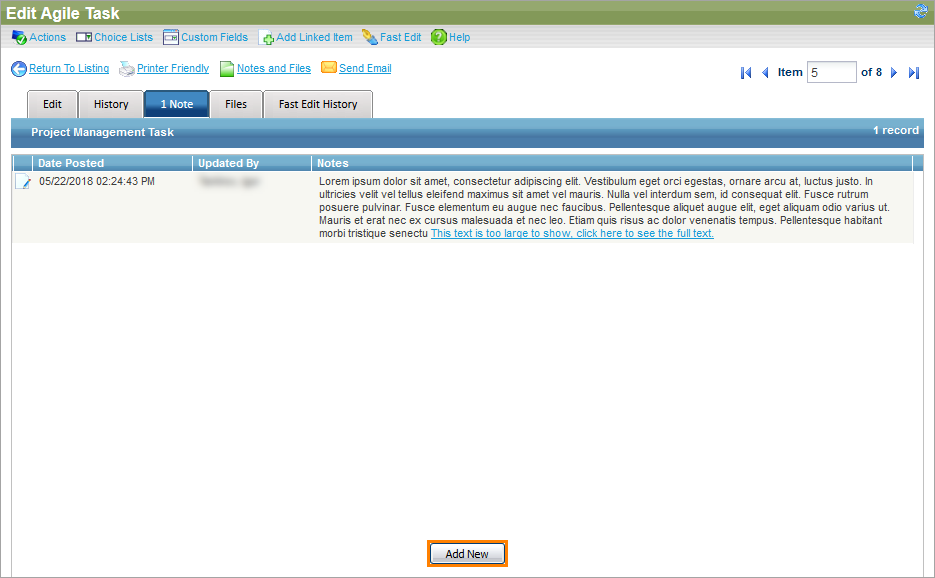
Click the image to enlarge it.
-
Specify the note text in the Notes edit box.
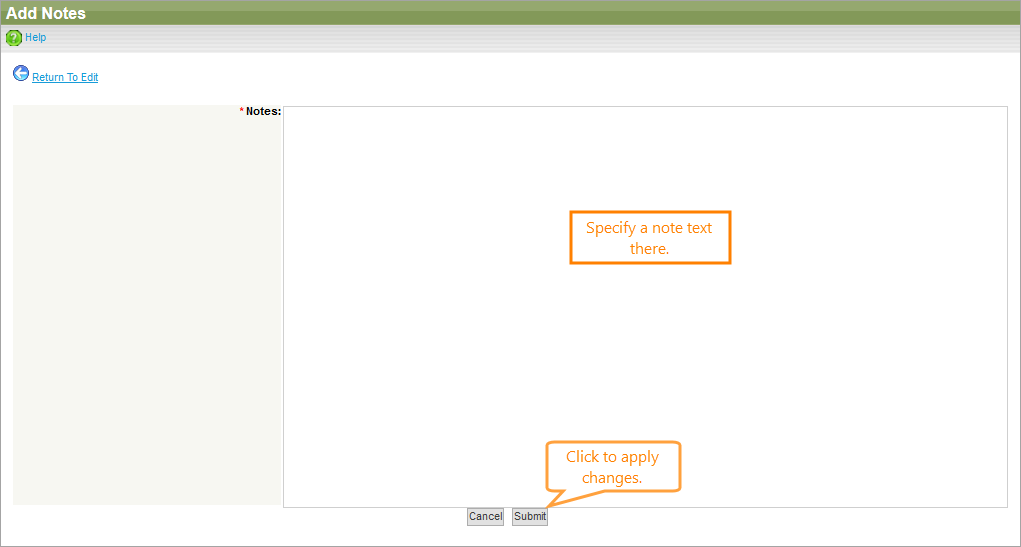
Click the image to enlarge it.
-
Click Submit to return to the Edit form.
-
Click Save to return to the item list.
Edit a note
To edit a note:
New UI
-
Click a cell in the Notes column belonging to the note you want to edit.
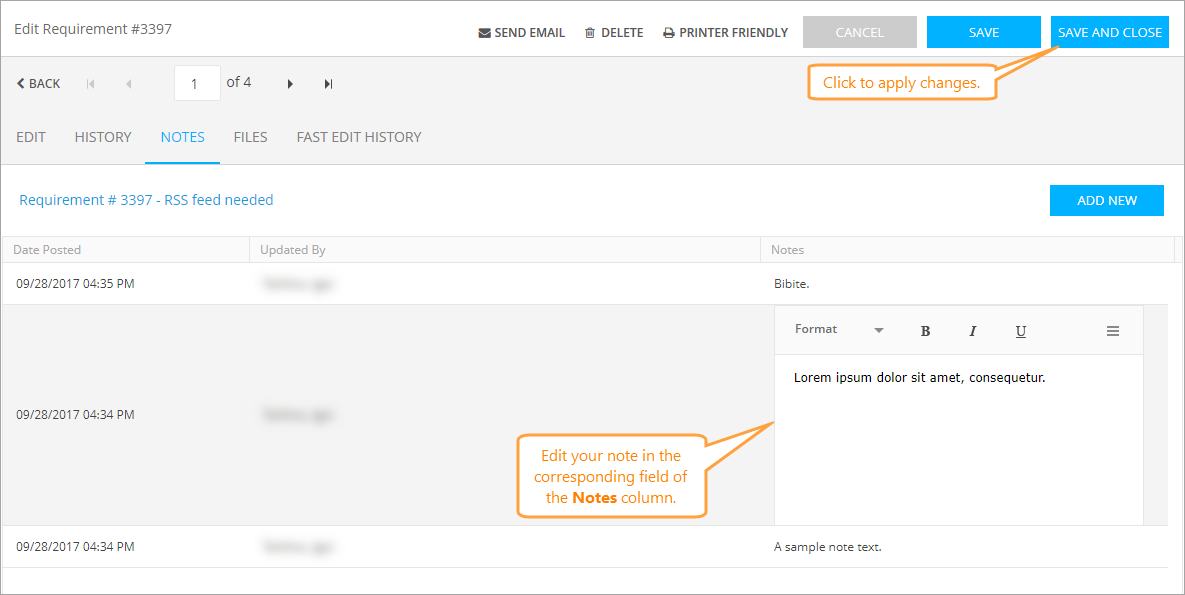
Click the image to enlarge it.
-
Make the changes you need in the editor.
-
Save the changes.
Old UI
-
Click Edit this record next to the note you want to edit.
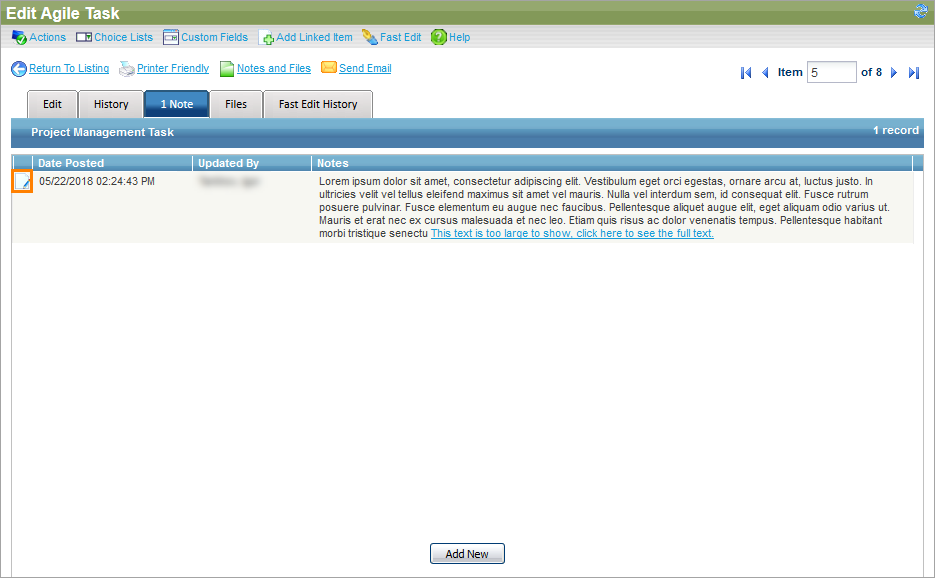
Click the image to enlarge it.
-
On the Edit Notes form, make the changes you need in the Notes edit box.
-
Click Submit.
View a note
To view a note:
New UI
-
Move the mouse cursor to its row. The Show Full Content button will appear to the left.
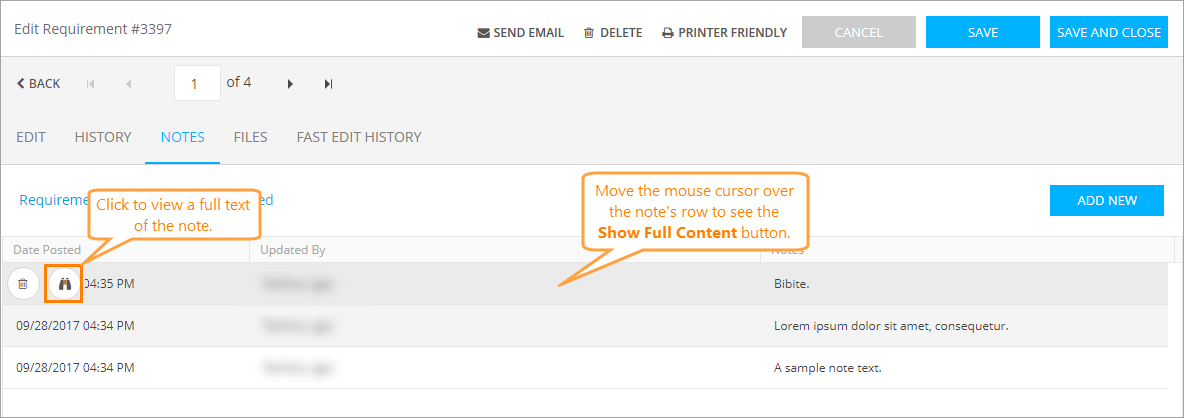
Click the image to enlarge it.
-
Click the button to open a dialog containing the whole note text.
-
To close the dialog, click OK or the close button.
Old UI
-
For long notes, the This text is too large to show link will appear.
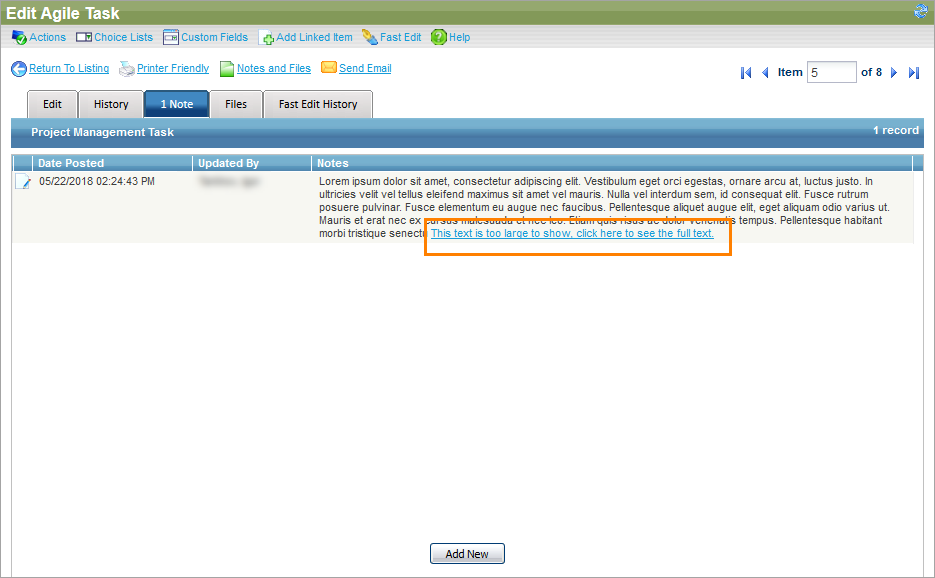
Click the image to enlarge it.
Click the link to open a dialog containing the whole note text.
-
To close the dialog, click OK or the close button.
Delete a note
To delete a note:
New UI
-
Move the mouse cursor to its row. The Delete button will appear to the left.
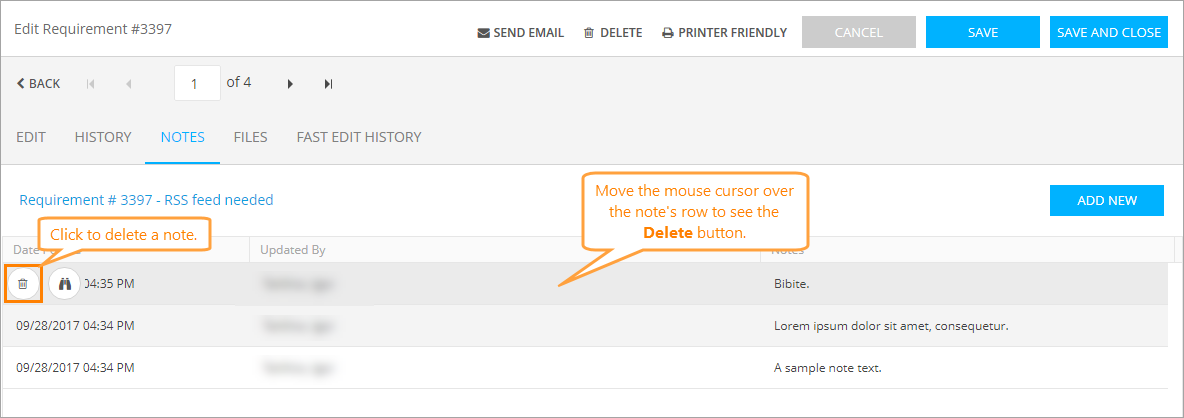
Click the image to enlarge it.
-
Click Delete.
-
Confirm your choice in the subsequent dialog.
-
Click Save and Close to apply the changes.
Old UI
-
Click Edit this record next to the note you want to edit.
-
On the Edit Notes form, select the Delete this record check box.
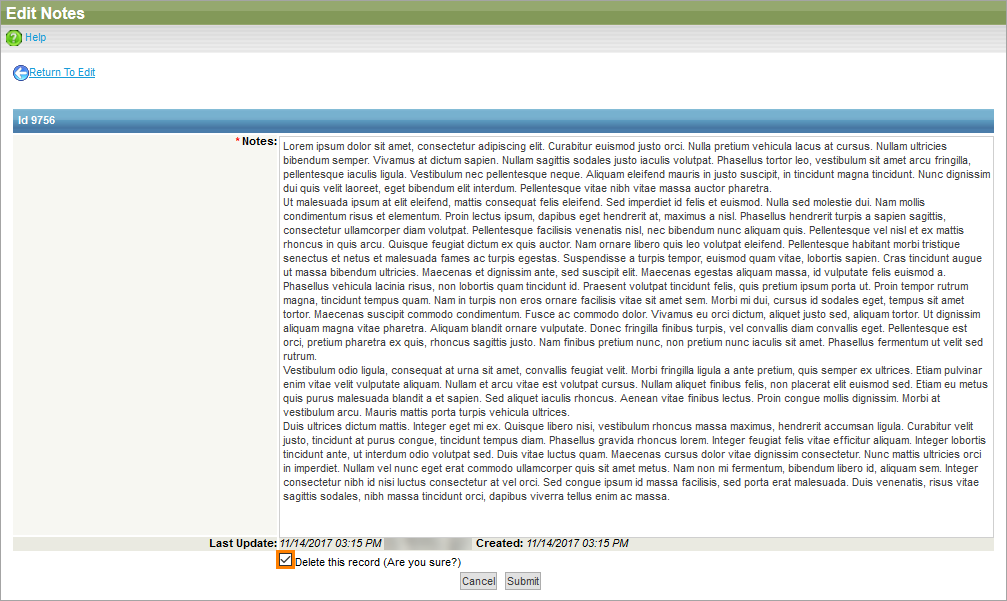
Click the image to enlarge it.
-
Click Submit.
See Also
Attachments
Linked Items
UI and Tasks


